LKprototype
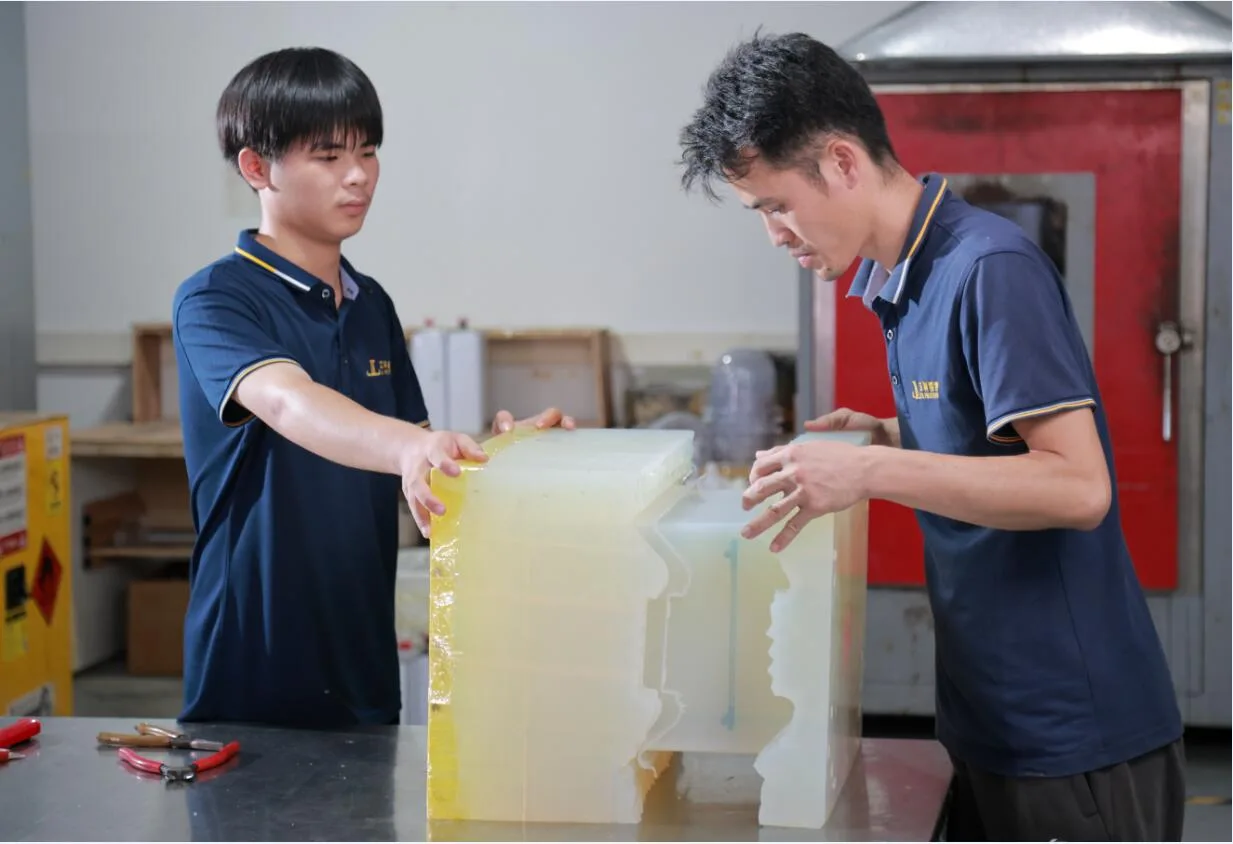
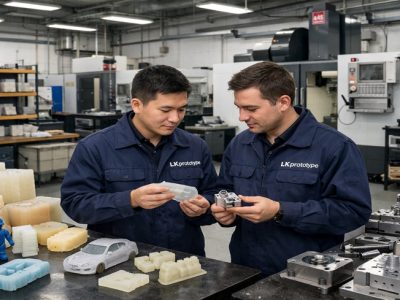
Vacuum casting silicone mold is a meticulous process that ensures the creation of high-quality silicone molds. This technique utilizes reduced air pressure to eliminate bubbles, resulting in a smooth finish. It is particularly effective for testing ideas and producing small batches, as it captures intricate details with remarkable accuracy. The process involves placing mixed silicone in a vacuum chamber to remove air bubbles, which leads to a flawless surface. The steps include preparing materials, mixing and pouring the silicone, eliminating air bubbles, and allowing the mold to harden. This method enables you to produce vacuum casting silicone molds quickly and efficiently.
Key Takeaways
Vacuum casting makes silicone molds by removing air bubbles. This gives smooth surfaces and shows tiny details clearly.
Follow these steps: design a 3D model, make a master pattern, pour silicone, mix materials, and remove the finished product.
Use good materials like RTV silicone rubber and tools like a vacuum chamber and release spray for better results.
Avoid mistakes by mixing well, adding vents for air, and letting the mold cure long enough to stay strong.
Silicone molds can be used 20 to 25 times. This makes vacuum casting a cheap option for small projects and prototypes.
Understanding the Vacuum Casting Process
What is vacuum casting?
Vacuum casting is a way to make plastic parts using silicone molds. It is great for making prototypes or small batches of products. A vacuum removes air bubbles from liquid materials, giving a smooth and detailed result. Silicone molds are flexible and strong, making them ideal for capturing tiny details. This method is popular in industries like cars and electronics because it creates precise parts.
Specification | Details |
|---|---|
Silicone rubber is flexible and lasts a long time. | |
Casting Material | Materials like polyurethane, epoxy, or silicone are used. |
Wall Thickness | Usually at least 0.5 mm, depending on the material. |
Tolerance | Around ±0.1 mm, better with advanced methods. |
Surface Finish | Smooth finish possible, roughness as low as Ra 0.1 μm. |
Color | Can be painted or dyed in many colors. |
How vacuum casting works for silicone molds
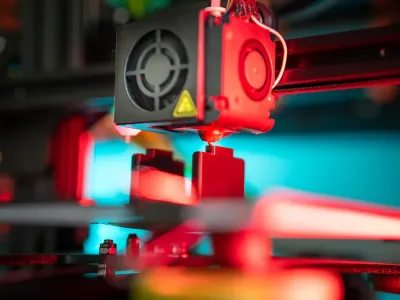
The vacuum casting process has several steps to make silicone molds and parts. First, design a 3D model using special software. Then, create a master pattern using machines or 3D printers. Pour silicone around the pattern to make the mold. After the mold hardens, mix the casting material, like polyurethane resin, and pour it into the mold under vacuum. This step removes air bubbles for a smooth finish. Finally, take the hardened part out of the mold. This method copies complex designs perfectly.
Create a 3D Model: Use software to design your object.
Create a Master Pattern: Make a model with machines or 3D printing.
Make The Silicone Mold: Pour silicone around the pattern and let it harden.
Mixing: Mix resins and colors, then pour into the mold under vacuum.
Demolding The Parts: Take the finished part out of the mold.
Advantages of vacuum casting silicone molds
Vacuum casting has many benefits compared to older methods. It costs less to start and takes less time, making it good for small to medium production. The process gives smooth surfaces and works with different materials like polyurethane and epoxy. Silicone molds can be reused many times, saving money and time. This method also captures small details, so the final product looks like the original design. Vacuum casting is fast and makes high-quality parts.
Advantage | Vacuum Casting | Conventional Methods |
|---|---|---|
Costs less to start | Costs more to start | |
Lead Time | Takes less time | Takes more time |
Production Volume | Good for small to medium batches | Needs large batches |
Surface Quality | Very smooth finish | Harder to get smooth finish |
Material Versatility | Works with many resins | Fewer material choices |
Tip: You can reuse silicone molds 20 to 25 times, making vacuum casting a smart and cost-saving choice for small projects.
Materials and Tools for Making Silicone Molds
Important materials for making silicone molds
To make a good silicone mold, you need the right supplies. The main material is silicone rubber. It is soft, strong, and shows small details well. RTV (Room Temperature Vulcanizing) silicone rubber is a favorite choice. It is flexible, resists water, and lasts long. This type is used in cars, healthcare, and electronics.
Type of Silicone Rubber | Features | Uses |
|---|---|---|
Very flexible, resists water and chemicals | Cars, building, electronics, healthcare |
You also need release agents to stop silicone from sticking to the model. These include:
Aerosol Sprays: Simple to use, great for small molds.
Liquid Lubricants: Works well and leaves no marks.
Paste Waxes: Best for big molds, offers strong protection.
Tools needed for vacuum casting
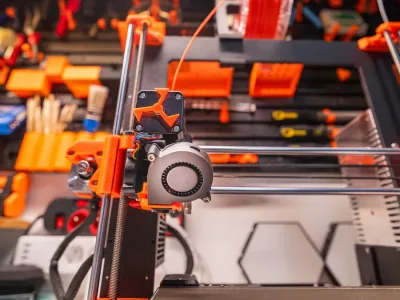
Vacuum casting needs special tools for perfect results. A vacuum chamber removes air bubbles from silicone and casting materials. This step makes the surface smooth and free of flaws. You also need a mixing bowl and a stir stick to mix silicone and catalyst evenly. A scale helps measure correctly because wrong amounts can ruin the mold. A curing oven can also help harden the mold faster.
Extra tools for better results
Some tools can make your molds even better. A pressure pot removes leftover bubbles by squeezing them out. A heat gun can pop surface bubbles before using the vacuum chamber. A rotary tool can smooth mold edges after curing for a neat finish. These tools are not required but can improve your work.
Tip: Use top-quality materials and tools for the best silicone molds.
Step-by-Step Guide on How to Make Silicone Molds
Getting the workspace and materials ready
Making great silicone molds starts with a clean workspace. Pick a dust-free area to keep your materials safe. Gather your tools like silicone rubber, release agents, measuring cups, and stirrers. Make sure the model is clean and has no dirt. Use a soft brush or cloth to wipe it. Apply a release agent evenly and let it dry for 20–30 minutes.
For detailed designs, use a brush to apply silicone. For bigger surfaces, pouring works better. Plan where to add pour spouts and air vents. This helps the silicone flow well and removes trapped air. These steps help you make molds without bubbles.
Tip: Check the mold frame to make sure it won’t leak.
Mixing and pouring silicone
Mixing silicone the right way is very important. Use a scale to measure the silicone and catalyst correctly. Put them in a bowl and mix slowly until smooth. Stirring gently avoids air bubbles and ensures the silicone works well. Scrape the bowl’s sides to mix everything evenly.
Pour the mixed silicone into the mold frame from the lowest spot. This helps stop air from getting trapped. Let the silicone spread naturally over the model to keep details sharp. Follow the curing time on the product label for the best results.
Note: A smooth mixture helps prevent problems in the finished mold.
Removing air bubbles with a vacuum chamber
A vacuum chamber is key to removing air bubbles from silicone. Place the mixed silicone inside and turn on the vacuum pump. The low pressure makes air bubbles rise and pop. This step is needed for smooth, bubble-free molds.
The vacuum’s success depends on the silicone’s thickness and the pump’s power. Use a pump that reaches 29.6 inHg for the best results. Watch closely and stop when the bubbles are gone. Pour the silicone into the mold frame right after to avoid new bubbles.
Tip: Removing bubbles makes the mold last longer and look better.
Curing and demolding the silicone mold
Curing is the last step to finish a silicone mold. It helps the silicone harden and become strong. First, check the curing time given by the manufacturer. Most silicones cure at room temperature, but mild heat can make it faster.
For example:
Mold Star™ 16 FAST cures in 30 minutes at 73°F (23°C). With mild heat (140°F/60°C), a 1/2” thick section cures in 10 minutes.
Mold Max™ 30 needs 16 hours at room temperature. Heating it for 4 hours at 150°F (65°C) improves moisture resistance.
A common silicone-to-curing-agent mix of 100A:3B gives 30–40 minutes to work and cures in about 10±2 hours.
After curing, you can start demolding. Carefully take the mold out of the frame to avoid damage. Loosen the edges with your fingers or a soft tool. Slowly pull the mold away from the model without harming small details. If it sticks, use a little release agent to help.
Check the mold for any flaws after demolding. A good mold will feel firm but flexible. It should also show all the tiny details of your model. Proper curing and gentle demolding are key to making durable, high-quality molds.
Tip: Follow the manufacturer’s curing instructions for the best results.
Tips for High-Quality Silicone Molds
Avoiding air bubbles during the vacuum casting process
Air bubbles can ruin your silicone mold’s quality. To avoid them, follow these steps. Mix the silicone parts slowly to stop air from getting trapped. Use a vacuum chamber to remove air from the mixture. This step helps bubbles escape before pouring. Pour the silicone slowly and from a low height. This prevents air pockets from forming.
Prepare the mold properly too. Clean the model to remove dust or dirt. Apply release agent evenly so the silicone flows well. Perform the vacuum casting in a controlled space to avoid bubbles. These steps will help you make smooth, high-quality molds.
Tip: Pour silicone at the lowest point of the mold frame. This lets air escape naturally.
Proper mixing and degassing techniques
Mixing and degassing are important for accurate silicone molds. Use a scale to measure the silicone and catalyst correctly. Mix them in a clean bowl. Stir gently and scrape the sides to mix evenly. Don’t stir too fast, as it adds air to the silicone.
After mixing, put the silicone in a vacuum chamber. The vacuum removes trapped air, making bubbles rise and pop. Watch closely and stop when no bubbles remain. Degassing ensures the silicone fills every detail of the model. This creates smooth and detailed molds.
Note: Degassed silicone makes molds that are smooth and precise.
Common mistakes to avoid in the mold-making process
Mistakes can ruin your silicone mold or waste materials. Picking the wrong silicone type is a common error. Choose silicone that fits your needs, like flexibility or strength. Poor parting line placement can make demolding hard. Plan the mold design carefully to avoid this.
Not adding enough vents is another mistake. Without vents, air gets trapped and causes flaws. Add vents to let air escape. Gate size or location problems can also affect material flow. Adjust these for better results. Lastly, don’t rush curing. Follow the instructions to let the mold set properly.
Tip: Keep tools and your workspace clean for better silicone molding results.
Applications and Benefits of Vacuum Casting Silicone Molds
Industries that use silicone molds
Silicone molds are important in industries needing accuracy and speed. Vacuum casting is used in fields like cars, healthcare, and electronics. These industries use silicone molds for testing, prototyping, and marketing. For example, the Europe Vacuum Casting Market report shows how this method makes high-quality plastic parts in small amounts. It is great for testing designs to ensure they meet exact needs.
In healthcare, silicone molds make strong and safe medical tools. The car industry uses them to create prototypes for parts like dashboards. Electronics companies use silicone molds for detailed designs in devices like phones and watches. These examples show how silicone molds are useful in many industries.
Benefits of vacuum casting over traditional methods
Vacuum casting has many benefits compared to older methods. It costs less and works well for small production runs. Unlike traditional ways, it needs less money to start and takes less time. Silicone molds can be reused, saving materials and money.
This process also creates smooth surfaces and captures tiny details. It is perfect for making prototypes that look like the final product. Vacuum casting works with many materials, like polyurethane and epoxy. These advantages make it a top choice for industries needing precision and speed.
Tip: Reusing silicone molds up to 25 times saves money.
Creative uses for silicone molds in various projects
Silicone molds are not just for factories. They are great for creative projects needing special designs. For example:
Chem-Trend improved production by 34% using a release agent to stop mold buildup.
SIMTEC Silicone Parts made food-safe products with a two-shot molding process.
WayKen showed how LSR molding made parts stronger and faster for cars and healthcare.
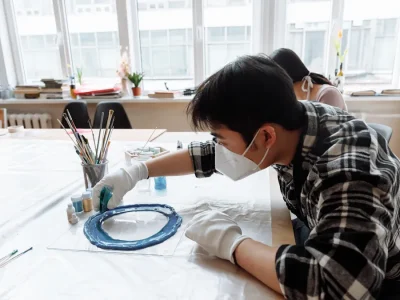
You can also use silicone molds for DIY projects like jewelry, candles, or soap. Artists use them to copy detailed patterns. Whether for work or fun, silicone molds let you create amazing things.
Note: Silicone molds are strong and flexible, perfect for many uses.
Vacuum casting is a dependable way to make silicone molds. It strengthens parts, gives smooth surfaces, and shows tiny details. This makes it great for medical tools, car parts, and art projects. Follow these steps: get materials ready, mix silicone, remove bubbles, and let it harden.
Focus on key factors like heat and pressure for good results. Check your work often to avoid mistakes like rough surfaces or crooked parts. With time and care, you can learn this method and turn your ideas into real creations.
Start Your Next Project with LKprototype
LKprototype company simplifies procurement for custom manufacturing, Suitable for making your products or prototypes with a variety of materials, such as metal or plastic, silicone rubber, from 3D Printing to CNC Machined Parts and Vacuum Casting , with a focus on speed and efficiency. Our platform provides instant quotes. With LKprototype, You can connect with the team to communicate your project to ensure quality and on-time delivery.
Start with an instant quote and experience how our technology and expertise can make custom part procurement faster and easier.
FAQ
What does a master model do in silicone mold-making?
A master model is the original shape used to make molds. It helps the mold copy every detail, creating accurate and high-quality replicas.
How do you make better molds with vacuum casting?
To make better molds, use a vacuum chamber to remove bubbles. Apply release agents evenly and mix materials properly. These steps create smooth and detailed silicone molds.
Can you reuse silicone molds for many castings?
Yes, silicone molds can be reused 20–25 times if cared for. Clean and store them properly to make them last longer. This saves money for small projects.
Why is vacuum casting good for making prototypes?
Vacuum casting is great because it makes detailed, bubble-free molds fast. It works well for small batches and creates products that match the original design.
Which industries use silicone mold prototypes the most?
Industries like cars, healthcare, and electronics use silicone molds. They rely on them for testing, prototyping, and making precise parts quickly.