LKprototype
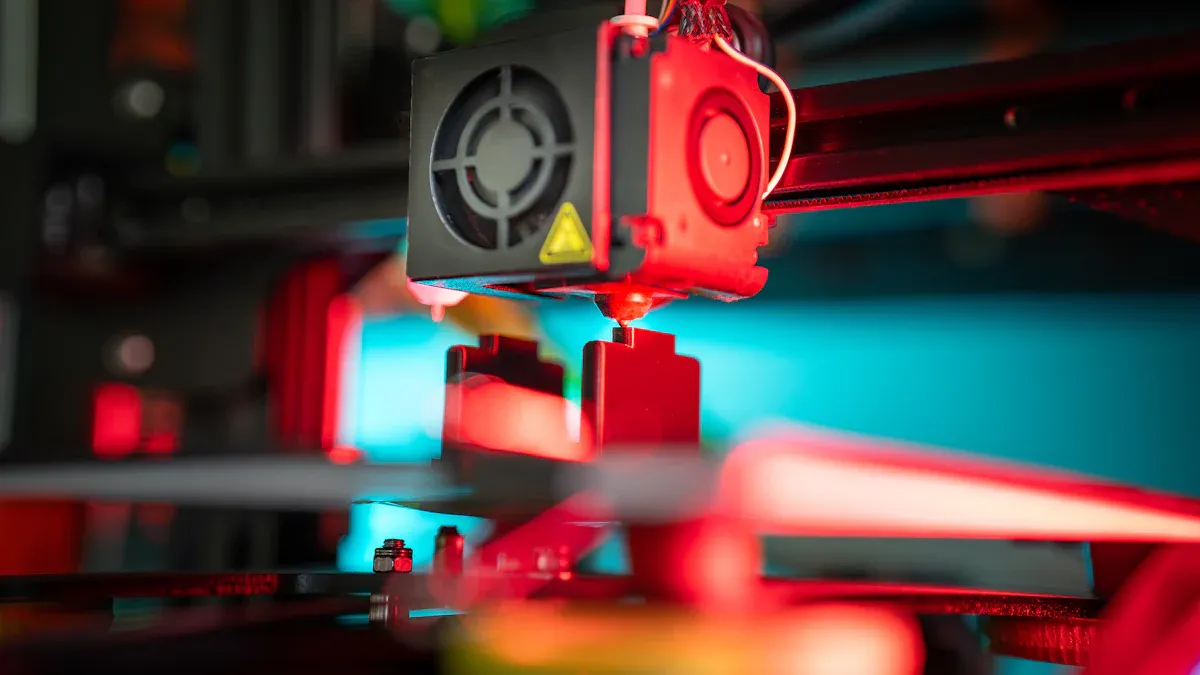
If you want to learn how to make mold 3d model for vacuum casting, you can follow some simple steps and guidelines. Start by creating a 3d model, as this is the foundation for how to make mold 3d model. Pay close attention to the mold design to ensure you can easily remove the finished part. The process of how to make mold 3d model involves having a precise model, careful mold making, and proper casting techniques. Many people achieve consistent and repeatable results by using this method. For instance, silicone molds made from a 3d model can be reused 15–30 times. 3d models are excellent for maintaining their size and shape throughout the process. The table below highlights key factors that are important when learning how to make mold 3d model:
Parameter | Value/Range | Notes |
|---|---|---|
Number of casting cycles | 15–30 | Mold reuse before it wears out |
Dimensional accuracy | Very high | Stays the same for 3d models |
Degassing time for silicones | 20 min | Gets rid of air before casting |
Silicone hardness (Shore A) | 42, 13, 20 | Changes how easy it is to remove and how long it lasts |
By following these steps on how to make mold 3d model, you can avoid common mistakes in mold making and achieve excellent results.
Key Takeaways
Make your 3D mold with the right draft angles and wall thickness. This helps you remove parts easily. It also makes the mold strong.
Pick hollow or solid models based on what you need. Solid models are easier to make. Hollow models use less material but need more supports.
Use good materials and clean your 3D printed molds well. This gives a better surface finish. It also helps your mold last longer.
Mix and degas silicone slowly. Use a vacuum chamber to stop bubbles. This makes your molds smooth and strong.
Be gentle when you take out the molds. Check the parts for any problems. This keeps the quality good and lets you use molds again.
CAD Model Design
The first step is to design your 3d model. This is the most important part of making a mold for vacuum casting. Good design helps you avoid problems and makes things easier. Think about the shape, size, and features before you start. This section will show you the main rules for making a 3d printable countermold. These rules help you get great results.
Base and Draft Angles
When you make a 3d model for vacuum casting, look at the base and draft angles. A wide base keeps your mold steady and easy to use. Experts say it is better to make parts wider, not taller. This stops vacuum problems and keeps the mold from bending.
Draft angles help you take the part out of the mold. Add draft angles to all big faces of your model. Most experts say to use a draft angle between 3° and 5°. For every 2 cm of height, add at least 1° of draft angle. This makes it easier to pull the part out without breaking it. Drafted walls should go in the direction you will open the mold. Use rounded corners and fillets at the base to stop sticking and help the material move.
Tip: Keep wall thickness the same. Try to make walls at least 1 mm thick. For small parts, you can go down to 0.5 mm. Do not make walls too thin or too thick.
Here is a table with CAD design rules that help you remove the mold more easily:
CAD Design Principle | Research-backed Rationale | Key Details |
|---|---|---|
Wall Thickness | Keeps the mold strong and stops bending | Thicker walls are stronger; balance is important |
Reinforcement | Stops mold damage at weak spots | Add more material at sharp corners and stress points; use supports inside |
Draft Angles | Makes it easier to take out the part | Use 1°–3° draft angles; do not use negative drafts |
Undercuts | Needs special tools | Use side-action cores or slides for tricky shapes |
Simulation Tools | Helps you make better choices | Use CAD analysis to check stress and make the mold last longer |
Hollow vs. Solid Models
You need to pick if your 3d model will be hollow or solid. This choice changes how you make the mold and how easy it is to remove the part. Solid models are easier to design and cast. They do not need supports inside, so you can focus on the outside shape. Hollow models make lighter parts and save material, but they are harder to make.
If you pick a hollow model, you must design supports inside. After casting, you have to take these out, which can be hard. You may need to split the mold into more pieces to get the part out. Add pins and channels to help put the mold together and guide the resin.
Hollow models need supports inside that you remove after casting.
Solid models do not need supports and are easier to make.
Hollow molds let you make hollow parts, which is good for some designs.
3d-printed molds often need sanding or sealing to make the surface better.
3d-printed molds may not last as long as other molds and can be smaller.
Studies show that picking hollow or solid models changes how hard the mold is to make and the quality of the part. For example, SLA 3d printing gives a smoother finish than FDM. But hollow molds are harder to design and use.
Mold Release Features
Mold release features help you take your part out of the mold without breaking it. You can add these features when you design in CAD. Common features are small tapers, fillets, and textures that stop sticking.
You should also plan to use mold release agents or pick materials like silicone rubber for your molds. These materials stop the casting from sticking to the mold. This makes it easier to take out the part and keeps the surface nice. Research shows that smooth finishes and special coatings on the mold lower friction and sticking. This means you can take out your part faster and with less effort.
Note: If the surface is rough, your part might get stuck. Always check your mold for rough spots and fix them before you cast.
If you follow these design rules, you can make a 3d model that is easy to cast and remove. Good planning in CAD saves time and helps you get better molds.
Mold Making Steps
Making a high-quality mold for vacuum casting starts with careful planning and attention to detail. Each step in the mold making process affects the final result. You need to focus on accuracy, alignment, and the right placement of parting lines. These steps help you avoid common mistakes and get the best results from your casting molds.
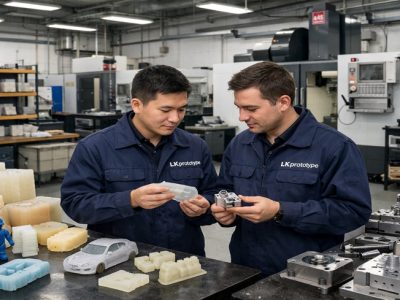
Master Model Creation
You begin by creating a master model. This model acts as the pattern for your mold. Start with a detailed 3D CAD design. Choose a material that matches your needs. Aluminum works well for general use because it is easy to machine and lasts a long time. Steel or brass are better for molds that will be used many times.
Follow these steps to make your master model:
Design your model in CAD to capture every detail.
Pick a material that balances durability and machinability.
Plan your CNC tool paths to save time and keep accuracy high.
Use rough machining to shape the base.
Finish with fine machining for smooth surfaces.
Polish and treat the surface to remove any marks.
Test the model and adjust if needed.
CNC machining gives you high accuracy and smooth finishes. This means your casting molds will produce parts with fewer defects and less post-processing. A good master model leads to better casting results and longer-lasting molds.
Tip: Use high-quality cutting tools and keep your CNC machines in good shape. This helps you avoid defects and keeps your process running smoothly.
Mold Box Preparation
Next, you need to prepare the mold box. The mold box holds your master model and shapes the silicone around it. A well-prepared mold box is key to getting consistent results from your casting molds.
Make sure the mold box is big enough to leave space around the model for the silicone.
Seal all gaps in the box to stop leaks during the process.
Hang and center the master model inside the box using plastic rods.
Set up gates and vents to control how the resin flows and air escapes.
Pour liquid silicone into the mold box and use a vacuum chamber to remove air bubbles. Cure the silicone in an oven to form a precise mold cavity. This careful setup helps you avoid defects and keeps your molds accurate and repeatable.
Note: Always check that the master model is secure and centered. This prevents uneven silicone thickness and defects in your final parts.
Splitting the Mold
Splitting the mold is a critical step in mold making. You need to decide where to split the mold so you can remove the cast part easily. The parting line should follow the largest dimension of your model and avoid undercuts. This makes the mold easier to open and reduces the risk of damaging your part.
Use guide pillars and bushings to align the two halves of the mold. This prevents mismatches at the parting line. For best results, aim for a dimensional accuracy of about ±0.02 mm. This level of precision keeps your mold halves aligned and your parts consistent.
Key Metric | Description / Role | Correlation with Success |
|---|---|---|
Shell thickness at mold exit | Prevents breakouts and cracks; keeps mold strong | Thicker, uniform shell improves mold life and accuracy |
Shell surface temperature | Controls material properties and reduces thermal stress | Stable temperature lowers defect rates |
Mold hot and cold face temperature | Maintains mold stability and extends mold life | Stable temperatures reduce cracking risks |
Thermal expansion and warping can affect your mold. Use simulation tools to predict and control these effects. This helps you keep your mold precise and your casting process reliable.
Alignment Keys and Parting Lines
Alignment keys and parting lines play a big role in mold making. You add alignment keys to help the two halves of the mold fit together perfectly. Good alignment stops leaks and keeps your parts accurate.
Place the parting line where it will not show on the finished part or cause weak spots. Try to put it on a natural edge or a low-visibility area. Avoid sharp corners near the split. This makes your parts look better and last longer.
Quality checks show that good alignment and parting line placement reduce defects like flash and vacuum voids. They also help your molds last longer by preventing wear. Keep your molds clean and assemble them carefully every time. This keeps your casting molds working well and your parts looking great.
Place parting lines on natural edges or low-visibility spots.
Use alignment keys to keep mold halves in place.
Avoid sharp corners and uneven wall thickness near splits.
Check your molds often for wear and clean them after each use.
Remember: Careful alignment and parting line placement make your mold making process smoother and your casting results more reliable.
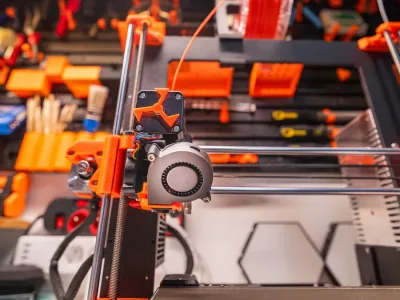
3D Printing Molds
Material Selection
You can pick from many materials for 3d printing. Each one changes how your model works in vacuum forming and vacuum casting. Here are some common choices:
Plastics like PLA, ABS, PETG, and nylon are used a lot. PLA is simple to print but not very strong. ABS and PETG are stronger and can handle more heat. Nylon is tough and bends without breaking.
Metal powders like stainless steel, aluminum, and titanium make strong parts. These cost more and need special printers.
Photopolymer resins help you make models with lots of detail. These are good for vacuum forming when you want smooth surfaces.
Composites, like carbon fiber-reinforced nylon, make your parts stronger and stiffer.
Pick a material that fits your vacuum forming process. Silicone-based molds are stronger and smoother than most 3d printed parts. If you only need a few parts, 3d printing is the cheapest way. If you need more, vacuum forming or mixing methods saves money and time.
Aspect | 3D Printing | Vacuum Casting | Injection Molding |
|---|---|---|---|
PLA, ABS, PETG, nylon, metals, resins, composites | Silicone-based; strong, smooth finish | Engineering-grade polymers | |
Surface Finish | Layer lines; needs post-processing | Smooth, detailed | Excellent, many textures |
Cost Efficiency | Best for <5 parts | Best for 5-100 parts | Best for high volumes |
Layer Height and Surface Finish
Layer height changes how your 3d model looks and feels. For tiny details under 1 mm, use a 25 µm layer height with SLA printers. For bigger parts, 100 µm works well. FDM printers often use a 200 µm layer height. Lower layer heights make smoother surfaces but take longer to print.
After printing, you can make the surface better. Try bead blasting, vapor polishing, or media tumbling. Epoxy coatings, like XTC-3D, fill in lines and make the surface smooth. Mix epoxy with acetone for a thin, even coat. Using two coats helps your molds last longer and match your CAD design.
Tip: Smoother surfaces help vacuum forming and make it easier to remove the finished part.
Cleaning and Assembly
Cleaning your 3d printed mold helps you get good results every time. Wash the model with isopropanol or ethanol to get rid of dust and oils. Use UV curing or plasma treatment for photopolymer resins. Sanding and vapor treatments, like acetone vapor for ABS, smooth out rough spots.
Studies show that cleaning and assembly help your mold last longer. For example, ABS molds can last up to 20 uses if you clean and smooth them well. Adding wide draft angles and using release compounds also help molds last longer. Always check your model for damage before each vacuum forming cycle.
Study / Author(s) | Cleaning & Assembly Techniques | Material Used | Effects on Mold Longevity & Usability |
|---|---|---|---|
Australian study | Isopropanol washing, UV curing, plasma treatment | Photopolymer resins | Prevents sticking, enables reuse |
Chung et al. | Sanding, acetone vapor | ABS | Lasts ~20 uses, better quality |
Protolabs study | Wide draft angles, release compounds | Various 3d printing methods | 30–100 cycles, cost-effective |
Silicone Mold Casting
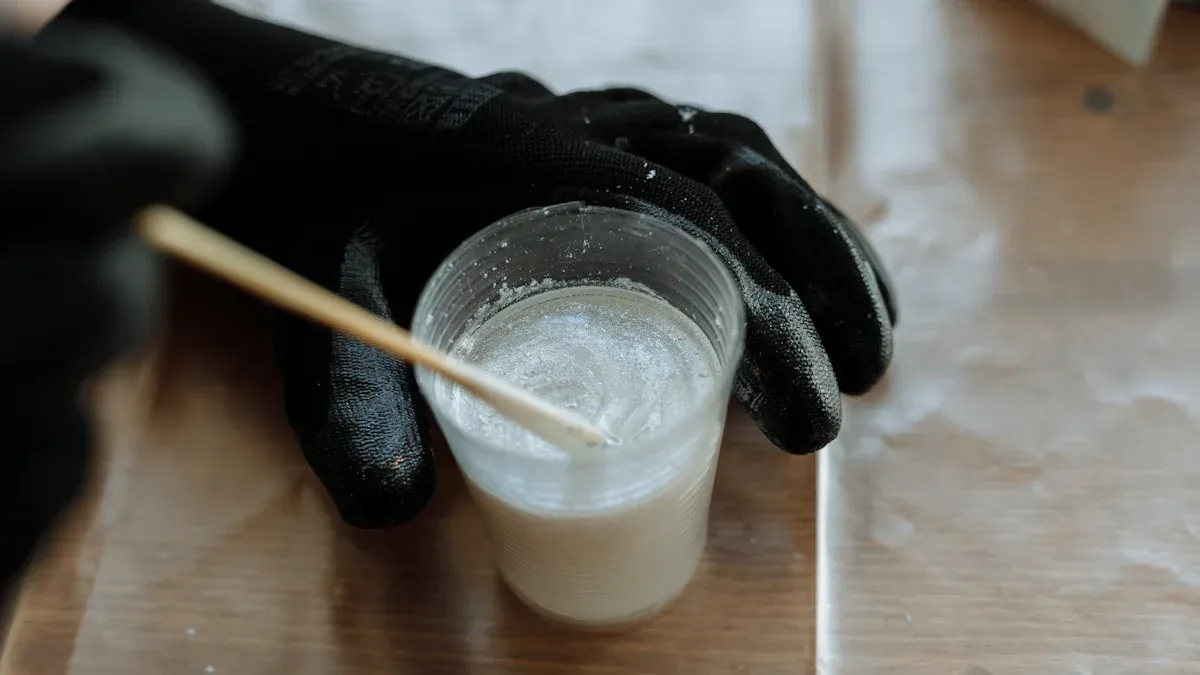
Mixing and Degassing
You need to mix your silicone carefully to get the best results in vacuum casting. Start by measuring Part A and Part B of your silicone. Use a 1:1 ratio by weight. Mix each part for 3 to 4 minutes, scraping the sides and bottom of your container. After that, combine both parts and mix again for another 3 to 4 minutes. Try not to whip the mixture, as this can trap air.
You can pour the mixed silicone into a clean container and mix again for 2 to 3 minutes. This step, called double mixing, helps you get a smooth and even material. Keep your work area between 69°F and 73°F. This temperature range helps the silicone cure well and avoids problems. You have about 30 to 40 minutes to finish mixing and degassing before the silicone starts to set.
Step | Benchmark Details |
|---|---|
Mixing Ratio | 1:1 ratio by weight of Part A to Part B |
Mixing Time (Parts) | 3-4 minutes each, scrape sides and bottom |
Combined Mixing | 3-4 minutes, avoid frothing |
Double Mix (Optional) | Pour into clean container, mix 2-3 minutes |
Vacuum Pressure | 29 inches of mercury (adjust for altitude) |
Degassing Time | 5-15 minutes or until no bubbles appear |
Temperature Range | 69°F-73°F (20°C-23°C) |
Pot Life | 30-40 minutes working time |
After mixing, place the container in a vacuum chamber. Pull a vacuum to 29 inches of mercury. Let the silicone degas for 5 to 15 minutes, or until you see no more bubbles. This step removes trapped air and helps you make bubble-free molds for vacuum casting.
Pouring and Vacuum Use
When you pour the silicone, you want to avoid trapping air. Hold the container about 30 centimeters above the mold frame. Pour the silicone in a thin, steady stream. Aim for a corner or the bottom of the frame, not directly on your model. Move the pouring point slowly so the silicone flows around the model and fills every space.
After pouring, place the filled mold back in the vacuum chamber. Run the vacuum again to pull out any bubbles that formed during pouring. This step is important for vacuum casting and vacuum forming. It helps you get smooth, strong molds with no weak spots.
Tip: Pouring slowly and using the vacuum chamber twice gives you the best chance for a perfect casting.
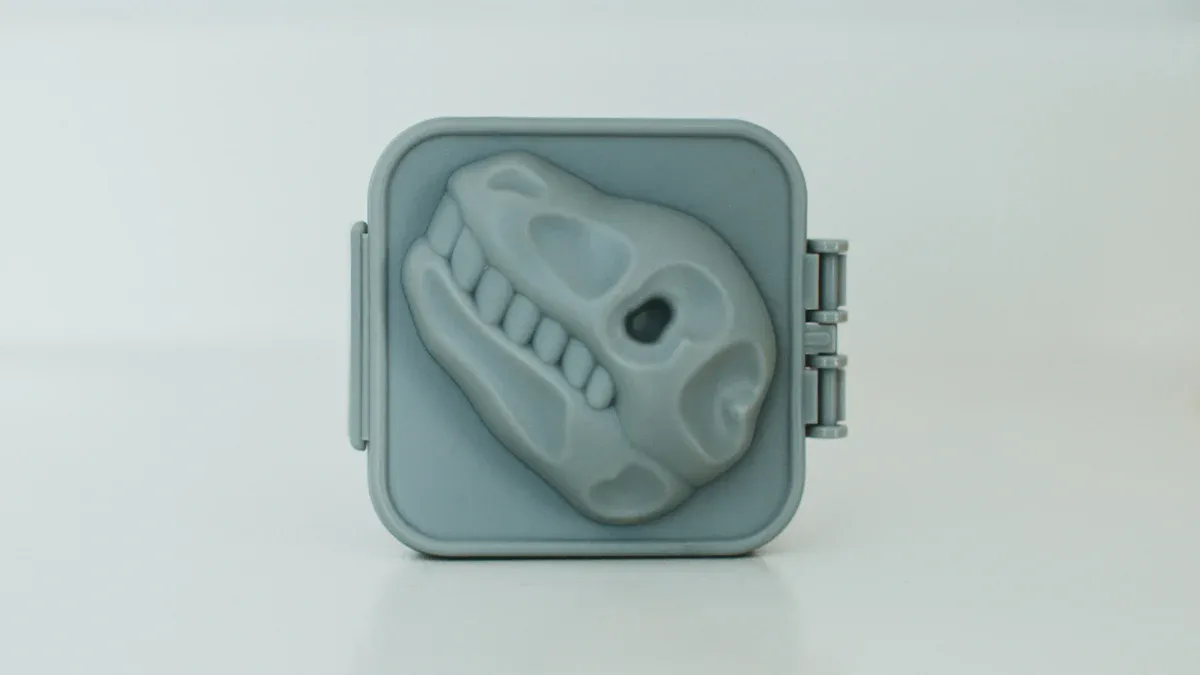
Curing and Demolding
You need to let the silicone cure fully before you remove the mold from the frame. Keep the mold at 20°C to 25°C for 24 to 48 hours. Do not rush this step, even if the surface feels dry. The inside may still be soft.
Follow these steps for safe curing and demolding:
Cure the mold at room temperature for at least 24 hours. If your room is cold, use a heater or a temperature box.
Test a small edge of the mold. It should feel flexible and not sticky.
Remove the mold frame gently. Do not twist or force it.
Start peeling the silicone from the edges. Use your fingers or a blunt tool, like a plastic scraper.
Stretch and flip the edges slowly, especially around tricky spots. If you feel resistance, try peeling from another side.
This careful process keeps your molds strong and your casting results clean. You can use these molds for vacuum casting and vacuum forming many times if you handle them gently.
Mold Finishing Tips
Removing Cast Parts
You should take out your cast parts carefully. This keeps both the part and the mold safe. Start by bending the mold gently at the edges. Use your fingers or a soft plastic tool to lift the part. Do not use sharp things because they can hurt the mold. If the part is stuck, try peeling from another side. You can also use a little compressed air to help. Always go slow and look for places where the part might catch. Being careful helps you get clean parts and lets you use the mold again.
Tip: Spray mold release before you cast. This makes it much easier to take out the part and keeps the mold safe.
Inspecting for Defects
After you take out the part, check it for problems. Look for bubbles, cracks, or marks on the surface. Use a ruler or caliper to see if the part is the right size. Some new tools can check for mistakes very fast and very well. These tools can find tiny errors and help you fix them early.
Metric | Value | Description/Significance |
|---|---|---|
F1-score | 0.94 | High defect detection accuracy, surpassing traditional methods (0.80-0.85) |
Accuracy | 96% | Overall correctness in defect identification |
Mean Absolute Error (MAE) | 0.05 mm | Precision in dimensional measurement |
Root Mean Square Error (RMSE) | 0.07 mm | Dimensional measurement precision |
Data Integrity Score | 0.99 | Reliability and security of inspection data |
Traceability Score | 0.98 | Ability to track and verify inspection records |
Processing Time per Casting | 2.3 seconds | Speed of inspection process |
Throughput | 26 castings/min | Number of castings inspected per minute |
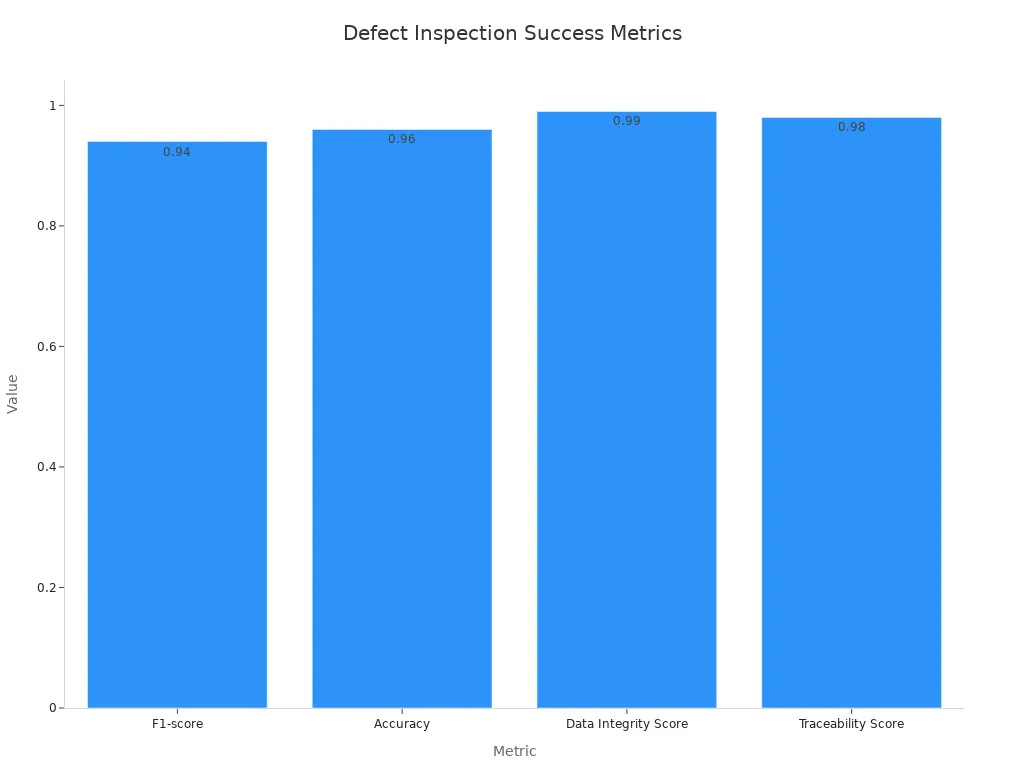
A score of 0.82 shows these tools are easy to use. They help you get good results every time.
Reusing Molds
You can use your mold many times if you treat it well. Silicone molds are strong and bend easily. They do not break down with chemicals. They keep small details and shape even after lots of uses. This means you can make many parts that all look the same. Using molds again saves money and cuts down on waste.
Aspect | Evidence Summary |
|---|---|
Mold Material | Silicone molds are tough, bendy, and do not get ruined by chemicals or heat changes. |
Reuse Capability | One silicone mold can make many copies without losing detail or breaking, so you can use it again. |
Impact on Casting Quality | Silicone molds keep small details and size; vacuum casting removes bubbles for smooth parts. |
Cost Impact | Silicone molds cost less than metal molds, so you spend less money. |
Production Flexibility | Vacuum casting lets you make a few parts at a time, so you do not waste material and can work fast. |
Comparison to Other Methods | Investment casting costs more and takes longer; silicone molds save money and time because you can use them again. |
Environmental Benefit | Using molds again means less waste and fits with being eco-friendly. |
Note: Clean your mold after every use. Keep it in a cool, dry place so it stays good for your next project.
You can get great vacuum casting results if you follow each step carefully. Make sure you are accurate and check your work often. This helps lower mistakes by about 30%. Using simulation and modeling lets you guess what will happen and use less material. Studies show that using advanced CAD and additive manufacturing saves money and energy over time. Vacuum casting is best for making small amounts. It gives you parts that look and feel like real products.
Key Control Factor Description | Mean (M) | Standard Deviation (SD) | Significance Level (p) |
|---|---|---|---|
Extruder main screw output pressure control | ≥4.2 | ≤0.5 | <0.01 |
Polymer temperature control | ≥4.2 | ≤0.5 | <0.01 |
T-die lips adjustment based on sheet thickness | ≥4.2 | ≤0.5 | <0.01 |
Cooling rolls pressing stability | ≥4.2 | ≤0.5 | <0.01 |
Cooling rolls temperature stability | ≥4.2 | ≤0.5 | <0.01 |

Keep trying new things and make your process better. If you make your molds carefully and make smart choices, you will get better results and save money in the long run.
FAQ
What is the best material for making a 3D mold for vacuum casting?
You should use silicone for most molds. Silicone gives you flexibility and captures fine details. It also resists heat and chemicals. For short runs, you can use 3D-printed plastics like PLA or ABS.
How do you avoid bubbles in your silicone mold?
Mix your silicone slowly to keep air out. Use a vacuum chamber to remove bubbles after mixing. Pour the silicone in a thin stream from one corner. This helps air escape and gives you a smooth mold.
Can you reuse a silicone mold for vacuum casting?
Yes, you can reuse silicone molds many times. Clean the mold after each use. Store it in a cool, dry place. Most silicone molds last for 15 to 30 castings if you handle them with care.
What is a draft angle, and why do you need it?
A draft angle is a slight slope on the sides of your model. You need it to help you remove the part from the mold. Without a draft angle, the part may stick or break during demolding.
Do you need special equipment for vacuum casting at home?
You need a vacuum chamber and a pump. You also need mixing tools and safety gear. Some people use pressure pots for better results. You can find many kits online for beginners.