LKprototype
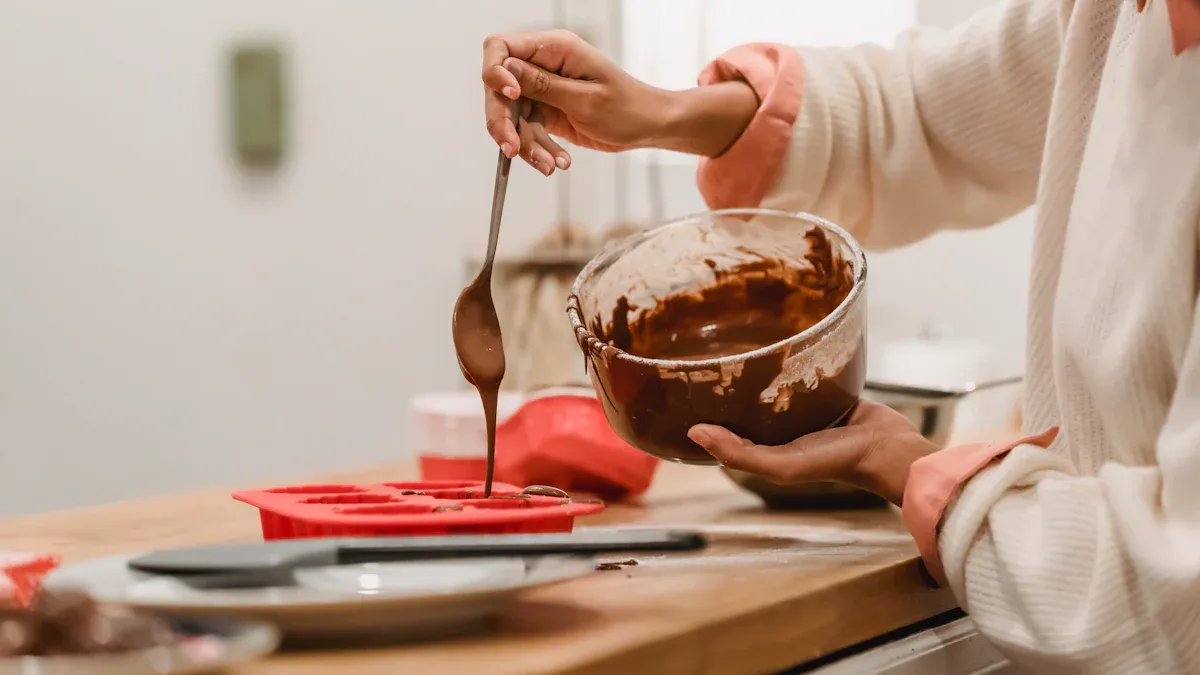
Silicone cake moulds have revolutionised baking with their flexibility and durability. These moulds are non-stick, ensuring cakes release effortlessly without crumbling. They have become increasingly popular due to their practicality, especially as home baking continues to grow in popularity. Whether you are a novice or a seasoned baker, silicone cake moulds make baking simple and flawless.
Key Takeaways
Silicone moulds do not stick, so cakes come out easily. You don’t need much grease, making baking healthier with less fat.
Fill silicone moulds about two-thirds full to stop spills. This helps cakes bake evenly. Place them on a baking tray to keep them steady.
Wash silicone moulds with warm, soapy water. Don’t use rough tools to protect the non-stick surface. Taking care of them makes them last longer.
Why Use Silicone Cake Moulds?
Non-stick surface for easy cake removal
Silicone cake moulds are loved for their non-stick surface. Cakes come out easily without sticking or breaking. Unlike metal pans, silicone ones need less greasing or parchment paper. This makes baking simpler and healthier with less added fat.
Tip: Grease detailed moulds lightly for perfect design release.
Silicone moulds are also safe and non-toxic. They don’t leak harmful chemicals. Their non-stick feature means less mess, making cleaning quick and easy.
Great for creative baking ideas
Silicone moulds are very versatile and come in many shapes. You can make fun and unique desserts at home. From small cakes to themed treats, they help you bake like a pro.
Feature | Description |
|---|---|
Unique Shapes | Helps create fun and creative designs. |
Keeps baked goods in perfect shape. | |
Heat and Cold Safe | Works in ovens and freezers for all recipes. |
Long-lasting | Reusable and better than single-use pans. |
For example, you can use silicone moulds for mini cakes with fine details. Their flexibility keeps the cakes in shape when removed, perfect for special events.
Strong and heat-safe for lasting use
Silicone pans are durable and oven-safe. Good-quality moulds, like platinum silicone ones, handle heat up to 230°C (446°F). They don’t warp or break under high heat.
Silicone moulds work in both ovens and freezers.
They last longer than regular bakeware.
Premium platinum silicone resists heat up to 600°F, great for professionals.
A 2022 study showed silicone is stable, with little chemical change at high heat. This proves silicone pans are safe and reliable for baking.
Preparing to Bake Cakes in Silicone Moulds
Cleaning and drying the mould before use
Before baking, clean and dry silicone moulds well. This removes dust, residue, or leftover oils from production. Wash the mould with warm water and mild soap. Dry it completely with a clean cloth. For first-time use, this ensures the mould is ready for baking.
Tip: Dry moulds fully before storing them. Wet moulds can grow mould, which ruins bakeware quality.
Keeping silicone moulds clean and dry helps you bake successfully every time.
Greasing tips for intricate designs
Silicone moulds are non-stick, but greasing helps with detailed designs. Use a little carnauba wax or Johnson's Paste Wax. These make the surface smooth, so cakes come out easily without breaking.
Spread the wax evenly with a soft cloth or brush. This improves the mould’s non-stick feature and protects its surface. Avoid PVA mould release; carnauba wax works better.
Pro Tip: Add carnauba wax after a few uses to keep the mould smooth and prevent sticking.
Follow these greasing tips to get perfect results with detailed moulds.
Using a baking sheet for stability
Silicone moulds bend easily, which can cause spills while baking. To fix this, place the mould on a sturdy baking sheet before adding batter. This keeps the mould steady and ensures even baking. Some moulds come with racks or sleds for extra support.
A baking sheet also makes moving the mould in and out of the oven easier. This prevents batter spills and uneven cakes.
Quick Tip: Check the baking sheet is level before baking to avoid uneven results.
Using a baking sheet gives stability and helps you bake perfect cakes every time.
Baking Techniques for Perfect Results
Filling the mould to the right level
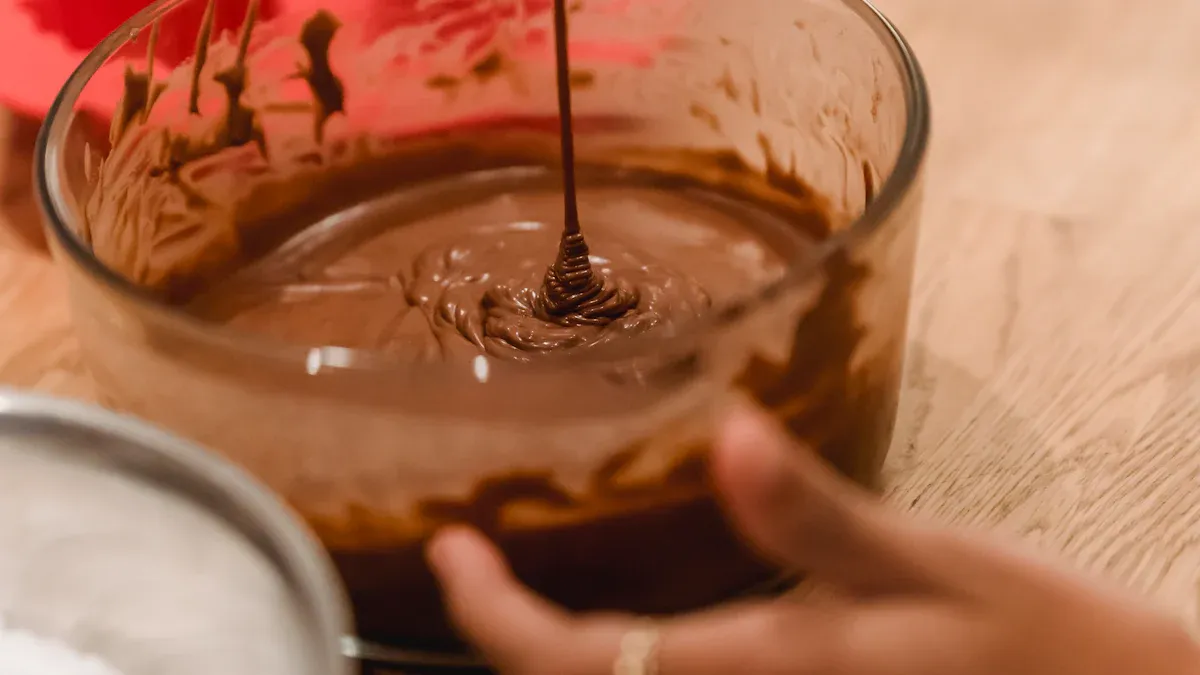
When using silicone baking pans, filling them correctly is very important. Overfilling can make batter spill over the edges. Underfilling might cause uneven baking. To get the best results, fill the mould about two-thirds full. This gives the batter space to rise without overflowing.
For detailed designs, spread the batter evenly with care. Use a spoon or piping bag for small sections. This avoids air pockets and keeps the design neat. If making mini cakes, this method helps keep their shape and details perfect.
Tip: Gently tap the mould on the counter after filling. This removes trapped air bubbles and improves cake texture.
Adjusting oven temperature and baking time
Silicone baking pans need slight changes in oven temperature and time. Silicone heats up slower than metal pans. Cakes may take longer to bake evenly in silicone moulds.
Here are some tips for baking with silicone moulds:
Check the maximum heat your mould can handle. Most are safe up to 230°C (440°F).
For larger moulds, like Bundt pans, bake a bit longer to cook the centre.
Lower the oven temperature by 5–10°C if cakes brown too fast on the outside.
Watch your cakes while baking. Adjust the time based on the recipe and mould size. These small changes help you bake perfect cakes.
Checking doneness with a skewer or toothpick
Knowing when your cake is done is very important. Use a skewer, toothpick, or cake tester to check. Push it into the middle of the cake. If it comes out clean or with tiny crumbs, the cake is ready. If wet batter sticks, bake it longer.
Method | Description |
|---|---|
Cake Tester | Use a toothpick, skewer, or cake tester to check the cake. |
Doneness Check | It should come out clean or with a few crumbs. |
Additional Note | Wet batter means the cake needs more time. Always follow the recipe for guidance. |
For mini cakes or detailed designs, test in several spots to ensure even baking. This step is key for perfect results, especially with creative silicone moulds.
Pro Tip: Don’t open the oven door too often when checking. Sudden temperature drops can make cakes sink.
Cooling and Removing Cakes from Silicone Moulds
Let cakes cool fully before removing
Letting cakes cool is very important for a perfect result. After taking the silicone mould out of the oven, put it on a flat surface that can handle heat. Wait until the cake is completely cool before removing it. This stops the cake from breaking or falling apart. Silicone stays hot longer than metal pans, so give it extra time to cool. If you rush, the cake might lose its shape or ruin detailed designs.
Tip: To cool faster, place the mould on a rack. Air moving underneath helps speed up cooling.
Carefully pull back the mould
Taking the cake out of the mould needs gentle handling. Start by loosening the edges with your fingers. Slowly pull the silicone mould away from the cake, bit by bit. Don’t rush, as pulling too fast can damage the cake or change its shape. Silicone moulds are flexible, making removal easier, but being patient keeps the cake looking great.
Quick Tip: If the cake sticks, freeze the mould for 10–15 minutes. This makes the cake firmer and easier to remove without harm.
Handle detailed designs with care
To protect fancy designs, use the right tools and methods. Follow these steps to keep your cake looking amazing:
Pick platinum silicone moulds. They are safe for food and smooth for designs.
Make sure the mould has no air bubbles. Bubbles can ruin the design and affect the cake’s look.
Use strong materials like plaster or resin for the master mould. Avoid clay, as it can mess up the curing process.
By using these tips, you can safely bake and remove cakes with detailed patterns that look as good as they taste.
Cleaning and Maintaining Silicone Baking Moulds
Washing with warm, soapy water
To keep silicone baking pans lasting long, clean them well. Wash with warm, soapy water and a soft sponge to remove grease. For tough stains, soak the moulds in hot water with dish soap for 30 minutes. This softens stuck-on dirt, making it easier to clean. If stains remain, mix baking soda with water to make a paste. Gently rub this paste on the stained areas.
Tip: Take your time when cleaning. Rushing can harm the mould’s surface.
Cleaning regularly stops residue from building up. This keeps the non-stick feature working and your bakeware in great shape.
Avoiding abrasive cleaning tools
Silicone baking moulds are strong but need gentle care. Don’t use rough scrubbers or strong chemicals. These can scratch the surface and ruin the non-stick layer. Use soft sponges or microfiber cloths with mild soap instead. These clean well without causing damage.
Harsh tools can wear out silicone, causing cracks or bending. Gentle cleaning keeps the moulds safe and food-friendly for longer.
Quick Tip: Check your sponges often. Replace old ones to avoid scratching the moulds.
Proper storage to prevent warping
Store silicone baking moulds properly to keep their shape. Put them in a cool, dry place, away from sunlight or heat. Don’t stack them, as this can cause dents or bending. Lay them flat or keep them in an airtight box to stop dust and drying.
Sudden temperature changes can harm silicone. Let moulds cool fully before storing them. Good storage helps your bakeware last longer and stay ready for baking.
Note: Never put hot silicone moulds on cold surfaces. This can crack or damage them.
Common Mistakes to Avoid When Using Silicone Cake Moulds
Overfilling the mould
Pouring too much batter into silicone pans can cause problems. The batter spills over the edges as it rises. This makes a mess and ruins the cake's shape. To stop this, only fill the mould two-thirds full. This gives the batter space to rise without spilling. For detailed designs, use a piping bag to add batter carefully. This keeps your cakes neat and well-shaped.
Tip: Tap the mould lightly on the counter after filling. This removes air bubbles and spreads the batter evenly.
Skipping greasing for detailed designs
Silicone pans are non-stick, but greasing helps with tricky designs. Fine patterns can stick, breaking your cakes when removed. Add a thin layer of butter or oil to the mould. Use a pastry brush to spread it evenly, especially in corners. This simple step keeps your cakes looking great.
Quick Tip: Sprinkle flour or cocoa powder over the grease. This adds extra protection against sticking.
Using sharp tools that can damage the mould
Sharp tools can harm silicone pans and shorten their life. Knives can scratch or puncture the surface, ruining the non-stick feature. Damaged pans may affect your cakes. Use silicone or wooden utensils instead. These are gentle and keep the mould safe.
Don’t cut cakes inside the mould.
Avoid using knives to loosen cakes.
Use soft spatulas or your hands to remove cakes carefully.
Handle silicone pans gently to keep them in good condition for longer.
Silicone cake moulds make baking easier and more enjoyable. They are flexible, letting you bake, freeze, or microwave recipes without trouble. These moulds are durable, resist wear, and are simple to clean. Use these tips to get great results and try fun baking ideas with silicone moulds.
FAQ
How can you stop cakes from sticking to silicone moulds?
Rub a little butter or oil on the mould. For fancy patterns, add some flour or cocoa powder to stop sticking.
Can you bake with silicone moulds without a baking tray?
Silicone moulds are soft and can bend. Place them on a baking tray to keep them steady. This avoids spills and helps cakes bake evenly.
Are silicone moulds safe for high heat?
Most silicone moulds can handle heat up to 230°C. Always check the label to know the highest temperature it can take.