Wondering how to make a mold for silicone parts? This guide breaks down the process into simple steps. Learn how to pick the right silicone, gather your tools, design your mold, and go through the mixing, curing, and demolding phases. Get ready to create your own professional-grade silicone molds.
Key Takeaways
Select the appropriate silicone type (tin-cure for beginners and platinum-cure for high durability) based on project needs for successful mold making.
Essential tools, materials, and a well-designed mold box are critical for creating precise and effective silicone molds.
Proper mixing, curing, and maintenance techniques significantly enhance the quality and lifespan of silicone molds.
Choosing the Right Silicone for Your Mold
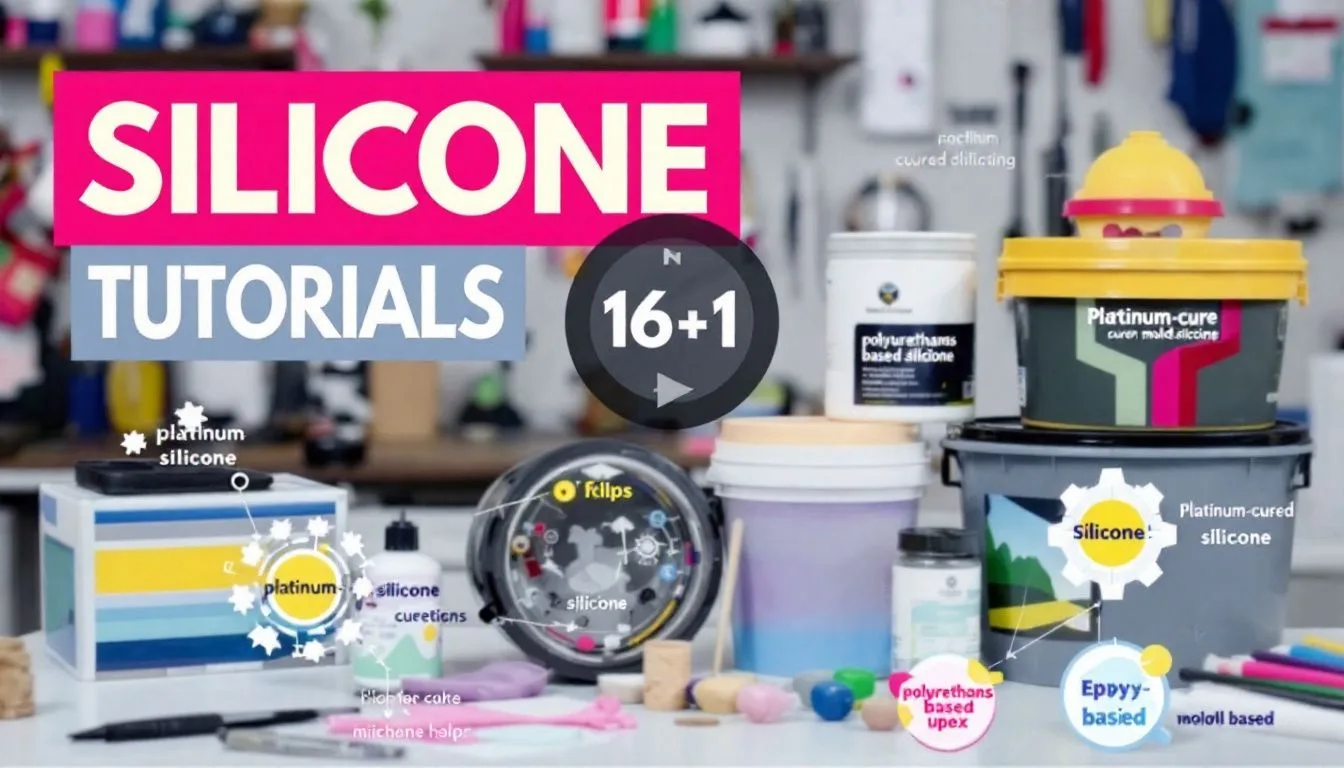
Choosing the appropriate silicone is fundamental to adept mold making. Based on their curing process, silicones are principally divided into two categories: additive (platinum-cure) and condensation (tin-cure). Each variety exhibits distinct characteristics tailored for particular uses.
For novices, tin-based silicones may be more attractive due to their straightforward handling and ability to cure at ambient temperatures with negligible shrinkage. These variants are most suitable for less demanding projects where high heat tolerance or prolonged mold durability isn’t a necessity. For instance, crafting smaller molds that will see occasional use would make tin-based silicone an apt selection.
Conversely, platinum-based silicones excel in creating long-lasting molds with heightened resistance to temperature fluctuations—ideal for rigorous applications. They are excellent when you intend to produce parts from silicone that must endure elevated temperatures or constant manipulation. It’s imperative while utilizing platinum-cured silicones also take into account your project’s demands and conduct preliminary tests using a small quantity of resin on the cured mold for compatibility assurance.
Being knowledgeable about these various types of silicone empowers you with the ability to choose wisely, securing your ambition in fabricating resilient and superior-quality molds as per your venture’s specifications—the first step being selecting an ideal silicone material is key.
Essential Tools and Materials
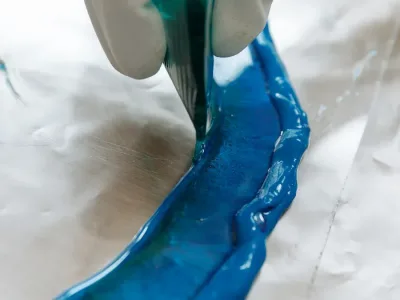
Embarking on the craft of mold making calls for a collection of indispensable tools. To initiate your project correctly, gather a mixing bowl, protective gloves, a cutting knife, and use a caulking gun to apply silicone with precision. These instruments are critical to achieving success in molding endeavors.
Selecting top-tier materials is just as crucial as having the right tools.Please refer to the material guidelines:Making Silicone Casting Parts Molds: Best Materials and Techniques
For crafting silicone mold putty, GE Silicone 1 comes highly recommended due to its proven reliability.
When constructing molds that require resilience and versatility across various uses, white 100% silicone caulking is the material of choice.
Should your projects involve contact with food items or kitchenware, it’s vital to choose high-grade food-grade silicone rubber for both safety and adaptability.
To facilitate seamless separation from casts and maintain integrity during demolding moments consider utilizing substances such as Vaseline (petroleum jelly), beeswax or oils which act as effective mold release agents while working against adhesion issues between the original model and forming material. Integrating support systems like stable frames can solidify structure adding an even quality through out your newly created silicon molds. A range of securing devices such as clamps prevent unwanted movement preserving work-space cleanliness avoiding unintended spillage thus promoting proficiency throughout all stages of the creation process when dealing with these impressionable mediums.
Designing Your Mold

Crafting your mold with meticulous design is essential for the integrity and efficiency of the molding procedure. In constructing molds out of silicone, it’s pivotal to incorporate features that secure accurate alignment of encased parts, which guarantees a precise fit and finish for your silicone items. It is vital to have proper clamping mechanisms, minimal and small vent holes, as well as creating a reservoir for excess silicone within the design.
Establishing a reserve area inside the mold cavity proves advantageous since it can hold additional silicone that might seep into the mold during leaks. This aspect assures maintenance of detail fidelity in your mold while capturing all nuances from the original model.
Utilizing Stereolithography (SLA) stands out as an efficient technique in producing molds because its capacity enables crafting smooth and detailed surfaces especially suited for intricate designs.
3D printed molds present opportunities to integrate complicated geometries and undercuts that traditional CNC techniques may not achieve cost-effectively. Choosing materials thoughtfully—for instance opting for clear resin—can enhance visibility throughout injection molding stages, illuminating any potential complications.
The practice often calls for iterative development. Testing full workflow simulations frequently uncovers necessary tweaks aimed at improving element alignment or optimizing ventilation paths. Incorporating registration keys is fundamental within this realm—it solidifies precise junctions between two halves once you complete making your mold.
Constructing the Mold Box
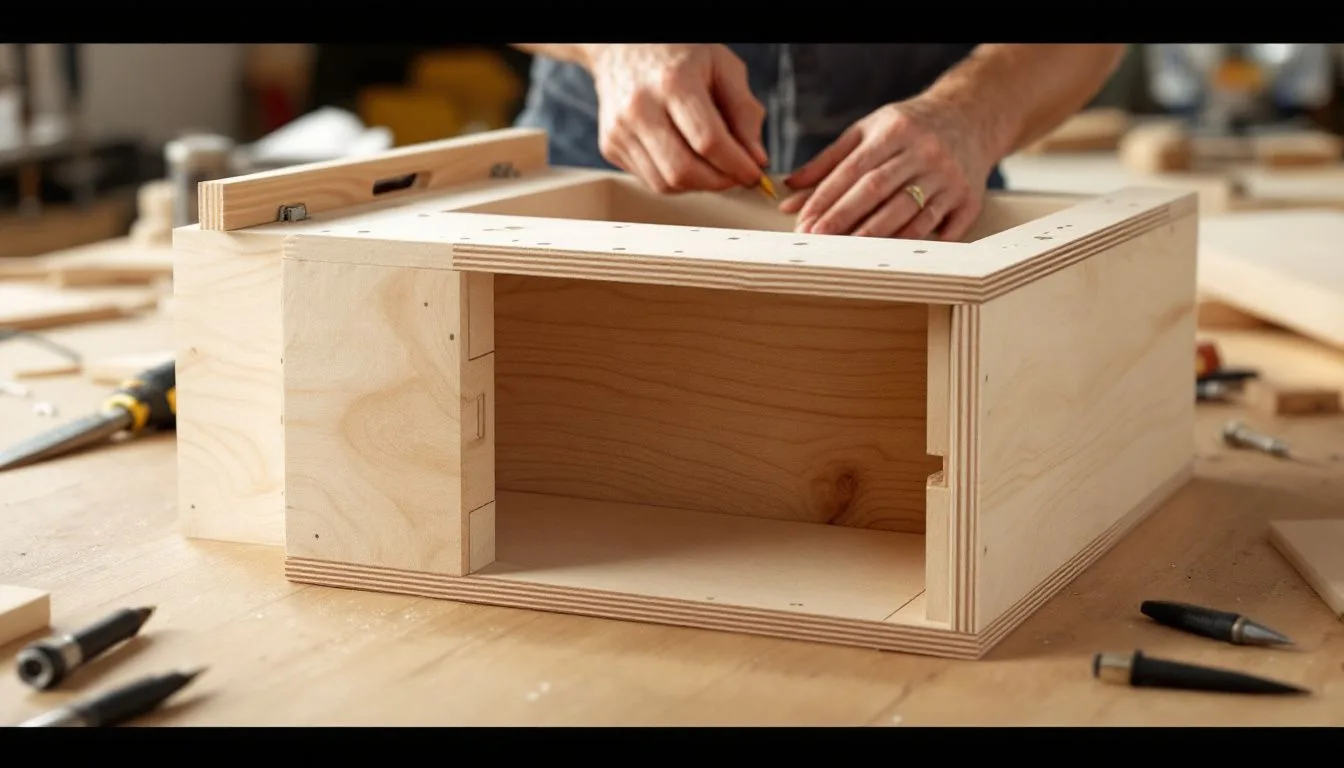
The process of creating a mold box is vital to maintaining the precision and stability of your silicone mold. Fashioning a bespoke mold box from plexiglass can lead to its prolonged use as long as it’s expertly sealed at the joints to prevent any leaking of silicone. Alternatively, using rigid plastic containers can also provide strong, sealable mold boxes which permit an uncomplicated release after the silicone has cured.
Should one choose cardboard boxes for constructing their mold boxes, applying packing tape on the inner surfaces will stop absorption by silicone and make it easier to take out once set. Empty milk cartons with their inherent plastic lining offer a leakproof solution while ensuring seamless removal post-curing due to this protective interior layer.
To capture intricate details properly and maintain adequate structural strength in your rubber molds, ensure that there’s approximately 1/2 inch or 3/4 inch clearance around your object inside the rubber molding space. Rubber bands are highly recommended for securely binding together both sections of the mold during its critical curing phase.
Preparing the Model
The process of mold making begins with the preparation of the model, which entails cleaning it and repairing any flaws using epoxy. Ensuring that the box for creating the mold is appropriately sized is vital to capture all details from the original object accurately.
Before starting to mix your molding paste, a release agent should be applied to your model. This step prevents adherence between the mold material and your original object while it goes through its curing phase. The application of a proper release agent serves as an essential part in avoiding any unwanted bonding during this stage.
It’s recommended to seal delicate models and apply a protective layer such as petroleum jelly before commencing with molding procedures. Lightly spraying both interior surfaces of your containment form—as well as over surface features—provides ease when separating them post-curing period thanks to enhanced slip offered by said releasing agents.
Mixing and Pouring the Silicone
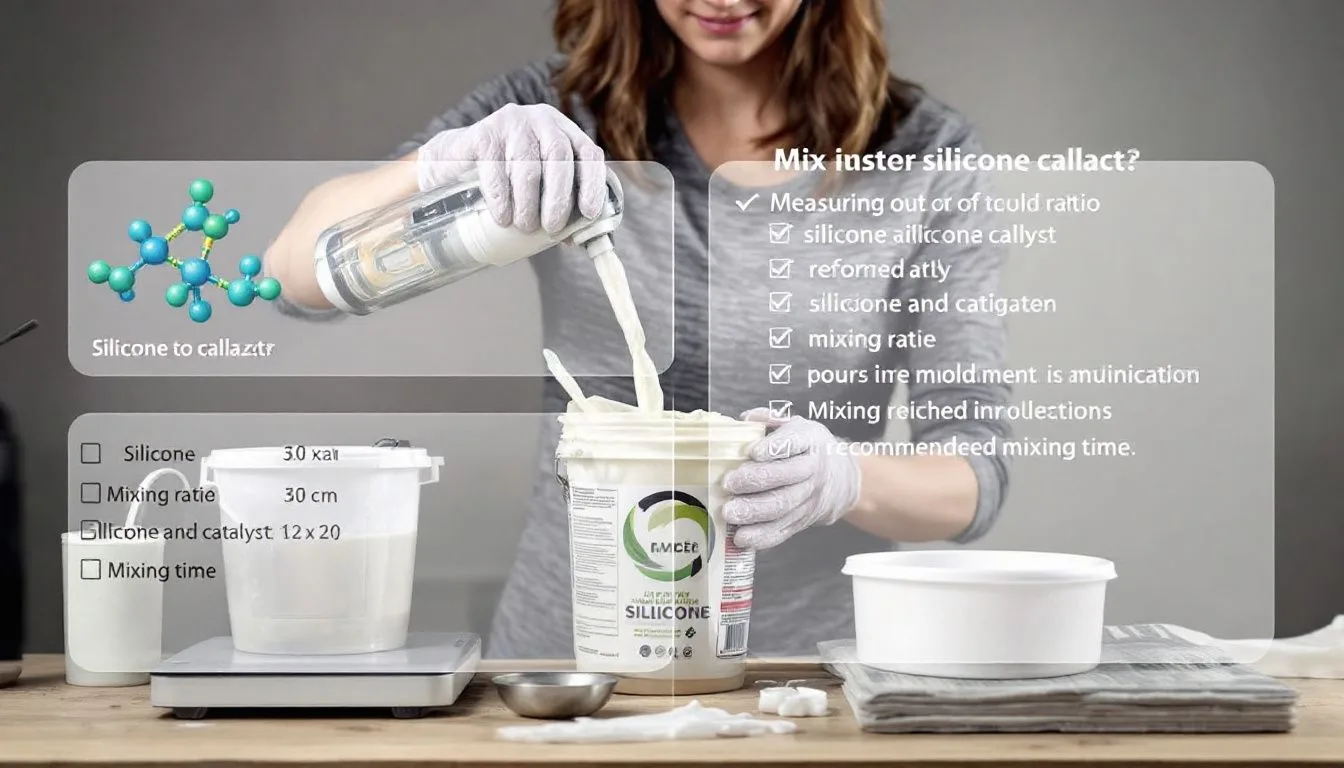
The process of blending and dispensing silicone demands meticulous attention to detail and precision. Utilizing precise mixing tools is crucial for obtaining exact measurements and achieving complete mixture integration of the silicone rubber material. When handling silicone rubber, it’s imperative to work in a well-ventilated area with appropriate protective gear such as gloves and eye protection.
For sizeable quantities of silicone, incorporating a mechanical mixer into the procedure can aid in homogenization but should be supplemented by manual stirring to guarantee comprehensive admixture. To enhance blend consistency, one effective technique is the ‘Double Mix-and-Pour’ approach, which entails an initial mix followed by transfer to a secondary vessel for additional mixing before use.
Ensure all residue on container walls or bases is meticulously scraped off during mixing so that no portions remain unmixed within your preparation. Carefully positioned venting channels are essential when infusing molds with silicone since they significantly reduce the risk of entrapping air bubbles throughout this critical phase in processing.
Curing Process
The process of curing is essential in the craft of mold making, with various silicone types having distinct cure times. As an instance, Mold Max® 25 typically completes its curing cycle within a full day whereas TASK® 14 achieves this state in around 45 minutes. When it comes to silicone caulking, you can expect it to take between two and four hours to fully cure.
Ensuring thorough mixing while keeping temperatures optimal are vital for successful completion of the curing phase. It’s recommended that one mixes Mold Max® 25 for three minutes before pouring. Following this step by transferring it into another container and stirring for an additional three-minute duration ensures uniformity. In contrast, TASK® 14 requires only a concise mix lasting just one and a half minutes prior to being poured out for use. Mold Max® 25 provides users with up to sixty minutes of working time, allowing ample opportunity for proper handling before beginning its curing process.
To enhance the quality outcome from your mixture when creating molds, utilizing both vacuum chamber equipment alongside pumps serves as an effective method to eliminate unwelcome air bubbles from your silicone blend—resulting in smoother finishes free from defects on your completed mold—and thereby capturing every intricate detail found on the original piece intended for duplication.
Demolding and Finishing
Demolding and finishing are the final steps in the mold-making process. Demolding should be done gently to prevent tearing or damaging the silicone mold. To break the seal gently, use a flathead screwdriver or a flat tool at the pry point. Carefully twist the tool to accomplish this.
Excess vent and pour spout flashing should be removed carefully with a utility knife after separating the mold halves. After removing the silicone part from the mold, trim vent and gate features and remove bumps with wet fine grit sandpaper.
For complex molds, mold release spray is beneficial to facilitate easier demolding without damage.
Troubleshooting Common Issues
Mastering the art of mold making requires adeptness in troubleshooting prevalent issues. Utilizing a vacuum chamber and pump is vital for extracting air bubbles from silicone blends to guarantee a flawless finish. Enhancing mold venting and amplifying the applied vacuum during injection can minimize the occurrence of trapped air bubbles within the final product.
To combat mold tearing, it’s crucial to employ correct ejection methods and appropriate use of release agents. Paying careful attention to adequate mixing procedures and ensuring optimal curing conditions are key steps in preventing incomplete curing problems.
Adhering to these problem-solving strategies will facilitate superior quality outcomes while averting typical complications encountered during the process of creating molds.
Using Your Silicone Mold
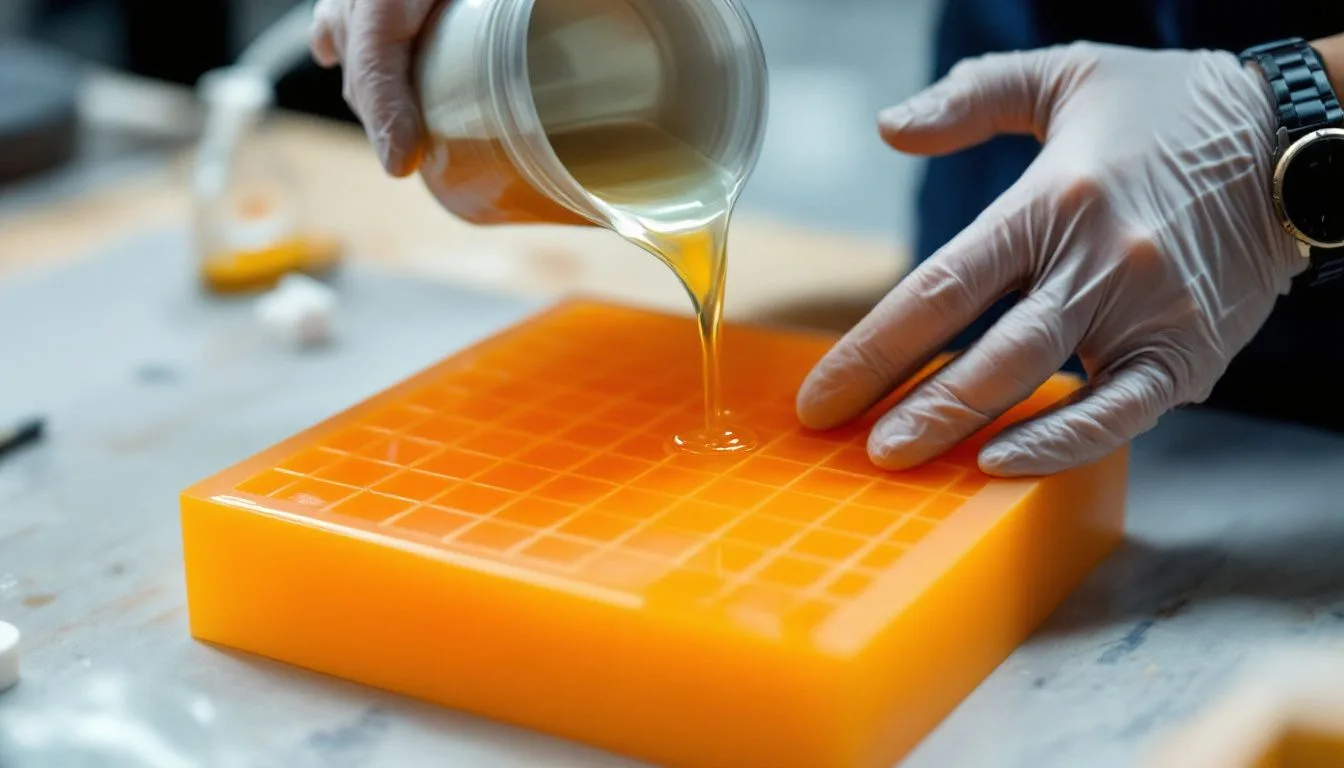
To make the most of your silicone mold, certain essential techniques must be employed. Utilizing a release agent that is specifically designed for use with silicone can ensure that the mold does not stick to the original piece. It’s important to apply this mold release adequately on both the surface of the mold and any casting materials used to guarantee seamless detachment once parts are complete.
Silicone molds boast an impressive temperature tolerance spanning from -65° up to 400° Celsius, accommodating a wide range of casting materials. Fine tuning fill speed and applying precise pressure during injection may alleviate complications associated with incomplete filling or underfilled components in parts.
Due in part to their affordability relative to conventional manufacturing processes, silicone molds excel at fabricating small-batch runs efficiently—providing cost savings on production where low volumes are required.
Maintaining and Storing Silicone Molds
Maintaining and storing silicone molds properly can significantly extend their lifespan. Cleaning silicone molds with mild soap and water can prolong their lifespan, allowing for multiple uses. Clean silicone molds with warm soapy water; avoid using harsh solvents.
It’s crucial to clean molds right after use to prevent residue buildup. To ensure longevity, store silicone molds in a cool, dry environment away from sunlight. Molds should be stored upright and in a single layer to avoid damage.
Wrap molds in plastic to keep them dust-free and ensure they are completely dry before storage.
Summary
To encapsulate the crucial aspects of this manual, we’ve navigated through all aspects from selecting the appropriate silicone to upkeep and storage of your molds. Perfecting silicone mold creation opens a world of opportunities, enabling you to effortlessly produce intricate and robust components. Adhere to the guidelines presented here, and approach your mold-making ventures with confidence.
In summary, molds crafted from silicone are exceedingly flexible and beneficial instruments for a wide array of uses. Whether you’re an amateur or seasoned professional, these tools empower you with precision in creating consistent molds. Assemble your materials and employ these instructions as you delve into crafting your unique silicone molds today.
Frequently Asked Questions
What is the best type of silicone for beginners?
Tin-based silicones are the best option for beginners, as they are easier to handle, cure at room temperature, and exhibit minimal shrinkage.
How can I prevent air bubbles in my silicone mold?
To prevent air bubbles in your silicone mold, use a vacuum chamber and pump to eliminate them from the silicone mixture before pouring.
This will help achieve a smooth, flawless finish.
What are the essential tools needed for mold making?
The essential tools for mold making include a bowl, gloves, a knife, and a caulking gun, alongside high-quality materials such as food-grade silicone rubber and mold release agents.
Having these tools will ensure a successful mold-making process.
How should I store my silicone molds to prolong their lifespan?
To prolong the lifespan of your silicone molds, store them in a cool, dry place away from sunlight, and wrap them in plastic to keep them dust-free.
This simple approach will help maintain their quality for longer.
What are the benefits of using silicone molds for low-volume production?
Silicone molds are advantageous for low-volume production because they offer a cost-effective solution while also being able to withstand diverse temperature conditions. This quality increases their flexibility in working with various casting materials.
Their suitability for specialized projects is established, making silicone molds a preferred option.
 LKprototype

