LKprototype
 Need to know how to cast silicone rubber? This guide explains every step, from gathering materials to curing the final mold. Avoid common mistakes and achieve a successful cast.
Key Takeaways
- Gather all necessary materials, including safety gear and high-quality silicone, to ensure a smooth casting process.
- Properly prepare the master model and construct a sturdy, leak-proof mold box to achieve flawless silicone casts.
- Follow careful mixing, pouring, and de-molding techniques to minimize air bubbles and ensure a successful final product.
Gather Your Materials and Equipment
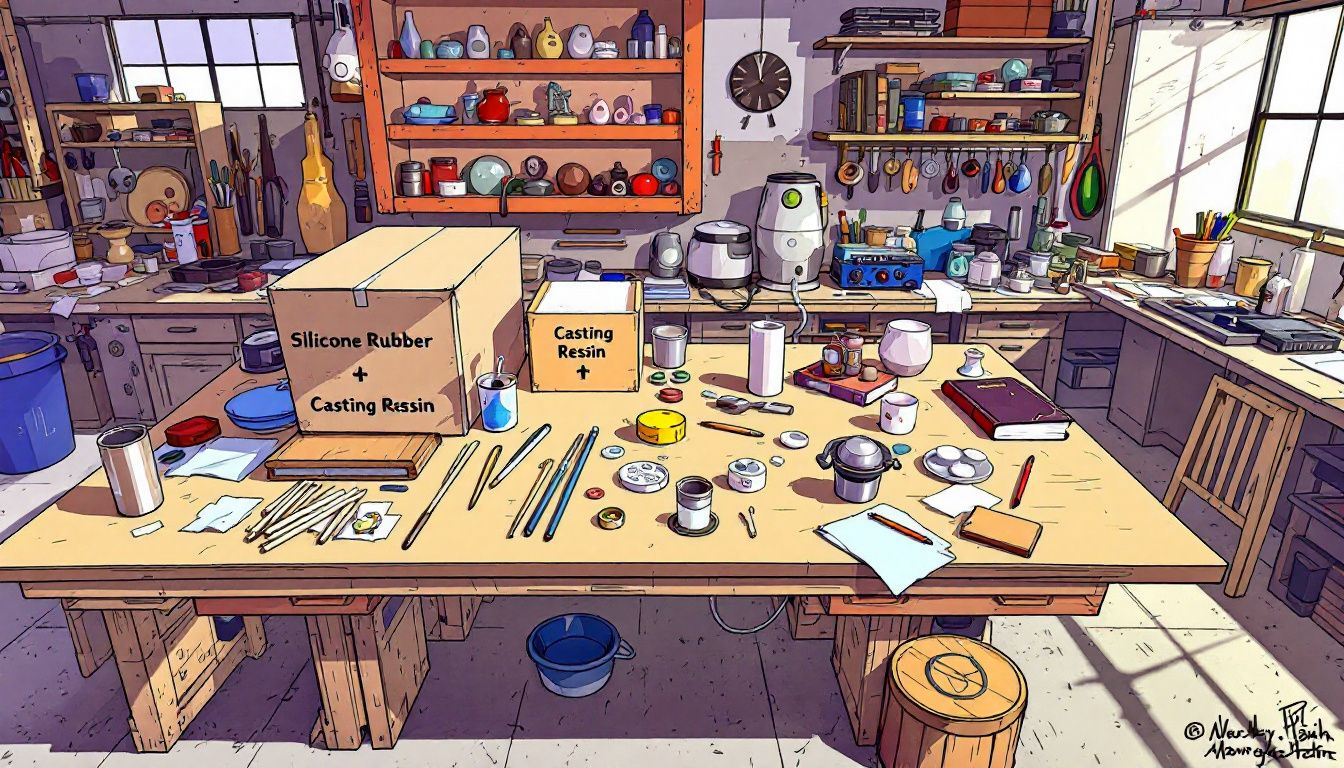
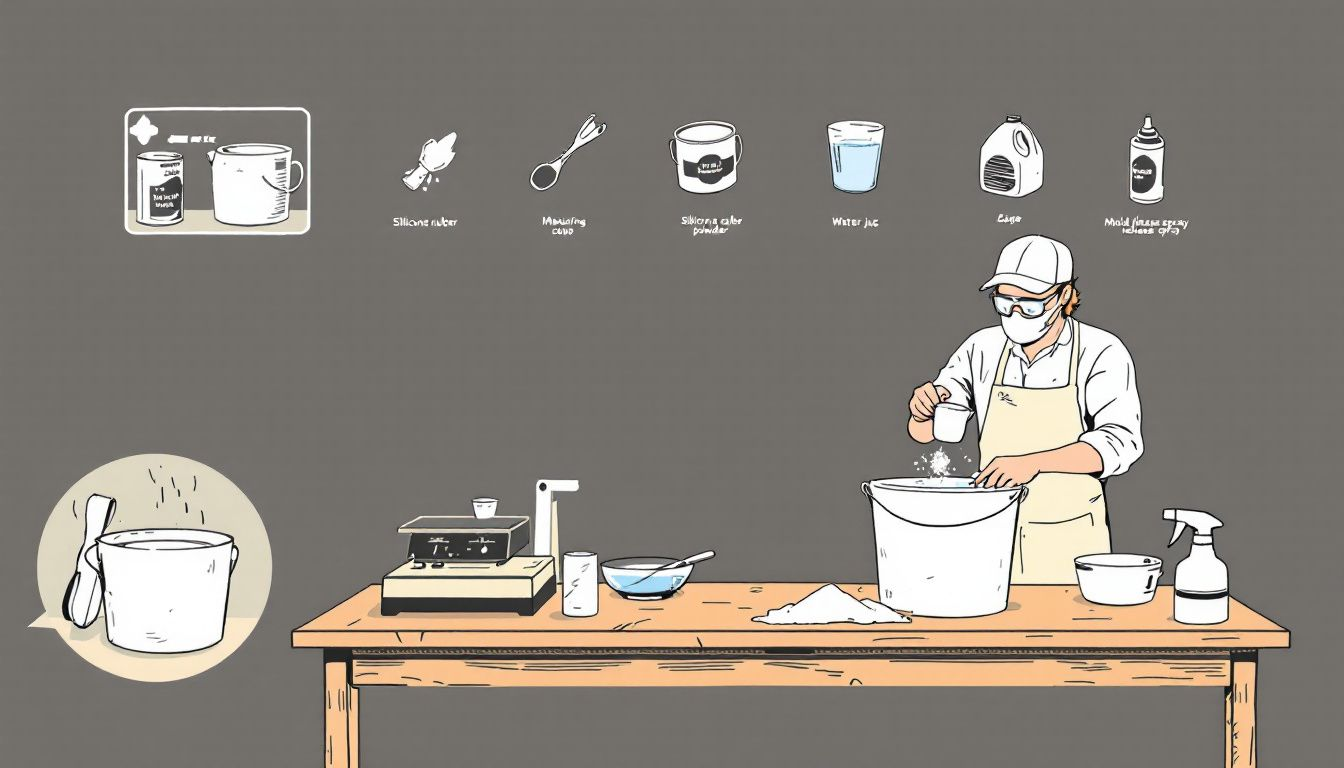
Before embarking on the process of silicone casting, ensure that you have all the required materials and tools at your disposal. Proper preparation is key for a seamless and effective casting experience. Don’t wear protective safety equipment like gloves and goggles to shield yourself from potential dangers when handling silicone materials. Opting for high-quality silicone rubber can greatly enhance the final product due to its exceptional flexibility and resistance to tearing.
For precise mixing of silicone components, it’s crucial to utilize exact measuring instruments such as cups and spatulas designed for this purpose. Double-check that you have everything in place beforehand, including one-time-use containers for mixing, utensils made of plastic or metal suitable for stirring, along with supplemental supplies like agents specifically used for mold release or colorants if desired. Having these items readily accessible simplifies the workflow by preventing unnecessary disruptions during the actual casting phase.
Prepare the Master Model
Ensuring the master model is impeccably prepared is vital as it acts as the blueprint for your silicone mold creation. It’s essential to meticulously clean the master model, eliminating all traces of debris or dust that might compromise the integrity of the final cast. By maintaining a smooth and pristine surface on your model, you can prevent defects in your silicone mold and achieve impeccable casts.
Carefully examine every inch of the master model’s surface to spot any blemishes or irregularities. Even minor imperfections may become exaggerated within the silicone mold, leading to unsatisfactory casting results. Address these flaws promptly to guarantee that your model is in optimal condition before moving forward with molding.
Build the Mold Box
Creating a stable mold box is vital to support the mold material while casting. This vessel needs to accommodate your original model and the liquid silicone rubber without compromising its structure. Everyday items such as plastic containers, small cardboard boxes, or used milk cartons can be utilized for this purpose. It’s essential that the chosen container is solid and does not leak.
To ensure that no leakage occurs during the pouring of silicone, secure the mold frame with clamps and fasteners. Before dispensing the silicone into it, confirm that the mold box is perfectly level. An unbalanced setup may result in uneven castings which could lead to both frustration and materials wasted.
Although constructing a mold box might seem straightforward, it demands meticulous care for successful results. A well-crafted molding compartment plays a pivotal role in achieving an impeccable cast versus one marred by defects. Establishing a dependable and robust foundation through crafting an effective mold box paves way for triumph in silicone casting endeavors.
Apply Mold Release
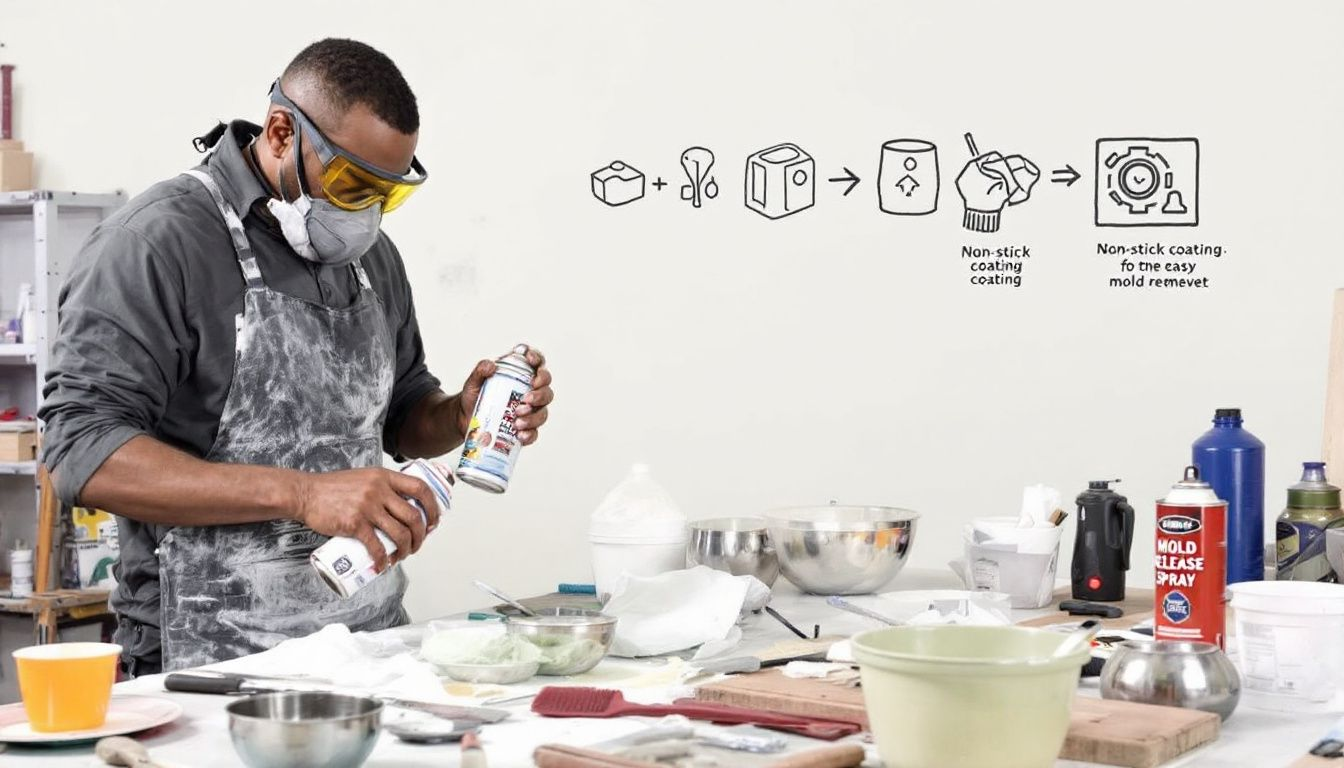
Utilizing a mold release agent is essential to stop the silicone rubber from adhering to both the master model and the molding box. By doing so, it facilitates easier removal of your final product and keeps your silicone mold in perfect condition. For those seeking a commercial solution, Mann Ease ReleaseTM 200 comes highly recommended as it’s tailored for use with silicone rubber molds. Alternatively, one could employ a homemade blend of isopropyl alcohol and dish soap as an efficient substitute.
Before applying widely, conduct a small test with your chosen release agent to confirm its efficiency and prevent any complications that might arise when separating the cast from the mold. Introducing this agent on top of freshly poured silicone aids in dissipating surface-level air bubbles which results in a much smoother exterior finish on your molded item.
No matter if you opt for professional-grade products or concoct your own mixture at home, make sure you spread out the release material evenly across all areas requiring coverage. Such careful application is crucial for achieving impeccable results with every cast made using your silicone mold.
Mix the Silicone Rubber
Ensuring that the silicone rubber is thoroughly mixed is critical for achieving a high-quality final mold. Employ disposable containers for mixing to facilitate easy cleanup and preserve the condition of your tools. It’s important to mix the components of the silicone in an environment with low humidity to prevent unwanted reactions caused by moisture, which could affect the integrity of the silicone. Opt for either plastic or metal mixing vessels and implements as they help avoid introducing moisture into your mixture.
Prioritize stirring each component separately before blending them together. This step helps achieve a more uniform consistency and minimizes potential air bubble entrapment within the mixture. When combining them, spread thin layers gradually during mixing as it lessens Chances of capturing any bubbles in your mixture. Introducing color pigment can enhance contrast between different layers thus making it easier to ensure completeness throughout this stage.
Be cautious not to fold air into your blend while stirring because doing so would uphold both transparency and quality within your finished product - the silicone rubber. A meticulously stirred concoction results in a seamless and defect-free end-result: The Silicone Mold.
Pour the Silicone Rubber
Begin by directing the flow of silicone rubber into a corner of the mold box, allowing it to gradually spread over the master model. Employing this method minimizes the possibility of entrapping air bubbles beneath the surface. Make certain that the poured layer of silicone is sufficiently thick to envelop every detail of the model.
Introduce a modest quantity of liquid rubber initially to moisten all surfaces within reach, then proceed to tilt and manipulate your mold box so as to encourage an even distribution over your model, which aids in Diminishing any potential for capturing air pockets. Utilizing compressed air aimed at where you first introduced silicone can effectively remove existing bubbles without necessitating manual intervention.
Remove Air Bubbles
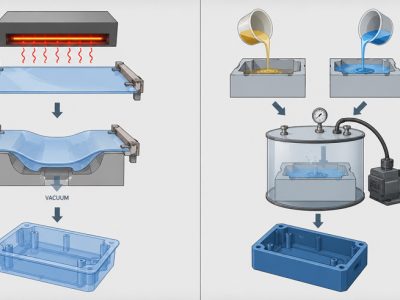
Air pockets within a silicone cast can lead to imperfections, thus eliminating them is essential during the casting process. Utilizing a vacuum chamber proves highly efficient in expelling air from high-viscosity silicone rubber before it’s poured into the mold, greatly diminishing the risk of bubble entrapment.
Once the silicone has been transferred into the mold, lightly tapping on its sides can facilitate the release of any residual air pockets that may be present. Pre-pour degassing of silicones such as EcoflexTM 00-30 is an effective strategy for preventing bubble-related flaws in your final product.
By following these procedures carefully, one can achieve a smooth and flawless finish in their silicone casts without defects caused by unwanted air bubbles.
Let the Silicone Cure
The curing stage is essential during the silicone casting process, with the time it takes for silicone rubber to cure varying greatly depending on how thick the material is. Using a tin catalyst might prolong the setting period. Adding more catalyst can speed up this process. On the other hand, employing a platinum catalyst could lessen the time needed for curing. Increasing your processing temperature by approximately 10°C may enhance the rate of cure by between 20% and 25%.
It’s important to wait until silicone has fully cured before extracting it from its mold. While many types of silicone rubber can cure at room temperature, preheating may be beneficial in certain instances to improve curing efficiency. Hastening through this phase could result in an incomplete cure and potentially cause harm to your mold.
De-Mold the Silicone Rubber
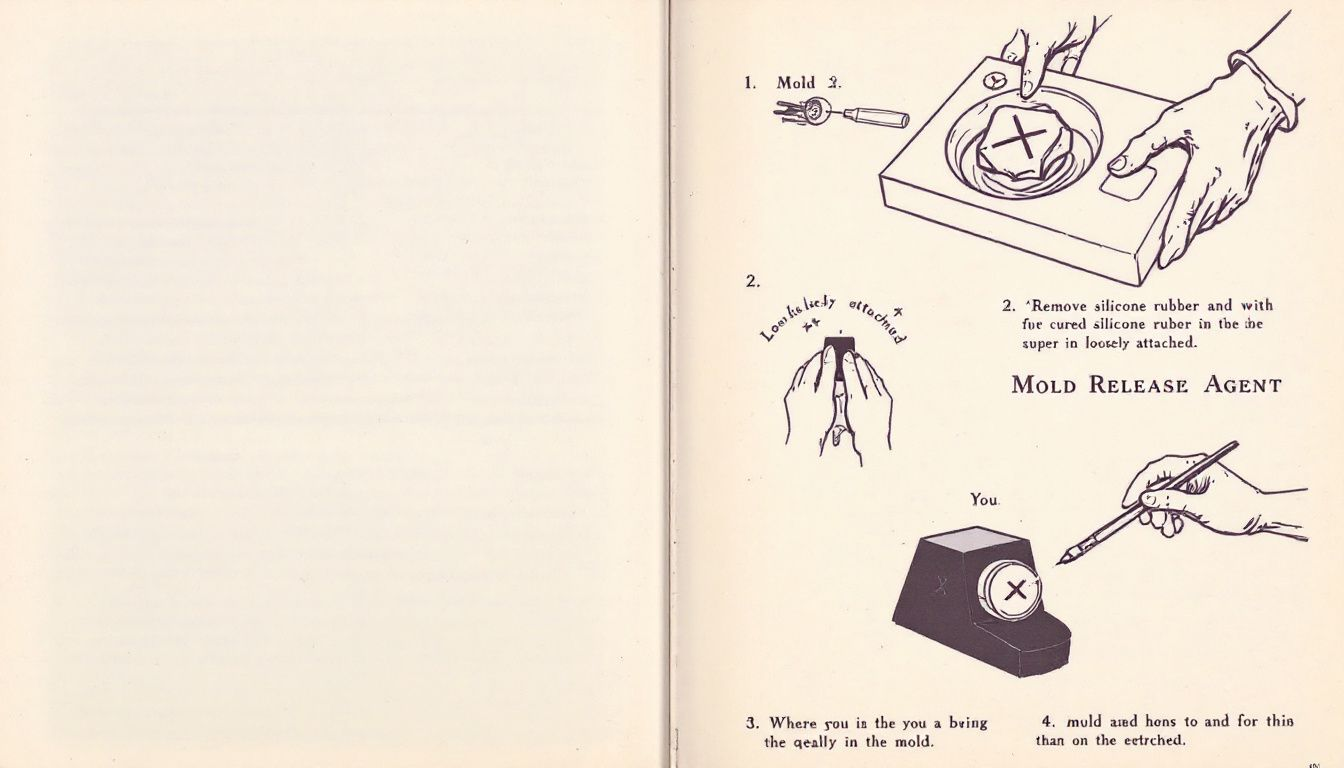
Carefully extracting the silicone rubber necessitates a gentle touch and patience. Begin by cautiously drawing back the edges of the silicone from the confines of its mold. Utilizing a flat instrument can assist in prying open the mold with greater precision, thereby reducing any potential harm to both your creation and its mold.
Progress slowly as you remove it, to lessen chances of ripping the silicone mold apart. Should you encounter resistance when attempting to pull out your object, apply more mold release for an easier withdrawal. Being meticulous during this de-molding stage guarantees that your silicone tool stays intact for subsequent molding endeavors.
Trim and Finish the Silicone Mold
Ensuring that your silicone mold has a sleek and polished appearance involves precise trimming and finishing. Employ a sharp razor to neatly cut away vent and gate features, or opt for flush cutters if preferable. Utilize a knife to slice off any surplus material from the mold, and smooth out lingering bumps by lightly sanding them with fine grit sandpaper dampened with water.
Diligent care in refining your silicone mold contributes significantly to the quality of subsequent casts by eliminating flaws. Such meticulous attention to detail is crucial in improving the outcomes of your projects involving silicone molding.
Casting with Your Silicone Mold
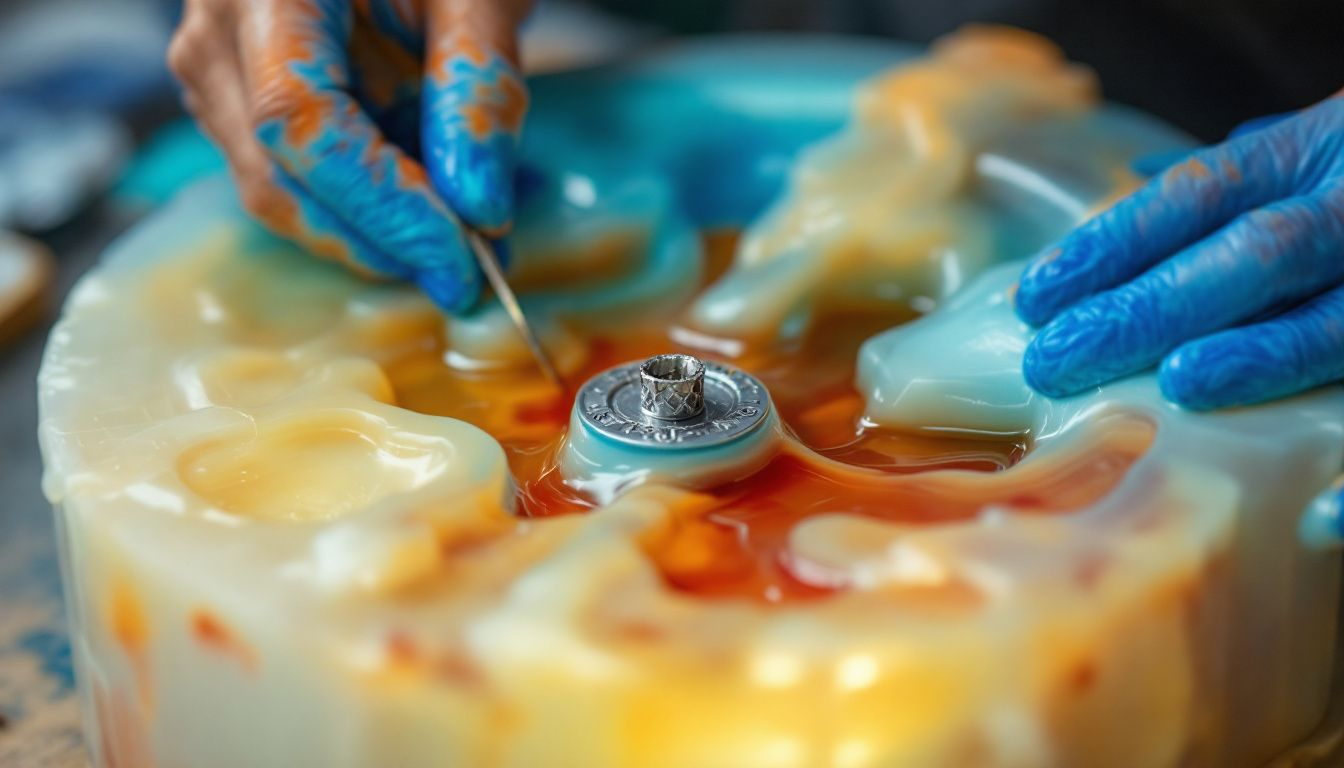
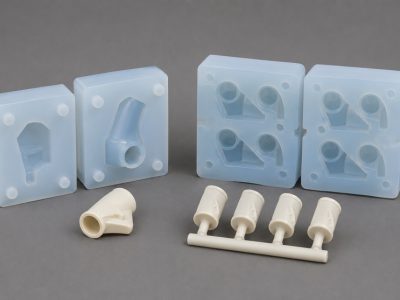
Casting with a silicone mold unlocks myriad creative options. The original master model is meticulously duplicated, ensuring its protection from any potential damage during the mold-making stage. In the urethane casting process, one begins by fabricating a master model and then crafting a flexible silicone mold into which liquid polyurethane resin is poured. After pouring, the resin undergoes curing within the mold to form the final part. This technique finds frequent application in forging functional prototypes for sectors such as consumer electronics, automotive components, and medical equipment.
In product development circles, silicone molds are lauded for their affordability relative to traditional fabrication techniques like injection molding. Silicone molds can accommodate diverse forms of polyurethane resins—spanning from rigid to flexible—as well as high-temperature resistant and transparent variants that contribute robustly to urethane casting’s appeal when it comes to prototypes: cost efficiency, accelerated production timelines, and extensive tailorability are some of these advantages.
Employing your very own silicone mold for casting enables you to produce intricately detailed and precise copies of your master model suitable for a variety of uses. Given their adaptability and effectiveness coupled with ease in making molds themselves, they are indispensable tools in both prototype refinement processes as well as limited volume manufacturing endeavors.
Clean and Store Your Silicone Mold
Maintaining your silicone mold’s durability requires appropriate cleaning and storage. To prevent any harm to the molds, wash them immediately after use with warm water and soap. By doing so, you can prolong the functional life of your molds and guarantee they stay in prime condition for subsequent uses.
Keep your silicone molds stored vertically in an environment that is both cool and dry, while ensuring they are shielded from direct sunlight or severe temperature fluctuations. It’s crucial not to pile up the silicone molds or position them on their sides as this could cause deformation or other types of damage. Adhering to these recommendations will help preserve your silicone molds in peak shape for a prolonged period.

Summary
The process of casting silicone rubber is a complex but fulfilling endeavor that enables you to craft intricate and pliable molds suited for numerous uses. This guide will help you become proficient in every phase, including readying the master model and maintaining your completed mold with proper cleaning and storage techniques. Delve into the art of silicone rubber molding and discover an array of creative opportunities awaiting you.
Frequently Asked Questions
How does vacuum casting compare to injection molding for prototypes?
Vacuum casting is a more cost-effective and quicker option for producing low-volume prototypes compared to injection molding, which is better suited for high-volume production despite its higher initial costs.
What industries commonly utilize vacuum casting prototypes?
Vacuum casting prototypes are primarily utilized in the automotive, aerospace, medical, and consumer electronics industries. This method effectively supports rapid prototyping and production in these sectors.
What is the fastest delivery time for urethane casting prototypes?
The fastest delivery time for urethane casting prototypes is typically 5 working days. Ensure you choose a provider that guarantees this turnaround for rapid prototyping needs.
What materials can be used in urethane casting?
Urethane casting can utilize various types of polyurethane resins, such as rigid, flexible, high-temperature, and clear resins, depending on the specific application and desired characteristics.
Choosing the right resin will ensure optimal performance for your project.
How accurate is urethane casting compared to injection-molded parts?
Urethane casting can achieve tolerances of 0.3mm or better, making it highly accurate and capable of closely matching the specifications of injection-molded parts.
Still, need help? Contact Us: lk@lkprototype.com
Need a PROTOTYPE or PARTS machining quote? Quote now