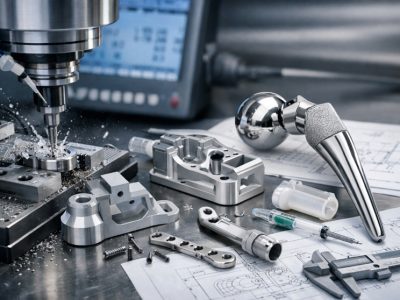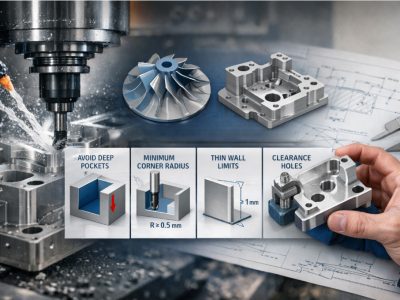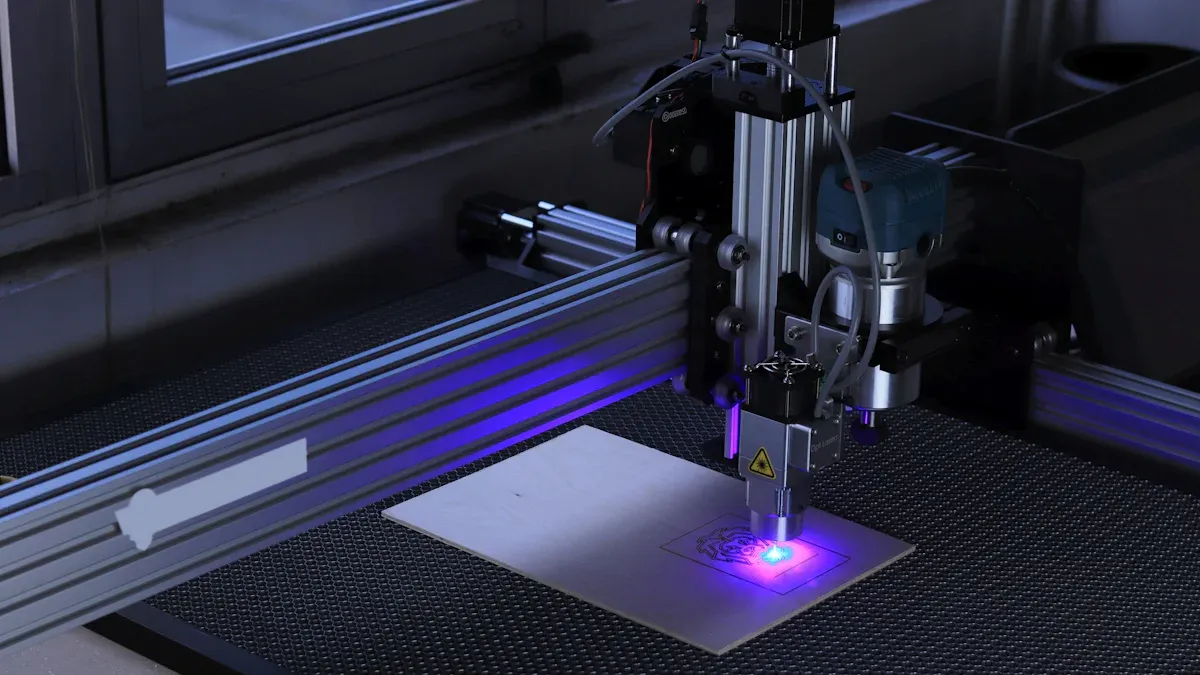
Text milling means carving custom text onto materials using CNC machines. This process needs great accuracy to make letters neat and even. Accuracy is very important for detailed designs or big projects.
Here’s why accuracy is key:
Tiny milling tools make smooth surfaces and keep tight limits.
Fixing problems like rough edges and sticky materials improves results.
For big projects, errors as small as 90 to 1000 µm can be expensive.
Using the right tools, software, and methods helps you create perfect text carvings with your CNC machine.
Key Takeaways
Being accurate in text milling is very important. Even small mistakes can cause big problems, especially in large jobs.
Pick the right tools and software for engraving. V-bits work best for sharp letters, and ball-nose bits are good for round shapes.
Always test your toolpaths in the CAM software first. This helps find errors and makes the process easier.
Make sure your material is tightly secured on the CNC machine. If it moves, your design can get messed up, so use clamps or a vacuum table.
Take care of your CNC machine regularly. Clean it after using and check for broken parts to keep it working well.
Basics of CNC and Text Milling
Overview of CNC Milling Machines
CNC milling machines are tools that cut and shape materials. They use computers to control movements and carve designs, like text, into surfaces. You can use them on wood, acrylic, aluminum, and PVC. These machines are great for many projects because they are so flexible. Unlike doing it by hand, CNC machines follow exact instructions for consistent results.
Modern CNC machines are very accurate. They can cut with a tolerance of ±0.005″ (0.13 mm). This means your text designs will look sharp and clear. Such precision is important for making professional engravings, whether for signs, decorations, or industrial parts.
Key Concepts: G-code, Toolpaths, and Engraving Tools
To engrave text, you need to know three things: G-code, toolpaths, and tools. G-code is the language that tells the machine what to do. It controls speed, direction, and depth to make sure your design is correct. Toolpaths are the paths the machine follows to carve the text. You can create these paths using special software that turns your design into instructions.
The tools you use are also very important. For text engraving, V-bits or ball-nose bits are common. V-bits are good for sharp, thin letters. Ball-nose bits work better for rounded or cursive designs. The tool you pick depends on the material and text size.
Importance of Precision in Letter Engraving
Precision is key for engraving letters. Even small mistakes can ruin your work, especially with tiny or detailed text. Accurate engraving makes sure letters are spaced evenly, lined up, and smooth. This is very important for industries like signage, where neat text makes products look better.
Application Area | Why Precision Matters in Letter Engraving |
|---|---|
Signs and Ads | Helps make custom, high-quality signs. |
Material Choices | Works on wood, acrylic, PVC, and aluminum. |
Faster Production | Makes it easy to customize shapes and sizes. |
By focusing on precision, you can create professional engravings with your CNC machine. This improves how your work looks and helps you handle tricky designs with confidence.
Tools and Software for Text Milling
Basic tools: CNC machine, engraving bits, and materials
To begin text milling, you need the right tools. The CNC machine is the main tool. It follows instructions to carve text into materials like wood or metal. Engraving bits are also important. V-bits are good for sharp letters. Ball-nose bits work better for rounded designs. Pick the right bit based on your material and text style.
Materials matter a lot too. Softer materials like wood or plastic are easier to engrave. Harder materials, like aluminum, need stronger bits and slower cutting speeds. Always match your tools and material for the best results.
CAD/CAM software for designing and programming text
You need software to design and program your text. CAD software helps you create the text design. CAM software turns your design into machine instructions. These instructions, called G-code, tell the CNC machine how to carve your text.
Using CAD/CAM software makes engraving easier. You can change the size, font, and position of your text before carving. It also lets you test the toolpaths to find mistakes before starting the machine.
Software examples: Inkscape, PyCAM, LinuxCNC, and TextMilling
There are many software options for text milling. Inkscape is free and good for making text designs. PyCAM changes these designs into G-code for the CNC machine. LinuxCNC controls the machine while it engraves. TextMilling is made just for text engraving.
Each software has its own features. Inkscape is simple for beginners. TextMilling has advanced tools for detailed designs. Pick the software that works best for your project and skill level.
Programming Text Engravings
Designing text in CAD software
The first step is to design your text in CAD software. CAD stands for Computer-Aided Design and helps you make detailed layouts. Open your CAD program and use the text tool to type your words. Change the font, size, and alignment to match your project.
Pick simple and clear fonts for better results. Avoid fancy fonts because they can be harder to engrave. If your design has curves or small details, zoom in to check for smooth connections. Many CAD programs also have grids or guides to help you place your text correctly.
Tip: Save your work often so you don’t lose progress. Use a file type like DXF or SVG that works with your CAM software.
Converting designs into G-code
After designing, you need to turn it into G-code. This is the language your CNC machine understands. It tells the machine how to move, cut, and engrave. To create G-code, use CAM software. Import your CAD file and set up the project.
Follow these steps:
Pick the material you’ll engrave.
Choose the right tool, like a V-bit or ball-nose bit.
Set cutting details like speed, depth, and feed rate.
Create the toolpaths for your text.
The CAM software will then generate the G-code. Check the code to make sure it matches your design. If you know how, you can add custom commands to improve the program. For example, you can add pauses for tool changes or cleaning.
Note: Always review the G-code carefully. Even small mistakes can ruin your engraving or damage the machine.
Simulating toolpaths for accuracy
Before using the CNC machine, simulate the toolpaths in your CAM software. This step helps you find problems like wrong depths or overlapping cuts. Most CAM programs have a simulation feature to show how the machine will engrave.
During the simulation, check these things:
Do the toolpaths match your text design?
Is the cutting depth even across the design?
Will the tool hit the material in the wrong spots?
If you see issues, go back and fix them in the CAM software. You might need to adjust the depth or pick a different tool. Simulations help you avoid mistakes and make sure your engraving looks great.
Reminder: Simulations save time and materials. They help you avoid errors and ensure your work looks professional.
Transferring G-code to the CNC machine
After making the G-code, you need to send it to your CNC machine. This step gives the machine the instructions to engrave correctly. Follow these simple steps to transfer the file:
Get the G-code file ready
Save your G-code file in a format your CNC machine can use. Common formats include.ncor.tap. Check the file to make sure it has the right engraving program. If possible, give the file a clear name to avoid confusion later.Pick a transfer method
There are different ways to send files to CNC machines:USB Drive: Put the G-code file on a USB drive and plug it into the machine.
Direct Connection: Use a cable to connect your computer to the CNC machine. Programs like LinuxCNC can send the file directly.
Network Transfer: Some machines let you send files over a local network.
Choose the method that works best for your machine. If unsure, check the machine’s manual for help.
Load the file into the machine
After transferring, go to the CNC machine’s control panel. Find the file section and locate your G-code file. Load it into the machine’s memory or queue it to run. Make sure the correct file is selected before starting.Check the machine settings
Before running the program, review the CNC machine’s settings. Look at things like feed rate, spindle speed, and cutting depth. These should match the details in your G-code. Change them if needed to avoid problems during engraving.Run a dry test
Do a dry run to test the program without cutting the material. This helps you see if the toolpaths match your design. Watch the machine’s movements to spot mistakes or odd behavior. If there’s an issue, go back to your CAM software and fix it.
Tip: Always save a backup of your G-code file. If something goes wrong, you can reload it without starting over.
By following these steps, you can send your G-code to the CNC machine easily. This makes sure the machine is ready to engrave with accuracy and care.
Executing Letter Engravings on CNC Machines
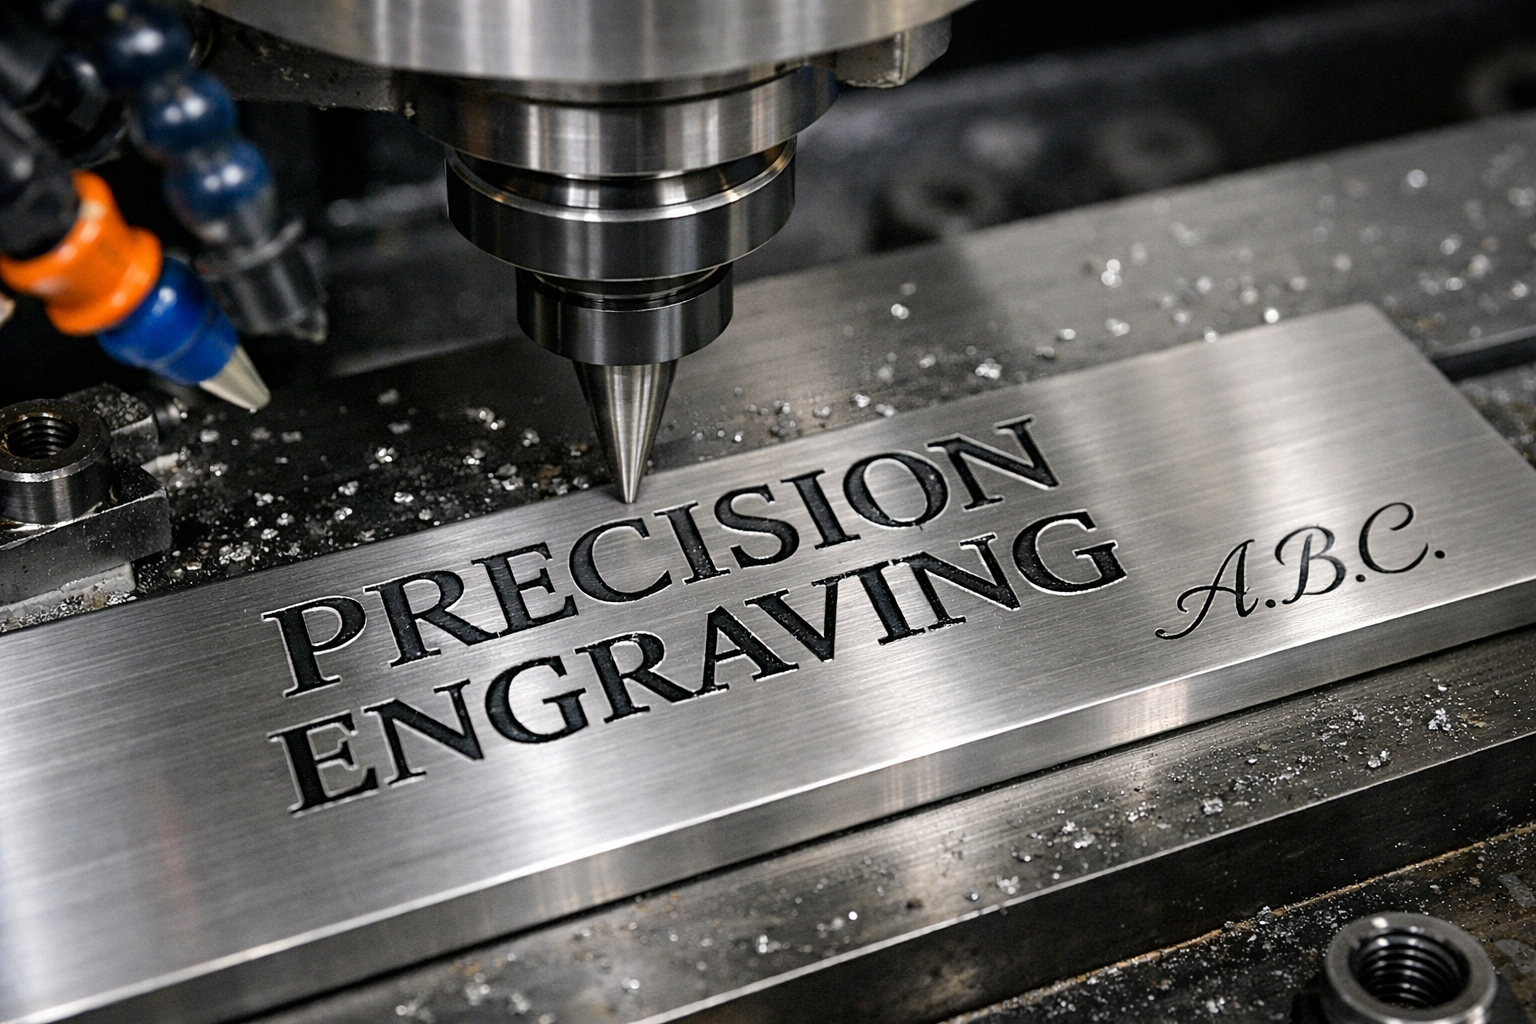
Setting up the CNC machine
Before engraving, set up your CNC machine correctly. This helps it work smoothly and gives accurate results. First, secure the material on the machine’s surface. Use clamps or a vacuum table to keep it steady. A firm hold stops the material from moving and causing mistakes.
Next, insert the right engraving bit into the spindle. Use a V-bit for sharp letters or a ball-nose bit for rounded ones. Tighten the collet well to avoid wobbling. After that, check the machine’s calibration. Calibration ensures the tool follows the programmed paths correctly. Use the table below for setup tips:
Metric | Recommendation |
|---|---|
Minimum Font Size | 20 (or larger) |
Engraving Depth | 5 mm engraved |
Preferred Text Type | Engraved text over embossed text |
Recommended Font Style | Sans-serif (e.g., Arial, Verdana) |
Tool Calibration Importance | Essential for achieving precision |
Tip: Always check the material’s position and the tool’s tightness. Small mistakes can cause big problems.
Homing axes and zeroing the tool
Homing and zeroing are key steps before engraving. Homing sets the machine’s starting point. Zeroing tells the tool where the material begins.
Start by homing the machine’s axes. This moves the spindle to its default spot, usually at the origin. Sensors help the machine find its limits. But some things can affect accuracy:
High feed rates can cause over-travel.
Stopping may vary due to sensor reaction time.
Deceleration depends on axis acceleration settings.
To improve accuracy, slow down the feed rates. Make sure the axis stays in contact with the sensor while stopping.
After homing, zero the tool by lowering it to the material. Use a piece of paper to check the gap. When the paper barely slides under the tool, set this as zero. Repeat for all axes to align everything properly.
Note: Accurate homing and zeroing prevent mistakes and improve engraving quality.
Running the program and monitoring the process
Once the machine is ready, run the engraving program. Load the G-code file into the CNC software and start it. Watch the machine closely as it works to ensure everything goes well.
Real-time monitoring tools can make this easier. These tools adjust speed and feed using live data. Optical systems can check surface smoothness and accuracy during engraving. This feedback helps keep the process precise and reduces errors.
Here are some tips for monitoring:
Listen for strange sounds or vibrations. These may mean tool issues.
Check the engraving depth and text clarity often.
Use simulations before starting to spot problems early.
Monitoring helps you get consistent results and avoid mistakes. Stay alert to ensure high-quality engravings.
Reminder: Never leave the machine alone while it’s running. Problems can happen, and you might need to fix them quickly.
Tips for Precision and Avoiding Mistakes
Getting precise text engravings needs planning and focus. Even small errors can mess up your design or damage materials. Follow these tips to improve your work and avoid problems.
1. Pick the Right Tool
The tool you use affects how your engraving looks. Use a V-bit for sharp edges or a ball-nose bit for smooth, rounded letters. Match the tool size to your text size. For tiny fonts, choose a smaller bit to capture details.
Tip: Check if your tool is sharp before starting. A dull tool can tear the material instead of cutting it cleanly.
2. Secure Your Material
If the material moves, your design can get ruined. Clamp it tightly to the CNC machine’s surface. For thin or bendy materials, try using double-sided tape or a vacuum table to hold it steady.
Reminder: Push the material gently after securing it. If it shifts, tighten the clamps or add more support.
3. Calibrate the Machine
Calibration helps the tool follow the design correctly. Set the tool’s starting point and check the cutting depth. Use a piece of paper or a calibration block to set the tool height.
Calibration Step | Why It’s Important |
|---|---|
Homing the Axes | Makes sure the machine starts right. |
Zeroing the Tool | Keeps engraving depths even. |
Checking Cutting Depth | Stops cuts from being too deep or shallow. |
4. Adjust Feed Rate and Spindle Speed
The speed of the tool and material movement affects quality. Going too fast can make rough edges. Going too slow might burn the material. Adjust these settings based on the material and tool.
Example: For wood, use a faster feed rate. For aluminum, go slower and increase spindle speed.
5. Watch the Machine While It Works
Keep an eye on the machine as it runs. Strange sounds or shaking might mean something is wrong. Pause the program if needed and fix the issue.
Pro Tip: Use a dust collector to keep the area clean. Dust can mess up the engraving and lower precision.
6. Test on Scrap Material First
Try your design on scrap material before using the final piece. This helps you check the toolpaths and cutting depth without risking your main material.
Callout: Testing saves time and avoids costly mistakes. It’s a simple step that makes a big difference.
7. Take Care of Your CNC Machine
A clean and well-maintained machine works better and lasts longer. Clean off dust after each use. Lubricate moving parts and check for loose screws or worn-out parts.
Reminder: Do regular maintenance checks to keep your machine in good shape. A poorly maintained machine can cause errors and uneven results.
By using these tips, you can create neat and accurate text engravings. Practice and attention to detail will help you improve and avoid common mistakes.
Troubleshooting and Optimizing Text Milling
Common issues: uneven depths, toolpath errors
Text milling can have problems like uneven depths and toolpath mistakes. These problems can ruin your design and waste materials. Uneven depths happen when the tool doesn’t stay level with the material. This might be caused by bad calibration, bent material, or worn-out tools. Toolpath mistakes happen when the program has errors or glitches. These mistakes can make the tool skip parts of the design or cut in the wrong spots.
Studies show how settings affect these problems. For example:
Alberdi et al. found that tool distance changes kerf width.
Yuan et al. adjusted settings to get only 3.5% depth error.
Rabani et al. used math models to cut errors by 50%.
These studies prove that careful changes can improve accuracy a lot.
Adjustments for better results
You can fix these problems with simple changes. First, calibrate your CNC machine correctly. Make sure the tool is set to zero and the material is held tight. If the material isn’t flat, use a leveling tool or shims to fix it. Check your tools often and replace them if they’re worn out.
Double-check your G-code for mistakes. Use simulation software to preview the toolpaths before starting. If depths are uneven, slow down the cutting or spindle speed. Slower speeds often make cuts more even. For toolpath mistakes, fix the design in your CAD software and create new G-code.
Tip: Write down your settings and changes. This helps you learn what works best for future projects.
Optimizing speed and engraving quality
To get the best speed and quality, balance your machine’s settings. Faster speeds save time but may lower accuracy. Slower speeds give better detail but take longer. Test different feed and spindle speeds to find the best match for your material.
Use good-quality tools made for text milling. Sharp tools make cleaner cuts and prevent chipping. For detailed designs, use smaller tools to capture fine details. Also, keep your CNC machine in good shape. Clean the area, oil moving parts, and tighten loose pieces.
Reminder: Always test your program on scrap material first. This helps you check your settings and avoid ruining your final piece.
Text milling means creating and carving designs with great care. Every step is important to get good results. Practice using the tools and software to get better. Being precise makes your engravings neat and clear. Try out different materials, tools, and designs to learn more. Begin with easy projects and slowly try harder ones. Over time, you can make amazing engravings that show your creativity.
Tip: Keep practicing and learning to use your CNC machine better.
FAQ
What materials are best for text milling?
Soft materials like wood, plastic, and acrylic are great for starters. They are easy to engrave and won’t harm your tools. For harder projects, metals like aluminum can work. However, you’ll need stronger tools and slower speeds.
How do I pick the right engraving bit?
Use a V-bit for sharp letters or a ball-nose bit for rounded ones. Smaller bits are better for detailed fonts, while bigger bits suit bold text. Always choose a bit that matches your material and design.
Can I use free software for text milling?
Yes, free tools like Inkscape and PyCAM are good options. Inkscape lets you design text, and PyCAM turns it into G-code. These programs are easy to use and work well for most engraving tasks.
How can I stop uneven engraving depths?
Make sure your material is flat and tightly secured. Set the tool height correctly and replace worn-out bits. Use your CAM software to simulate the toolpaths and fix problems before starting.
What if my CNC machine makes mistakes?
Stop the program right away. Check the G-code for errors and inspect the tool for damage. Recalibrate the machine and test your design on scrap material first. Regular care and setup can prevent many issues.
Tip: Keep a checklist ready to solve common problems quickly.
 LKprototype

