LKprototype
When you need a prototype, you probably want the most cost-effective solution. If you only need a few parts, 3D printing usually gives you the best price. Once you need more parts or larger models, vacuum casting steps in as the winner. The vacuum casting vs 3d printing cost question really comes down to how many parts you need and how big they are.
Key Takeaways
3D printing works best for small groups of parts. It is good for less than 20 parts. The starting cost is lower and setup is fast.
Vacuum casting saves money when you make 20 or more parts. The mold price is shared by all the parts you make.
Think about how the part looks on the outside. Vacuum casting gives a smooth finish right away. 3D printed parts may need sanding or painting to look smooth.
Look at what your design needs. 3D printing lets you change designs easily. Vacuum casting needs a new mold if you want to change something.
Introduction: The Battle for Low-Volume Production
The "Middle Ground" Dilemma (10 to 100 units)
You might find yourself stuck in the middle ground. You need more than a handful of prototypes, but not enough for full-scale production. This is where things get tricky. If you only need one or two parts, 3D printing feels like the obvious choice. But what if you need 20, 50, or even 100 units? That’s when you start to wonder if vacuum casting could save you money.
Here’s what usually happens:
3D printing works best for very small batches or when you want to test different designs.
Vacuum casting becomes more cost-effective when you need between 5 and 100 parts.
If you need more than 500 parts, neither method is ideal, and you might look at other options.
So, if your project sits between 10 and 100 units, you’re in the “middle ground.” This is where you need to compare costs closely.
Why Compare SLA/DLP 3D Printing and Vacuum Casting?
You have choices, but not all of them fit every project. SLA and DLP 3D printing give you fast results and let you change designs easily. Vacuum casting takes a bit longer to set up, but it can make more parts at a lower cost per piece when you need a bigger batch.
Let’s break it down:
3D printing is great for small runs and design tweaks.
Vacuum casting shines when you need more parts and want to keep costs down.
Both methods help you avoid the high price of full production tooling.
What This Guide Covers (Tooling, Unit Price, and Hidden Costs)
You want to know where your money goes. This guide will help you see the big picture. You’ll learn about setup costs, the price for each part, and the hidden costs that can surprise you.
Here’s a quick look at the main cost factors:
Cost Factor | 3D Printing | Vacuum Casting |
|---|---|---|
Tooling | Lower initial tooling costs | Higher initial tooling costs |
Unit Price | More cost-effective for small batches | More economical for larger volumes |
Hidden Costs | Potential for design changes | Less flexibility in design changes |
Tip: If you expect to change your design a lot, 3D printing gives you more flexibility. If you want to keep the unit price low for 20 or more parts, vacuum casting might be your best bet.
By the end of this guide, you’ll know how to pick the right method for your project and your budget.
Setup and Tooling Costs: The Upfront Investment
3D Printing Setup: The Low Barrier to Entry
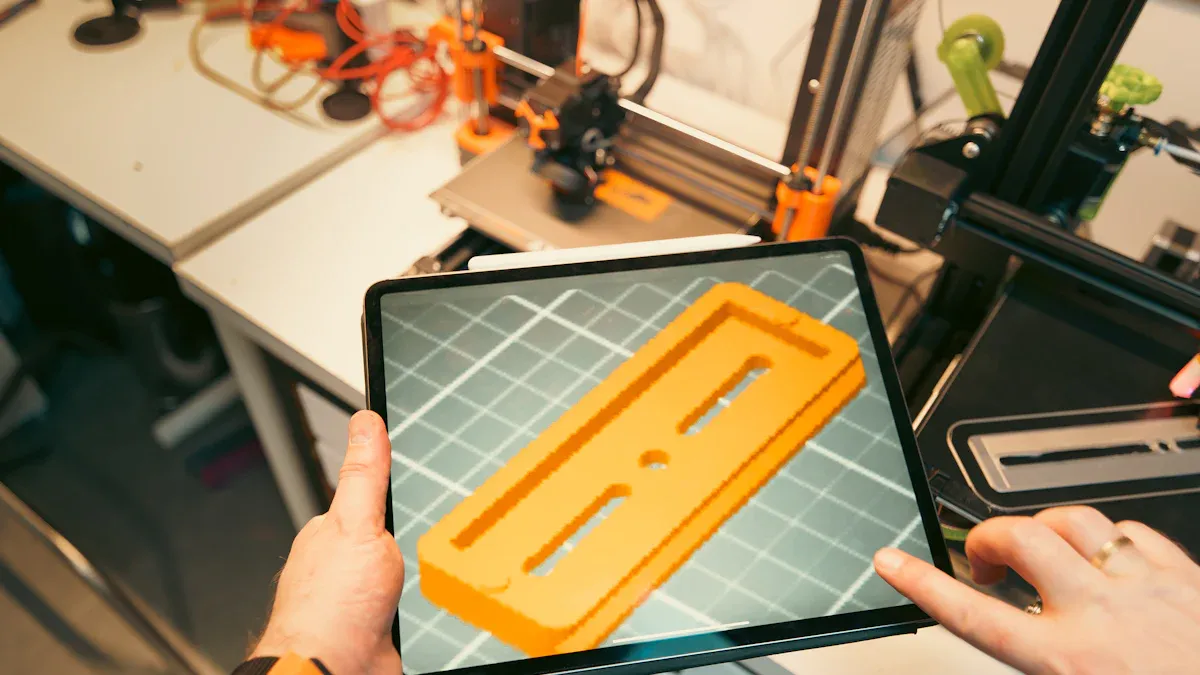
You probably want to get started fast and keep costs low. That’s where 3d printing shines. You don’t need any special tools or molds to begin. You just upload your design file and let the printer do the work.
Zero Tooling Costs Explained
With 3d printing, you skip the expensive tooling step. There’s no need to make a mold or pay for extra equipment. This means you can start with just one part or a small batch without worrying about big upfront costs.
File Preparation and Setup Fees
You might pay a small fee for preparing your design file. The cost depends on how quickly you need your parts. Here’s a quick look at typical setup costs for 3d printing:
Process | Setup Cost (GBP) |
|---|---|
SLA (Overnight) | £48.53 |
SLA (3 Days) | £28.54 |
SLA (7 Days) | £21.87 |
SLA (12 Days) | £20.35 |
SLS (Overnight) | £42.51 |
SLS (12 Days) | £11.52 |
DLP (Overnight) | £48.53 |
Tip: If you only need a few prototypes, 3d printing helps you avoid high setup costs.
Vacuum Casting Setup: Where the Cost Begins
Vacuum casting works differently. You need to make a master pattern first, then create a silicone mold. These steps add to your upfront investment.
The Master Pattern Cost (High-Res Print + Polishing)
You start by making a master pattern. Usually, you use high-res 3d printing for this. After printing, you polish the part to get a smooth finish. This step costs extra and takes time.
The Silicone Mold Cost (Material + Labor)
Next, you pour silicone around the master pattern to make the mold. The silicone mold needs careful handling and skilled labor. Each mold has a limited life, so you might need more than one if you want a bigger batch.
Production Volume | Vacuum Casting Cost | 3D Printing Cost |
|---|---|---|
5-100 parts | More cost-effective after mold setup | Generally more expensive per part |
Why Setup Costs Matter for Low Quantities
Setup and tooling costs play a big role in your budget. If you only make a few parts, the cost of the master pattern and silicone mold gets divided by a small number. This makes each part more expensive. When you make more units, you spread the cost out, so each part gets cheaper.
Note: Vacuum casting becomes more cost-effective when you need more parts. For very low volumes, 3d printing usually wins because you don’t pay for a mold.
Per-Part Cost Structure and Hidden Factors
When you look at the cost for each part, things can get tricky. Both 3d printing and vacuum casting have their own hidden costs. Let’s break down what you really pay for.
Variable Costs in 3D Printing
Material Costs (Resin per Gram)
You pay for every gram of resin you use. Some resins cost more, especially if you want special properties. If your part is big, the price goes up fast. Small parts keep the cost down.
Machine Time and Depreciation
Every time you run a 3d printing job, the machine wears out a little. You also pay for electricity and maintenance. If a print fails, you lose time and material. These costs add up, especially if you print many parts.
The Hidden Cost: Post-Processing Labor (Sanding & Painting)
After printing, you often need to sand, paint, or remove supports. This step can add 15–30% to your total cost. If you need a smooth finish, you might pay a technician $40–$80 per hour for extra work. Tasks like unpacking, inspection, and packing also take time.
Tip: Don’t forget about failed prints, energy use, and machine repairs. These hidden costs can sneak up on you.
Variable Costs in Vacuum Casting
Polyurethane (PU) Resin Costs
Vacuum casting uses PU resin for each part. The price depends on the type of resin and the size of your part. If you want a special color or finish, the cost can go up.
The "Mold Life" Factor (Depreciation per Part)
A silicone mold only lasts for 20–30 parts. When the mold wears out, you need to make a new one. This means you pay for the master pattern and mold again if you want more parts. As you make more parts, the cost per part drops, but only until you need a new mold.
Production Method | Tooling Cost | Per-Part Cost | Production Rate |
|---|---|---|---|
Vacuum Casting | Lower | Higher | 1-10 parts per day |
Injection Molding | Higher | Lower | Hundreds to thousands |
Labor Intensity per Cycle
Vacuum casting takes more hands-on work. Each cycle needs careful setup, pouring, and finishing. Surface finishing adds more labor, just like with 3d printing. If you want a perfect look, you pay more for skilled labor.
Note: Vacuum casting works best for small batches. If you need more than 100 parts, the cost goes up because you need more molds and more labor.
The Break-Even Analysis: Cost by Volume
Low Volume (1-5 Units): The "SLA Safe Zone"
If you need just a few prototypes, 3d printing is the best choice. You do not need a mold, so you can start making parts right away. The setup is fast, and you only pay for materials and machine time. For small batches, each part costs less because there is no expensive mold. Vacuum casting is not a good idea for low volumes. The mold cost gets split between only a few parts, so each one costs a lot. 3d printing gives you accurate parts and smooth surfaces. This is great for testing or showing samples.
3d printing saves money for small batches.
Vacuum casting materials can be 40-60% of the total cost, but the mold cost is the biggest part for small runs.
SLA and DLP printers make it easy to get precise parts.
Medium Volume (10-50 Units): The Battleground
If you need 10 to 50 parts, things change. The cost for each 3d printed part stays about the same. Vacuum casting starts to get cheaper. The mold cost gets shared by more parts, so each one costs less. Both methods give you accurate parts. Vacuum casting lets you use more materials and copy tricky shapes.
Method | 1 Unit | 50 Units |
|---|---|---|
3D Printing (SLS) | $50 | $1,500 |
Vacuum Casting | $300* | $2,500 |
*(includes tooling/mold)
Tip: If you want to try different designs or need to change things, pick 3d printing. If you want lots of the same part with strong materials, vacuum casting is better.
High Volume (50-100+ Units): Why Casting Wins
If you need more than 50 parts, vacuum casting is the winner. The mold cost is not a big deal anymore, and each part costs less. You can pick different resins to match what you need. Vacuum casting makes accurate parts and can handle tiny details. It is a cheaper way to make lots of parts for testing. You do not have to put pieces together. The downside is that each mold only lasts about 20 uses.
Vacuum casting costs less to start than injection molding.
It is better for small runs.
You get accurate parts and can use many materials and shapes.
Visualizing the Crossover Point (Where Casting becomes Cheaper)
Here is how the costs change as you make more parts:
Production Volume | Cost-Effectiveness of 3D Printing | Cost-Effectiveness of Vacuum Casting |
|---|---|---|
Below Break-Even | More cost-effective | Less cost-effective |
At Break-Even | Equal cost per unit | Equal cost per unit |
Above Break-Even | Less cost-effective | More cost-effective |
Note: The break-even point is usually around 20 to 30 parts. If you need fewer, use 3d printing. If you need more, vacuum casting saves money and gives you accurate parts.
Cost vs. Value: Material Properties and Surface Finish
Surface Finish Requirements
"As-Printed" vs. "As-Cast" Quality
When you look at 3d printing, you often get parts straight from the machine. These parts can show tiny lines or layers. Sometimes, you see rough spots or small bumps. If you need precision, you might need to sand or paint the part. This extra work adds time and cost.
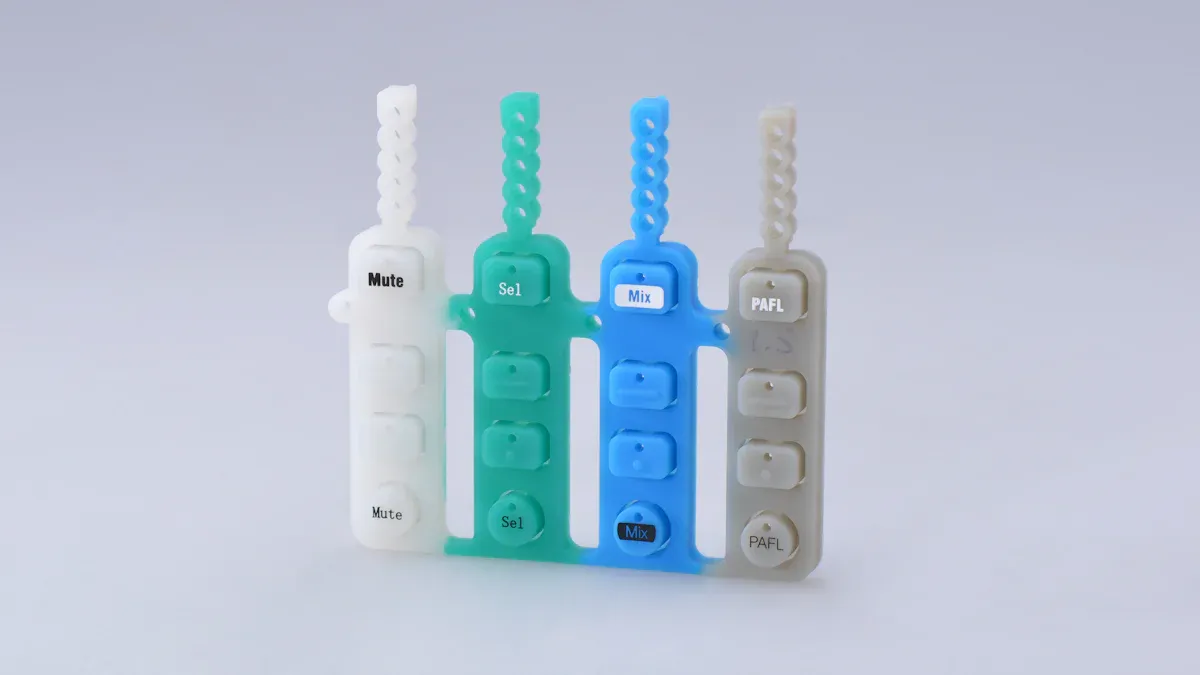
Vacuum casting gives you a smoother finish right out of the mold. You get parts that look and feel like real products. If you want high precision, vacuum casting can help you reach that goal. You do not need as much extra work to get a glossy or textured look.
The Cost of Achieving a Glossy/Texture Finish
You might want your prototype to look shiny or have a special texture. With 3d printing, you pay more for sanding, painting, or coating. This can take hours and needs skilled hands. Vacuum casting makes it easier to get a glossy or textured finish. The mold copies every detail from the master pattern, so you get great precision with less effort.
Tip: If you want a part that looks ready for the market, vacuum casting can save you money on finishing.
Material Functionality and Testing
3D Printing Resins (Simulants)
3d printing uses special resins that can mimic real plastics. These resins work well for showing shapes and testing ideas. You get good precision, but some resins may not match the strength or flexibility of production materials.
Vacuum Casting Resins (Production-Grade Performance)
Vacuum casting uses polyurethane resins. These resins can match the feel and strength of real products. You get better precision and can test your part in real-world situations. This helps you see how your design will work before you move to full production.
When Material Failure Costs More Than Prototyping
Sometimes, you need to test your part for strength or safety. If your prototype fails, you might lose time or money. Choosing the right method helps you avoid these problems. Vacuum casting gives you more options for strong, flexible, or heat-resistant parts. You get the precision you need for tough tests.
Vacuum casting has higher upfront costs but gives you lower per-part costs for small batches and high-quality finishes.
3d printing has low tooling costs but material costs and print times can change based on part size and precision.
Your choice depends on how many parts you need, what material you want, and how much precision matters.
How Design Complexity and Size Impact Price
Large Parts: Material Volume vs. Machine Space
When you want to make big prototypes, you need to think about material volume and machine space. Large parts use more resin or polyurethane, so the price goes up fast. You also need bigger machines or molds, which can be expensive.
Why Large Silicone Molds are Expensive
Large silicone molds cost a lot because you need more material and more labor. The mold must be strong enough to handle the weight and size of your part. If you want high precision, the mold needs extra care. Bigger molds wear out faster, especially if your design has sharp edges or deep details. You might need to replace the mold sooner, which adds to your cost.
Tip: If you plan to make large parts, vacuum casting can get pricey. The mold cost is a big part of your budget.
Large Format SLA Printing Costs
Large format 3d printing gives you high customization and precision. You can print big parts in one piece, but you pay for every gram of resin. The machine needs more time to finish the job, so the price goes up. If you want high precision, you might need to slow down the print speed, which adds even more cost. Sometimes, you need to split your design into smaller pieces and glue them together.
Method | Advantages | Disadvantages |
|---|---|---|
3d printing | High customization, high precision | Expensive for large parts |
Vacuum casting | Good for batches, smooth finish |
Complex Geometries
Designs with lots of curves, holes, or tricky shapes can change your price. You need to think about how your design affects the process.
Undercuts and Draft Angles in Casting
Vacuum casting works well for simple shapes. If your part has undercuts or sharp angles, the mold can tear or wear out faster. This means you pay more for repairs or new molds. Complex undercuts make vacuum casting less effective and raise your costs.
Simple shapes keep vacuum casting costs low.
Complex undercuts increase mold wear and risk of tearing.
You pay more for high precision with tricky shapes.
Support Structure Removal in 3D Printing
3d printing lets you create intricate designs with high customization. You do not need to worry about undercuts. The printer builds your part layer by layer, so you get high precision. However, you need to remove support structures after printing. This step takes time and can affect the surface finish. If you want high precision, you might need extra sanding or polishing.
3d printing handles complex geometries easily.
Support removal adds labor and cost.
You get high precision and customization, but finishing takes extra work.
Note: If your design needs high customization and precision, 3d printing gives you more freedom. Vacuum casting works best for simple shapes and smooth finishes.
Real-World Cost Examples (Case Studies)
Scenario A: Small Handheld Enclosure (20 Units)
Let’s say you need 20 small enclosures for a new gadget. You want good precision and a finish that looks like a real product. Here’s how the costs stack up:
3D Printing Cost Breakdown
You can use 3d printing to make each enclosure. You pay for the material, machine time, and some post-processing. The cost per part stays about the same, no matter how many you make. For 20 units, you might pay around $50 per part. You get good precision, but you may see some layer lines. If you want a smooth finish, you need extra sanding or painting. This adds to your cost and time.
No mold cost
Fast turnaround
Easy to change your design
Good for testing different shapes
Vacuum Casting Cost Breakdown
Vacuum casting works well for this batch size. You pay for a master pattern and a silicone mold. After that, each part costs less. For 20 units, the cost per part drops to about $25–$30. You get better surface finish and higher precision right out of the mold. You can also try different colors or textures without extra cost. This method lets you make parts that feel like the final product.
Mold cost spread over more parts
Smooth finish and high precision
Easy to test different looks
If you need 50 prototypes, vacuum casting can drop the price to $20 per unit. You also get more flexibility with finishes.
Scenario B: Large Automotive Panel (5 Units)
Now imagine you need five big panels for a car. You want high precision and a strong part.
Why 3D Printing Often Wins Here
3d printing gives you a big advantage for large parts. You don’t pay for a huge mold. You only pay for the material and machine time. You get high precision, even for complex shapes. Vacuum casting gets expensive because large silicone molds cost a lot and wear out fast. You also need more labor to handle big molds. With 3d printing, you can make changes quickly and get your parts faster. You see great precision and can test your design before moving to full production.
No expensive mold
High precision for big parts
Fast changes and quick delivery
For large, low-volume parts, 3d printing saves you money and gives you the precision you need.
Quick Decision Guide
When to Use Vacuum Casting
Vacuum casting works best when you need more than a handful of parts. If you want 20, 50, or even 100 units, this method can save you money. You get smooth finishes and strong parts that feel like real products. Vacuum casting also lets you try different colors or textures without much extra cost. If your design is set and you do not plan to change it, vacuum casting is a smart pick. You can use this method to test how your product will look and feel before moving to full production.
Tip: Vacuum casting shines when you want high-quality parts for user testing, marketing samples, or small pilot runs.
When to Use 3D Printing
3D printing is your go-to for quick, low-volume jobs. If you need just a few prototypes or want to test different designs, this method keeps costs low. You do not pay for molds, so you can start right away. 3D printing handles complex shapes and lets you make changes fast. You can print one part or a small batch without worrying about setup fees. This method works well for early-stage prototypes, design tweaks, or when you want to see your idea come to life quickly.
Note: 3D printing is perfect for projects with tight deadlines or when you expect to change your design.
Checklist for Project Managers
Before you choose a method, look at the main cost factors:
Cost Factor | Description |
|---|---|
Material Cost | The type of material you pick changes the price. Basic plastics cost less. |
Part Geometry & Design Complexity | Bigger or more complex parts use more material and time. |
3D Printing Technology / Machine Cost | Different printers have different hourly costs. |
Post-Processing Requirements | Extra steps like sanding or painting add to your total cost. |
Order Volume & Lead Time | Larger orders lower the price per part. Rush jobs cost more. |
Labor & Overhead | Skilled workers and quality checks increase costs. |
Keep these tips in mind:
Keep your design simple to avoid extra costs.
Use the right wall thickness to save material.
Design molds to reduce waste and get more good parts.
Order more units to lower the price per part.
Test your design early to catch mistakes.
Work with a trusted manufacturer for the best results.
Remember: The right choice depends on your budget, timeline, and how many parts you need. Take a close look at your project goals before you decide.
Conclusion
You now have a clear picture of how vacuum casting and 3D printing stack up for prototyping costs. If you want just a few parts fast, 3D printing is your best friend. You skip the mold, pay less up front, and can change your design anytime. When your project grows and you need more parts—think 20, 50, or even 100—vacuum casting starts to shine. You pay more at the start, but each part gets cheaper as you make more.
Here’s a quick way to decide:
Choose 3D Printing if:
You need fewer than 20 parts.
You want to test different designs.
You need your parts as soon as possible.
You have complex shapes or lots of detail.
Pick Vacuum Casting if:
You need 20 or more parts.
You want a smooth, “real product” finish.
You plan to show your prototype to customers or investors.
You want to test with production-like materials.
Tip: Always check your project goals before you choose. Think about how many parts you need, how fast you need them, and what kind of finish you want.
Here’s a simple table to help you compare:
Need | 3D Printing | Vacuum Casting |
|---|---|---|
Low volume | ❌ Not cost-effective | |
High volume | ❌ Gets expensive | ✅ Cheaper per part |
Fast changes | ✅ Easy | ❌ Harder |
Smooth finish | ❌ Needs work | ✅ Mold does it |
You can save money and time by picking the right method. Look at your budget, your timeline, and your design. If you follow this guide, you will make the best choice for your next prototype.
FQA
Q1: What is the main cost difference between vacuum casting and 3D printing?
You pay more upfront for vacuum casting because you need a mold. With 3D printing, you skip the mold and just pay for the print. If you only need a few parts, 3D printing is cheaper. If you need more, vacuum casting gets cheaper per part.
Q2: When should you switch from 3D printing to vacuum casting?
If you want fewer than 20 parts, stick with 3D printing. If you need 20 or more, vacuum casting usually saves you money. The break-even point is often around 20 to 30 parts.
Q3: Can you get the same surface finish with both methods?
Vacuum casting gives you a smoother finish right out of the mold. 3D printed parts often need sanding or painting to look as good. If you want a glossy or textured finish, vacuum casting is the easier choice.
Q4: Which method is faster for getting your first parts?
3D printing is faster for the first part. You can upload your file and start printing right away. Vacuum casting takes longer because you need to make a master pattern and a mold first.
Q5: What if you want to change your design?
You can change your design easily with 3D printing. Just update your file and print again. With vacuum casting, you need a new mold if you change the design, which costs more.
Tip: If you are not sure which method to pick, ask yourself: How many parts do I need? How soon do I need them? Do I care about the finish? Your answers will help you decide.
Need | 3D Printing | Vacuum Casting |
|---|---|---|
Fast turnaround | ✅ | ❌ |
Smooth finish | ❌ | ✅ |
Easy design change | ✅ | ❌ |
Lower cost (few parts) | ✅ | ❌ |
Lower cost (many parts) | ❌ | ✅ |
You want the best value for your prototype. Here’s what you need to remember:
3D printing skips expensive molds. You only need a digital file and a printer.
Vacuum casting needs silicone molds, so you pay more at the start.
3D printing works fast for small batches. Vacuum casting wins when you need more parts or bigger pieces.
Quick Checklist:
Need a few parts, fast? Go with 3D printing.
Want a smooth finish or a bigger batch? Choose vacuum casting.
Pick the method that matches your budget and timeline.
How do you decide between vacuum casting and 3D printing?
You should look at your batch size, budget, and finish needs. If you want a few parts fast, pick 3D printing. If you need more units with a smooth finish, vacuum casting works better.
Can you change your design after starting production?
You can change your design easily with 3D printing. Just update your file and print again. With vacuum casting, you need a new mold for every design change. That costs more and takes extra time.
Which method gives you the best surface finish?
Vacuum casting gives you a smooth finish right out of the mold. 3D printed parts often need sanding or painting to look polished. If you want a glossy look, vacuum casting is the easier choice.
Is vacuum casting faster than 3D printing?
3D printing is usually faster for the first part. You can start printing as soon as your file is ready. Vacuum casting takes longer because you need to make a master pattern and mold before making parts.