LKprototype
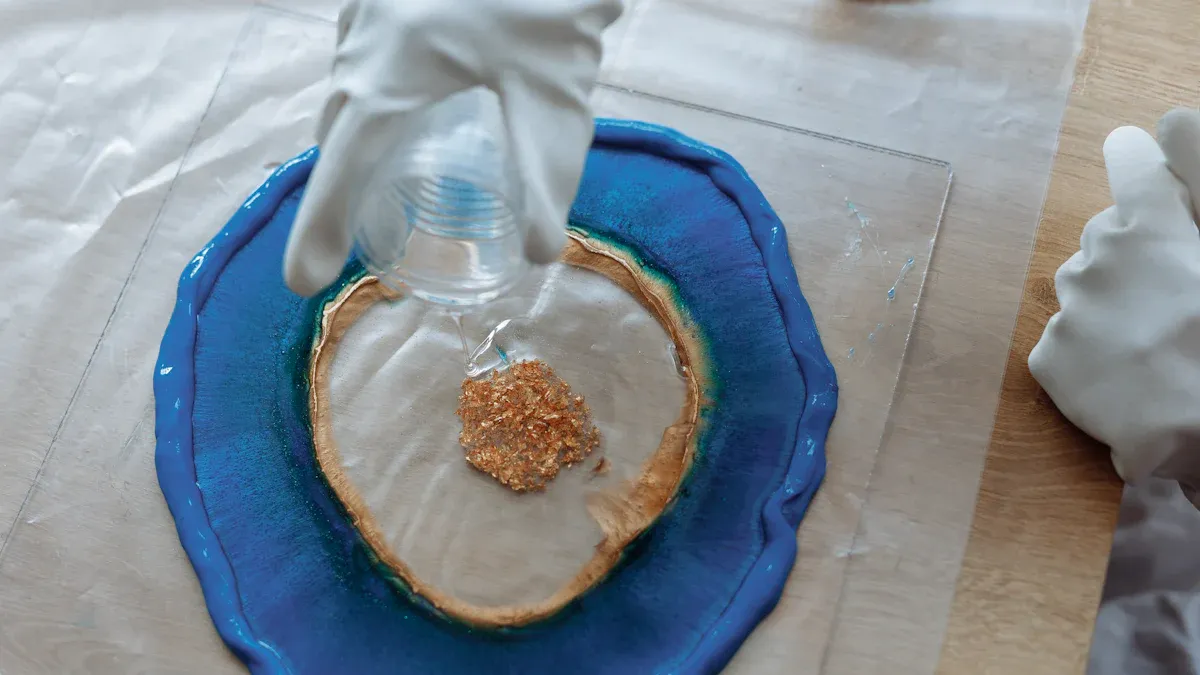
Creating flawless resin casts might seem challenging, but silicone molds for resin make the process much easier. These flexible and durable molds allow you to craft intricate designs effortlessly. Interestingly, the silicone market is projected to grow at an impressive 6.0% annual rate by 2030, highlighting their rising popularity in resin casting!
Key Takeaways
Silicone molds are bendable and strong, perfect for making detailed resin items without breaking them.
Preparing well is important: clean the molds and spray mold release to make removing resin easier.
Mix resin slowly and pour gently to stop bubbles; use a heat gun to remove any bubbles that appear.
Silicone Molds for Resin Casting
What Are Silicone Molds?
Silicone molds are bendable tools that shape resin into designs. They are made from a mix of oxygen, carbon, and hydrogen. This mix makes silicone stretchy and strong, like rubber. Silicone molds come in many shapes, from simple to fancy patterns.
One great thing about silicone molds is their detail. You can make jewelry, figures, or decorations that look neat and professional. They can be used again and again without breaking or wearing out.
Benefits of Silicone Molds for Resin Casting
Silicone molds have many perks, making them loved by crafters. Here’s why they’re so useful:
The demand for silicone molds grows 5.5% each year.
You don’t need extra chemicals to separate resin from the mold.
They’re great for DIY projects and let you create custom designs.
Silicone molds have special features. Here’s what makes them stand out:
Property | Description |
|---|---|
Flexibility | They stretch, so resin pops out easily without damage. |
Durability | Good molds last long and keep their shape after many uses. |
Heat Resistance | They work well in hot or cold conditions for different projects. |
Detail Capture | They copy even tiny details, making your resin pieces look polished. |
These molds save time too. Their smooth surface means less fixing after casting. Your resin looks great right away. Whether you’re new or experienced, silicone molds make crafting fun and simple.
Step-by-Step Guide to Resin Casting
Preparing the Mold
Before starting, check that your silicone molds are clean. Dirt or old resin can mess up your project. Wash the mold with warm soapy water and dry it well. Any water left can stop the epoxy resin from curing properly.
To make removing resin easier, use a mold release spray. This step isn’t always needed for silicone molds, but it helps them last longer. If your mold has tiny details, make sure every part is covered.
Pro Tip: Put your mold on a flat surface before pouring. This keeps the resin even and helps it cure right.
Mixing and Pouring Resin
Mixing epoxy resin the right way is very important. Follow the instructions for the resin-to-hardener ratio. Most products need a 1:1 or 2:1 mix. Use a clean container and stir slowly to avoid bubbles. Stirring too fast traps air, which can ruin your resin piece.
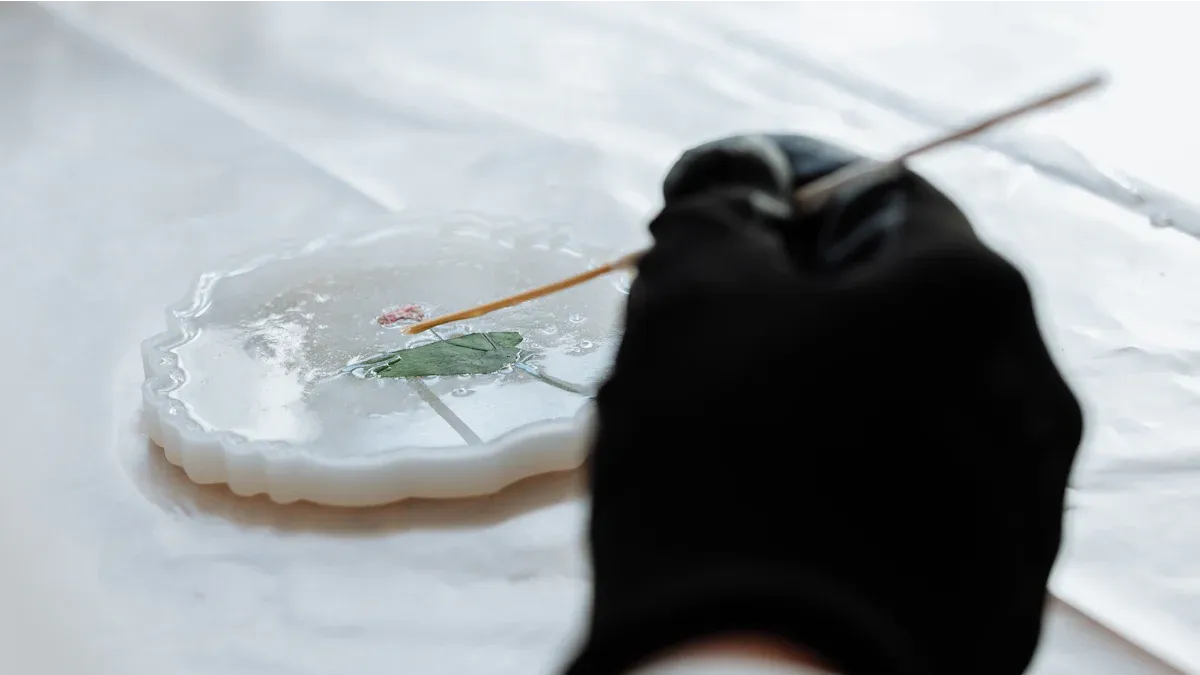
Pour the mixed resin into the mold carefully. Start at one corner and let it spread naturally. This helps avoid bubbles and covers the mold evenly. If bubbles appear, pop them with a toothpick or use a heat gun on low.
Note: Work in a ventilated space and wear gloves to protect your hands from the resin.
Curing and Demolding
Curing is when the resin hardens. Place the filled mold in a dust-free spot and don’t move it. The curing time depends on the epoxy resin type. Keep the temperature around 65 °C for the best results. Avoid curing at 45 °C, as it might not harden fully.
Most resins take 24-48 hours to cure, but some need up to 10 days for full strength. Be patient—rushing can cause a sticky or cloudy finish. Once cured, gently bend the silicone mold to remove your resin piece.
Quick Tip: If the resin feels sticky, let it cure longer before removing it.
Finishing the Resin Cast
After removing your resin piece, check for rough edges. Use fine sandpaper to smooth them out. For a shiny look, add a thin layer of clear epoxy resin on top.
If you see small bubbles inside, don’t worry. They can make your piece look unique. But if you want it perfect, use a pressure pot during curing to remove bubbles.
Final Touch: Clean your silicone molds after each use. This keeps them in great shape for future projects.
Troubleshooting and Advanced Tips
Common Issues and Solutions
Even with good preparation, resin casting can have problems. Knowing how to fix them saves time and effort. Here are some common issues you might face:
Air bubbles: These bubbles form when mixing or pouring resin. They are easy to see in clear epoxy resin and can ruin your project.
Sticky resin: Resin feels soft or sticky if it doesn’t cure right. This happens when the resin-to-hardener mix is wrong or the curing area is too cold.
Uneven surfaces: If the mold isn’t flat, the resin will cure unevenly. Always check that your mold is level before starting.
Mold damage: Skipping mold release spray can harm molds, especially detailed ones.
To solve these problems:
Use a heat gun or torch to remove air bubbles.
Measure the resin and hardener carefully and mix well.
Place your mold on a flat surface for even curing.
Clean and store molds properly to keep them in good shape.
Quick Tip: If bubbles keep showing up, try a pressure pot. It removes bubbles and makes resin clear.
How to Make a Silicone Mold for Resin
Making your own silicone molds is simple and fun. With the right tools, you can create molds for any design. Here’s how:
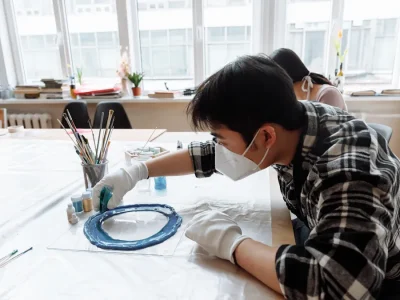
Pick your material: Silicone works best for resin casting. You’ll need liquid silicone and a catalyst to mix it.
Prepare your object: Choose an item to copy. Clean it well and spray it with mold release to stop sticking.
Build a mold box: Use plastic or wood to make a container slightly bigger than your object. This holds the silicone while it sets.
Mix and pour: Follow the instructions to mix silicone and catalyst. Pour it slowly over your object until it’s fully covered.
Cure and remove: Let the silicone set for the recommended time. Once cured, take the mold out of the box and remove the object.
Pro Tip: For detailed designs, tap the mold box gently to release trapped air before the silicone sets.
Making custom molds lets you create unique resin pieces. Whether it’s jewelry or decorations, your ideas can come to life.
Advanced Techniques for Perfect Casts
Want to improve your resin casting? Advanced methods can help you make professional-quality pieces. Here are some techniques:
Technique | Description | Benefits |
|---|---|---|
Furan Resin Sand Molding | Uses furan resin and a catalyst to make sand molds. | Better accuracy, heat resistance, and fewer flaws. |
Modified Furan Resins | Adds acetone or thermoplastics to improve resin properties. | Handles heat better and reduces cracking. |
These methods are great for detailed projects needing strength and precision. While often used in factories, you can try them at home for crafting.
Final Touch: Try layering colors or adding metallic flakes for cool effects.
Advanced techniques can make your resin casting amazing. With practice, you’ll create pieces that look professional.
Silicone molds make resin crafting easy and fun. By following these steps and tips, you can make amazing resin pieces. This process has useful benefits, like creating lasting designs to study. For example:
Use | Benefits |
|---|---|
Resin casting method | Works with different systems in many species. |
Measurements | Casts show branch count, size, and volume using microCT scans. |
Try new designs and keep practicing. Over time, your resin art will look unique and professional.
FAQ
How do I clean silicone molds after resin casting?
Clean your molds with warm water and soap. Use a soft sponge to gently scrub off any leftover resin. Make sure they are fully dry before putting them away to keep them in good condition.
Can I reuse silicone molds for multiple resin projects?
Absolutely! Silicone molds can be used many times. They are strong and keep their shape, so you can make several resin pieces without losing details.
What’s the best way to avoid bubbles in resin?
Mix the resin slowly to stop air from getting trapped. After pouring, use a heat gun or small torch to pop any bubbles that appear.
Pro Tip: Keep your workspace warm to help prevent bubbles.
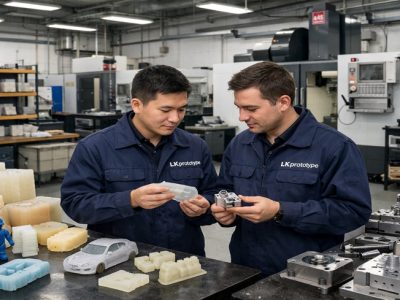
Start your project with LKprototype
LKprototype company simplifies procurement for custom manufacturing, Suitable for making your products or prototypes with a variety of materials, such as metal or plastic, silicone rubber, from 3D Printing to CNC Machined Parts and Vacuum Casting , with a focus on speed and efficiency. Our platform provides instant quotes. With LKprototype, You can connect with the team to communicate your project to ensure quality and on-time delivery.
Start with an instant quote and experience how our technology and expertise can make custom part procurement faster and easier.