LKprototype
 Curious about how to make hard plastic molds? Start with gathering your materials, then prepare your workspace, create a master model, apply a mold release agent, and pour the silicone. This guide takes you through every step for making durable, hard plastic molds.
Key Takeaways
Start by gathering key materials like silicone rubber, epoxy resin, and mold release agents for effective mold making.
Creating a master model is essential, so use sculpting tools and materials like clay to achieve a precise design.
After mixing and pouring, allow your silicone to cure properly before carefully removing the mold and adding finishing touches.
Gather Your Materials

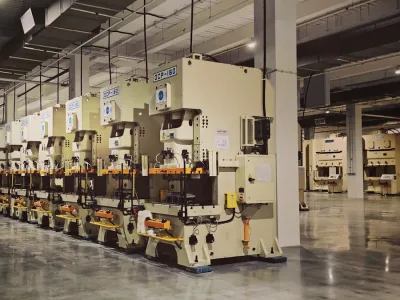
In the past, mold making was predominantly a practice within industrial environments. It has now become accessible to hobbyists and enthusiasts alike. To embark on this fascinating endeavor, one must first collect the appropriate supplies. Silicone rubber stands out as a crucial component for mold creation due to its elastic nature and robustness. This ensures repeated use of your molds without degradation. Epoxy resin is favored for encapsulating intricate details in molds owing to its potent adhesive qualities.
Equally important is urethane resin, celebrated for its durability and ability to withstand abrasion—attributes that make it excellent for producing long-lasting molds. It’s also essential not to overlook the role of mold release agents. These substances ensure that once the resin has set or cured inside your silicone mold creations don’t adhere stubbornly when you’re attempting to remove them from their confines—a precautionary measure which simplifies demolding while preserving the integrity of your molds.
Lastly, deploying a solid framework around your molding substance can contribute significantly by lending stability during material setting stages within our creative process can create stability and structure throughout development with everything lined up at hand ready easy transform those imaginative ideas into tangible items Prepping workspace efficiently lays groundwork smooth flowing craftsmanship journey ahead.
Prepare Your Workspace
Maintaining a neat and orderly workspace is critical for proficient mold making. An uncluttered area not only safeguards against mishaps, but also enhances your ability to work with speed and precision. Organize your tools and materials so that they are readily accessible, which will minimize disruptions and help you maintain concentration on the creation process.
Prioritize safety by wearing gloves and eye protection to guard against hazardous substances during mold making. Should you wish to expedite the curing period of your mold, employing a hair dryer at a minimal heat setting can prove useful.
Once you’ve established an optimal environment in terms of cleanliness, organization, and safety precautions, you’ll be set to begin crafting your master piece using molds.
Create Your Master Model
The original model serves as the foundation for your mold, making precision at this stage crucial. You can craft your prototype using malleable substances such as clay and plaster among others that are readily shaped. It’s imperative to work in an uncontaminated space when sculpting to prevent any defects.
To fashion your design, apply even pressure while shaping with tools or fingers for fluid transitions across the model’s components. Surface finishing processes like sanding or polishing might be necessary to refine textures and enhance intricate details on the master piece. Employ delicate instruments and brushes for those finer nuances, ensuring a cohesive and aesthetically pleasing final look.
Once you’ve finalized your master model, it is then appropriate to proceed with applying a release agent designed specifically for molds.
Apply Mold Release Agent
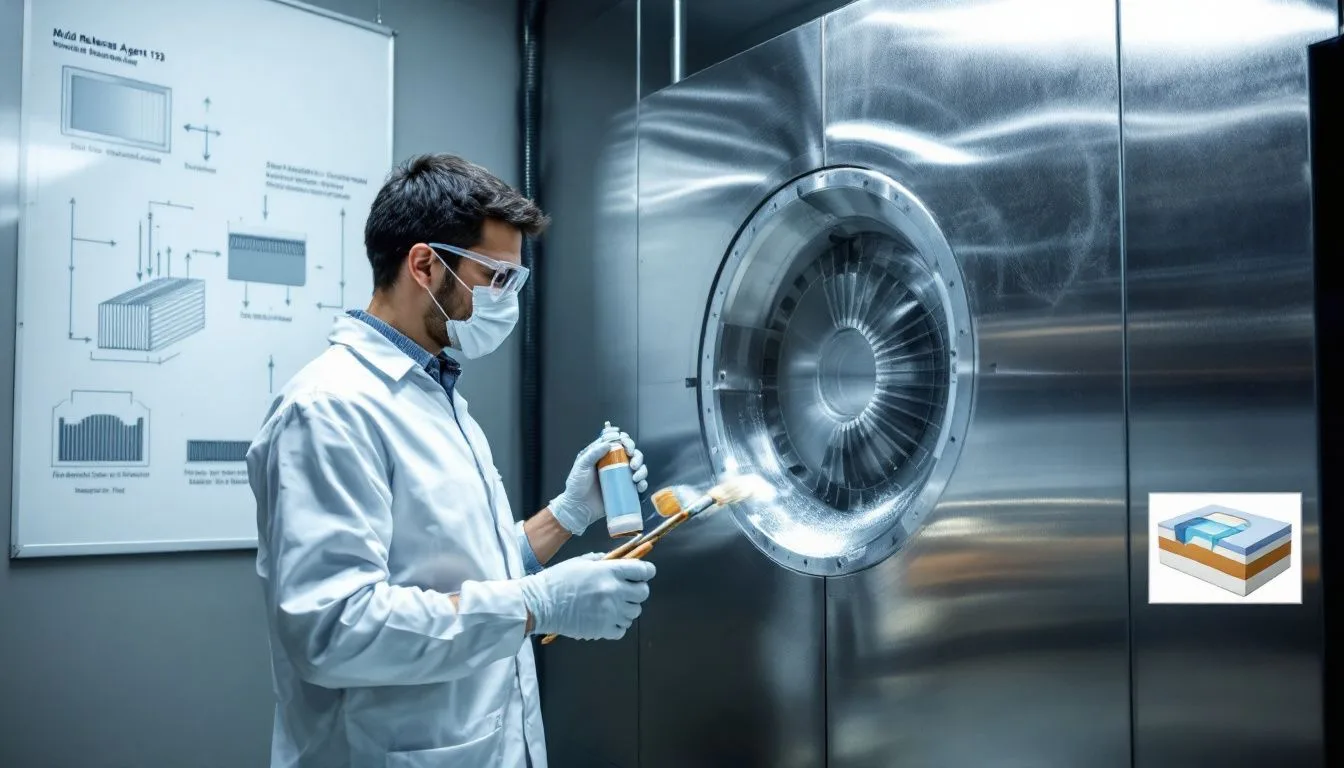
It is essential to use a release agent when creating a good mold, as it prevents the components from sticking to the mold. Applying an even layer of this agent facilitates smoother demolding and helps keep your mold in good condition. Achieving uniform coverage with electrostatic applicators can reduce excess spray and imperfections.
Ensure that you use just the right amount of release agent. If too scant, parts may stick, but if applied excessively, there could be discoloration on your final piece. For added convenience during demolding, coat both the model material and item with a soap layer before setting them in plaster.
Once you’ve properly administered the release agent, proceed by preparing and pouring your silicone into the mold.
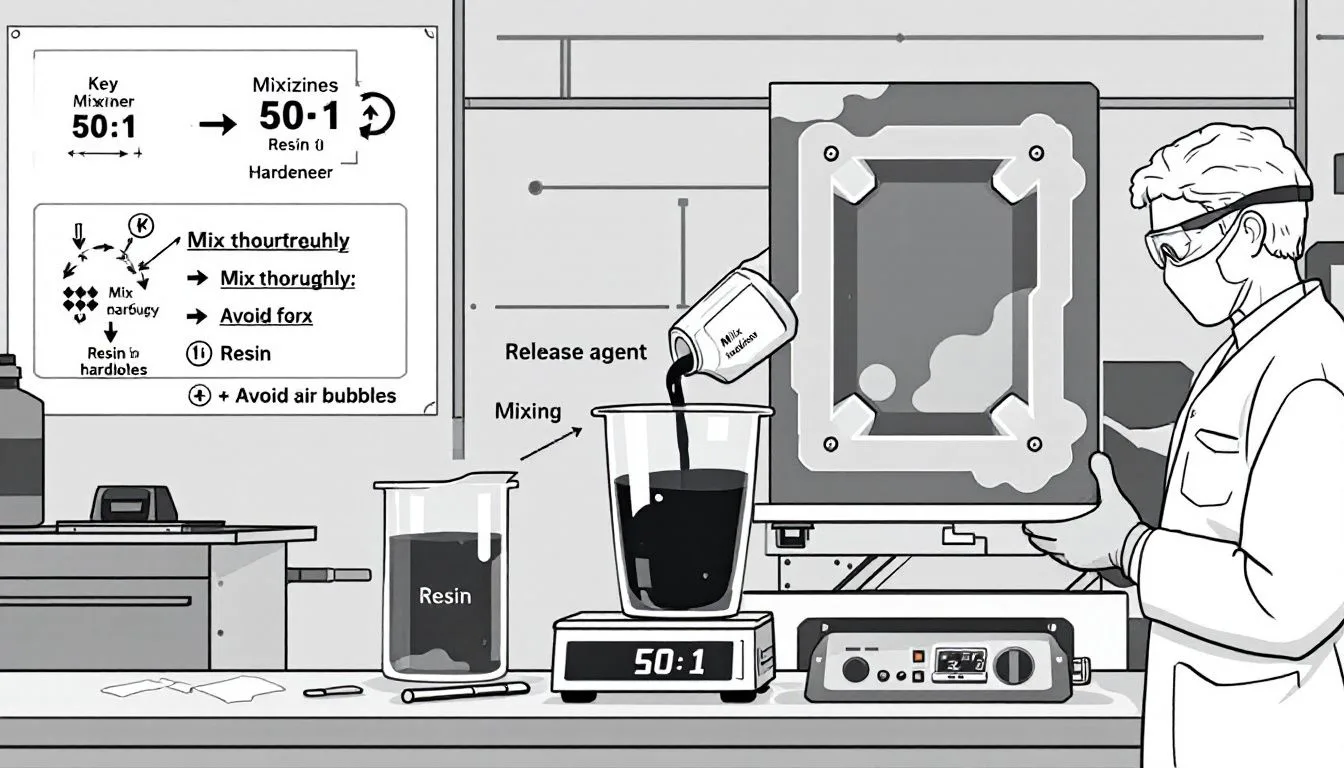
Mix and Pour Silicone
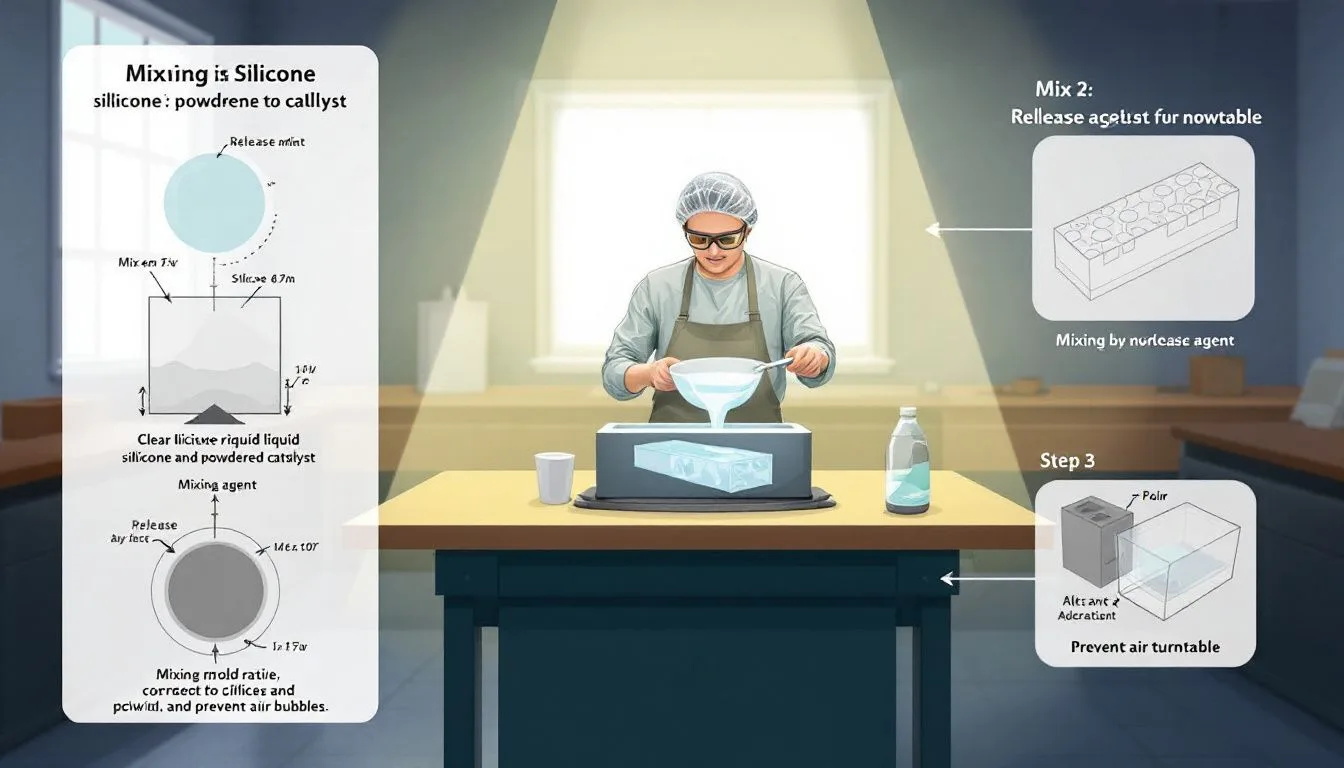
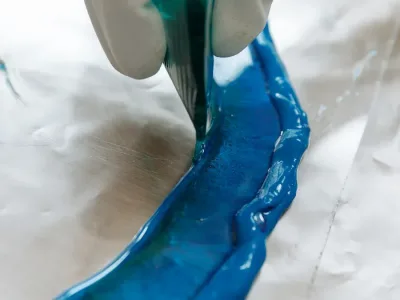
Now it’s time to mix and pour your silicone mold. Following the manufacturer’s mixing instructions closely is crucial to ensure proper consistency. To enhance bubble removal, using a vibrating device during the mixing process can help eliminate trapped air.
Pour the silicone into the mold housing using a narrow stream to minimize bubble formation. Ensure that the poured silicone covers the master model by at least a centimeter to maintain mold integrity. Tapping the mixing container helps eliminate air bubbles trapped during the process, ensuring a smooth final mold shape.
With the silicone poured, the next step is allowing it to cure.
Allow Silicone to Cure
Curing the silicone is a critical step in making molds. Depending on the specific product used, allow the silicone to cure for a period ranging from one hour to a full day. Silicone sealants usually require 24 to 48 hours to completely cure, depending on the thickness and environmental conditions.
Maintaining an ideal temperature range between 20°C to 25°C (68°F to 77°F) can help the silicone cure faster. Good ventilation can also significantly speed up the curing process.
To check if the silicone is fully set, gently touch the surface; if it feels dry and not sticky, it is likely cured. Consulting the manufacturer’s technical data sheet (TDS) for specific cure times and recommendations is crucial for proper demolding. Once cured, you can carefully remove the mold.
Carefully Remove the Mold
It is crucial to delicately extract the mold so as not to harm it or the original master model. To prevent difficulties when taking out the object, make sure that it is halfway sunk into the modeling material. Fashioning dimples in this material helps with correctly lining up both sections of the mold for accurate casting.
Care must be taken while separating the silicone mold. Avoid ripping or warping it. Once you have successfully detached the mold, you can proceed with getting ready for casting.
Prepare for Casting
Ensuring the mold is free from any remnants of silicone prior to casting is essential for securing proper adherence when applying paints and primers. Bar Keepers Friend surpasses other domestic cleaning agents in its ability to eradicate silicone traces on models. A technique involving water-sheeting can reveal persisting silicone presence, as evidenced by water forming beads on areas yet to be treated.
It’s important to meticulously clean recesses and undercuts because these regions are more prone to holding onto silicone residue. Employing a toothbrush or stencil brush will assist in accessing and thoroughly cleaning complex details within the mold, which prevents issues with paint flaking due particularly where there are indented or detailed sections.
To facilitate easy removal of items from their molds after setting, apply a release agent carefully over the surface. To prevent new molds from fusing together while stored away, gently dust them with cornstarch for an added measure of protection against sticking.
Once you’ve finished cleaning and prepping your mold accordingly, it’s time to blend your resin components before proceeding with pouring into the prepared vessel.
Mix and Pour Resin
For a successful casting outcome, it’s crucial to accurately measure the resin and hardener in line with the advised ratio for mixing. Thoroughly blend both components to ensure they are well mixed before introducing them into your mold. Slowly pouring the combined resin is beneficial as it assists in reducing air bubble generation throughout the process of casting.
Employing a vacuum chamber can be an effective strategy to eliminate any air bubbles from within the mix of resin prior to its transfer into the mold. Once you have poured in this mixture, then initiates the curing phase of this procedure.
Curing and Demolding
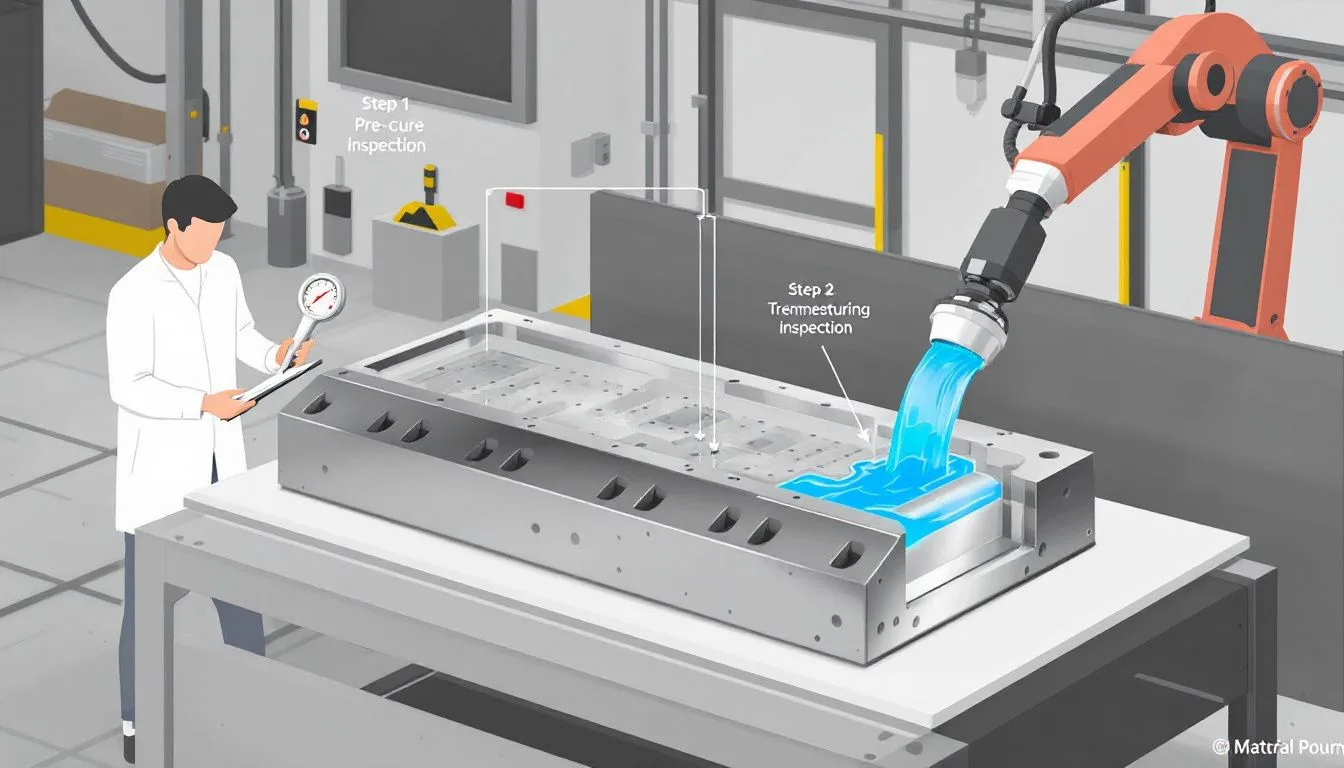
The chosen epoxy’s properties for casting dictate the maximum depth it can be poured at once without causing complications. Prior to embedding porous materials in resin, sealing them is essential to prevent air bubbles during the hardening process. To eliminate any surface-level bubbles that have appeared after pouring, a heat gun or a small torch may be utilized.
To verify if the resin has hardened sufficiently for removal from the mold, conducting tests such as using a durometer or performing scratch testing is advised. For an effective application of mold release agents, thoroughly cleaning the surface of your mold is imperative. The proper quantity of these agents must be applied to avoid creating pools on its surface which could adversely affect finished items’ quality. Allowing time for complete drying forms an optimal layer that helps minimize adherence issues. It’s also critical to select a release agent compatible with your specific casting material choice.
Employing appropriate amounts of a suitable mold release agent forms an intermediary shield that simplifies demolding and extends your mold’s usability span. Once this protective barrier allows successful curing and demolding processes are completed successfully, one can proceed toward adding final touches to their workpiece.
Finishing Touches
In the concluding phase, perfect the cast plastic parts by meticulously removing any surplus material along their edges. Utilize a finely honed blade or scissors for this purpose on the hard plastic components. Then proceed to smoothen these surfaces with fine-grade sandpaper. It is imperative to don a mask during this process in order to prevent breathing in dust particles.
Choose premium paint designed specifically for use on plastic materials to guarantee both its sticking power and long-term durability. Apply this paint gently and uniformly across the surface, taking care that each coat has dried thoroughly before adding another layer.
Once you’ve applied these final details, your diy plastic parts as well as other hard plastic items are all set for employment!
Summary
Creating hard plastic molds is a rewarding process that allows you to bring your creative visions to life. From gathering materials and preparing your workspace to mixing and pouring silicone and resin, each step is crucial to achieving a successful outcome. By following this guide, you can master the art of mold making with ease and confidence.
So roll up your sleeves and get started on your next project. The satisfaction of creating something with your own hands is unparalleled. Happy molding!
Frequently Asked Questions
How do you make a hard silicone mold?
To make a hard silicone mold, mix construction silicone with soapy water, knead it underwater, shape it, then press your item into it and let it harden.
Once set, just pop your item out, and you’re good to go!
What is the best plastic for making molds?
Polycarbonate is the way to go for making molds since it’s super strong and durable, plus it has great optical properties.
Just keep in mind it might not hold up to scratches.
Can you make plastic molds at home?
Yes, you can definitely make plastic molds at home using silicone or plaster. Create your mold, cast it with plastic resin, and let it cure for a cool custom piece!
How do you mold hard plastic?
You can mold hard plastic by using compression molding, where you heat the plastic and then compress it in a mold to achieve the desired shape.
After cooling, just pop it out, and you’ve got your molded part!
What materials are essential for making hard plastic molds?
To make hard plastic molds, you’ll need silicone rubber, epoxy resin, urethane resin, and some mold release agents.
These materials are key to creating durable molds!
Still, need help? Contact Us: lk@lkprototype.com
Need a PROTOTYPE or PARTS machining quote? Quote now