LKprototype
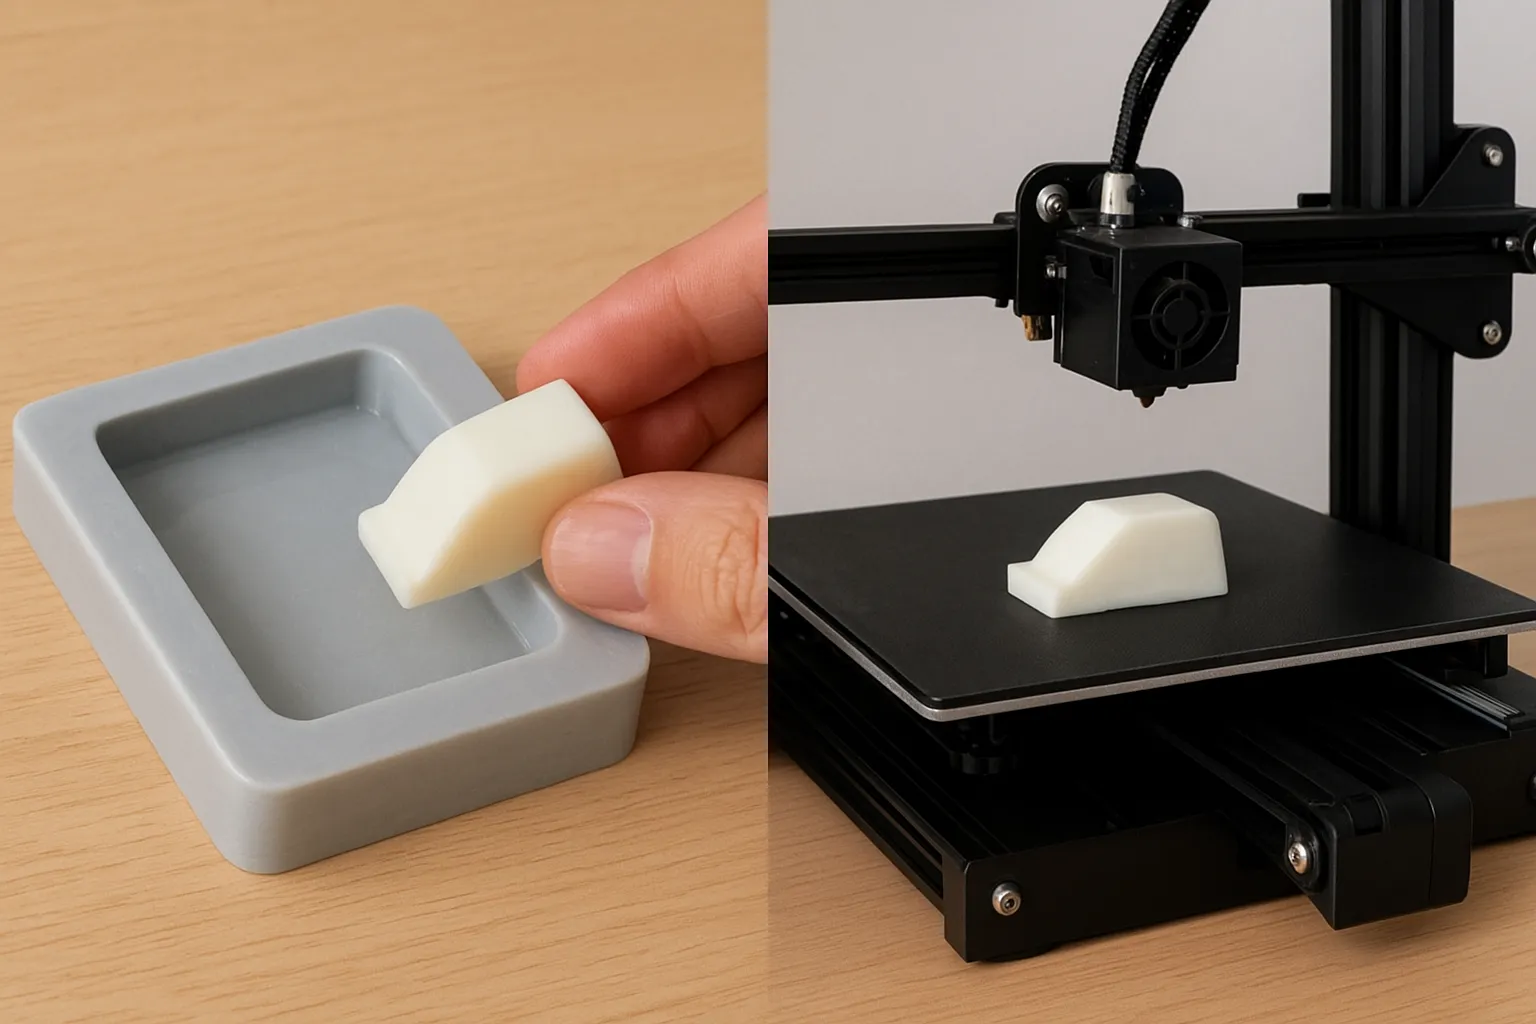
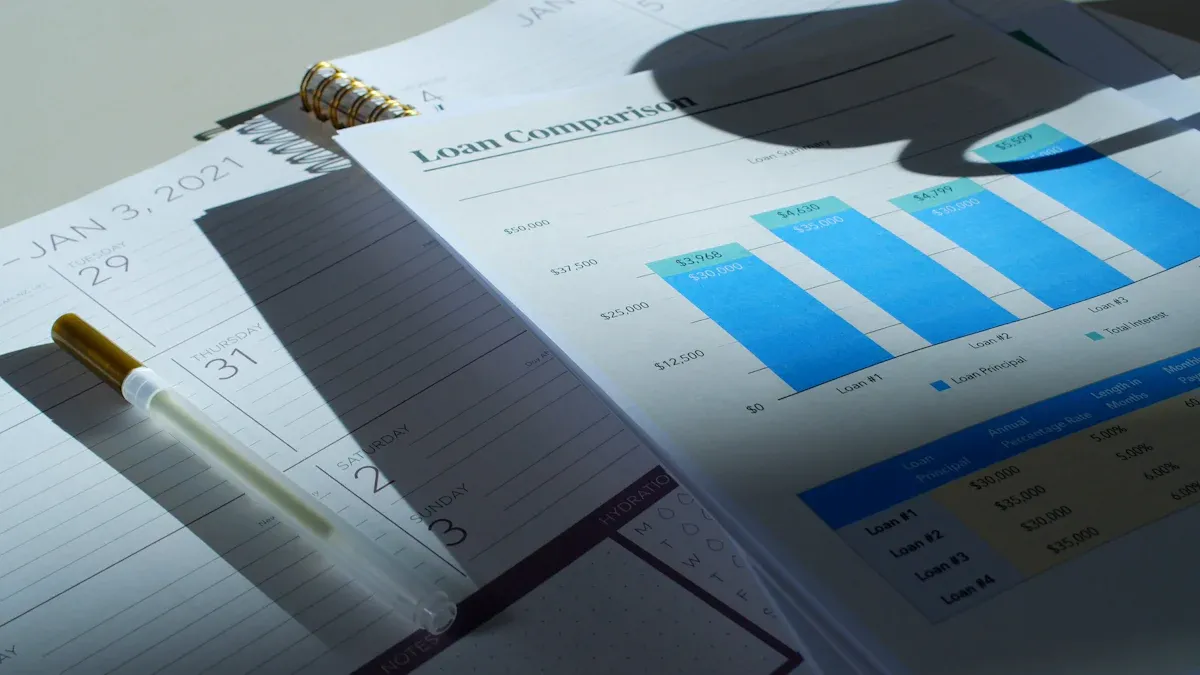
You may wonder if silicone vacuum casting and 3D printing costs are more favorable for your project. This is crucial when you require silicone molds or prototypes. The true answer hinges on the quantity of parts you need and their intended functionality. If you only need one or two pieces, 3D printing is typically the more economical option, and it also delivers your parts more quickly. However, if you require a larger number of parts, the silicone vacuum casting and 3D printing costs will vary. Here’s a quick comparison to help you understand how they stack up:
Factor | Vacuum Casting | 3D Printing |
|---|---|---|
Tooling Cost | $200–$1,000 per silicone mold | None (printer/material varies) |
Lead Time | 10–20 days | 1–3 days |
Part Cost | $10–$100 per part | Lower for one-offs |
It's essential to be aware of these differences before making your decision.
Key Takeaways
3D printing works best for small batches of 1 to 5 parts. It costs less and is faster. You can often get your parts in just one day.
Vacuum casting saves money when you need more parts, like 10 to 20 or more. The mold cost is shared by many parts. This makes each part cheaper.
Vacuum casting gives better surface finishes and material properties. The parts are smoother and need less extra work after.
Think about what your project needs. Pick 3D printing if you want speed and flexibility. Pick vacuum casting for bigger orders and steady quality.
Always check prices from different suppliers. This helps you find the best choice for your project.
The Short Answer: It Depends on Volume (The "Break-Even" Rule)
You may wonder which method saves more money. The answer depends on how many parts you want. If you need just a few, 3D printing is usually cheaper. If you need more, things change. The break-even point is often between 10 and 20 units. After that, vacuum casting can save you more money.
Quick Comparison Table: Cost, Speed, and Quality
Here is a table to show the differences:
Aspect | 3D Printing | Vacuum Casting |
|---|---|---|
Production Costs | Cheaper for small batches; price drops with more parts | Better for big batches; molds can be used 20 times |
Strength | Strength changes depending on direction | Strong parts with steady properties from polyurethane resins |
Tooling Costs | No pricey molds; just need a 3D model | First mold costs money, but less than other ways |
Design Freedom | Can make complex shapes; tricky designs are possible | Limited by master model; hard features make mold-making tough |
Production Speed | Fast for small batches; parts ready in hours | Slower because of mold making; faster per part in big batches |
Finishes | Might need extra work for smooth finish | Great surface detail; less extra work needed |
Typical Turnaround Time | Hours to a few days | 9–15 days (includes mold prep) |
The 10-20 Unit Tipping Point Explained
Let’s look closer. If you order only a few parts, 3D printing is quick and costs less at first. You do not pay for molds or setup. When you order more, the price per part drops for both methods. Here is what happens:
Making more parts lowers the price for each in 3D printing, so bigger orders cost less per part.
Vacuum casting gets cheaper when you need more than 10-20 units. The first mold cost spreads over many parts, so each part costs less.
Vacuum casting also gives smoother finishes and better size accuracy. You spend less time fixing parts after.
Industry data shows costs change as you order more. If you need over 10-20 pieces, vacuum casting is often better for price and quality. For smaller batches, 3D printing is faster and saves money.
Cost Structure Comparison: Where the Money Goes
When you look at silicone vacuum casting and 3d printing costs, you see that each method has its own cost factors. Let’s break down where your money goes for both options.
3D Printing Costs: High Variable, Low Fixed
Zero Tooling Investment (Why it wins for 1-5 parts)
You don’t need to pay for molds or special tools with 3D printing. This makes it a great choice if you only need a few silicone molds. You just pay for the material and the time the printer runs. Here’s a quick table to show the main cost drivers:
Cost Driver | Type | What It Means for You |
|---|---|---|
Machine Time | Fixed | Pay for how long the printer runs |
Build Preparation | Fixed | Pay for setting up your file and layout |
Post-Processing Labor | Variable | Pay for cleaning, sanding, or painting each part |
Material Utilization | Variable | Pay for wasted material, especially with supports |
Per-Part Inspection | Variable | Pay for checking each part if you need high quality |
You save money on tooling, but you might spend more on labor if your parts need a lot of finishing.
The Hidden Cost: Post-Processing Labor (Polishing & Painting)
After printing, you often need to polish or paint your parts. This step takes time and adds to your production cost. If your design is complex, you might spend even more time on post-processing. As you make more parts, the cost per part drops, but things like material waste and labor can still add up. If you want to lower costs, try to keep your designs simple and easy to finish.
As you order more units, the cost per part usually goes down.
Material costs, part complexity, and finishing steps can change this trend.
If you keep your design simple, you can save money.
Vacuum Casting Costs: High Fixed, Low Variable
The Master Pattern & Silicone Mold Cost (Initial Setup)
Vacuum casting starts with a master pattern and a silicone mold. You pay a higher upfront cost for this setup. This is a fixed cost, but you avoid the huge price tag of steel tooling. For small runs, using silicone molding and urethane casting helps you skip the big costs of traditional methods. This makes vacuum casting cost much lower for pilot runs or low-volume production.
Material Economies of Scale (Why it wins for 20+ parts)
Once you have your silicone molds, you can make many parts quickly. The more parts you make, the less each one costs. This is because the initial setup cost spreads out over more units. For example of urethane casting cost, some companies offer prices as low as $0.10 per piece when you order thousands. Urethane casting and silicone mold reproduction work well for batches up to 1000 parts. As your order grows, the vacuum casting cost per part drops a lot.
The cost per part drops as you make more parts.
High order quantities mean big savings.
Urethane casting is a smart choice for low to medium runs.
So, if you need a few silicone molds, 3D printing keeps costs low. If you need many, vacuum casting and urethane casting give you better value. Always look at your batch size and the main cost factors before you choose.
The Break-Even Analysis: Cost Per Part vs. Volume (Crucial Section)
Scenario A: Prototyping (1-5 Units)
When you need just a few silicone molds, you want to keep things simple and fast. Most people choose 3D printing for prototyping because it saves time and money. Take a look at the cost comparison below:
Method | Cost for 1 Unit | Cost for 50 Units |
|---|---|---|
3D Printing (SLS) | $50 | $1,500 |
Vacuum Casting | $300 | $2,500 |
You can see that 3D printing wins for small batches. The per-part production cost stays low when you only need one or two pieces. You also get your parts quickly. Here’s how delivery times stack up:
Prototyping Method | Delivery Time |
|---|---|
3D Printing | <24 hours |
Vacuum Casting | 7–14 days |
CNC | 3–5 days |
Injection Molding | 21–42 days |
If you need a prototype fast, 3D printing is your best bet. You skip the wait for silicone molds and jump right into testing your design.
Tip: For small-batch production, 3D printing helps you avoid high setup fees and long lead times.
Scenario B: Pilot Run / Low-Volume Production (10-50 Units)
When your project grows and you need more parts, things start to shift. The initial setup for vacuum casting costs more, but the part production cost drops as you make more units. Urethane casting also becomes a smart choice for batches in this range. Here’s a quick look at production timelines:
Method | Production Time (10-50 units) |
|---|---|
Vacuum Casting | 24-48 hours |
3D Printing | Generally faster but less cost-effective for larger quantities |
You spread the mold cost over more parts, so the per-part production cost goes down. Urethane casting and silicone molds work well for pilot runs. If you need 10-50 pieces, vacuum casting can save you money and deliver better surface quality. You get more value as your batch size increases.
Note: Always compare silicone vacuum casting and 3d printing costs before you decide. Your production cost depends on how many parts you need and how fast you want them.
Delivery Time Comparison: Speed to Market
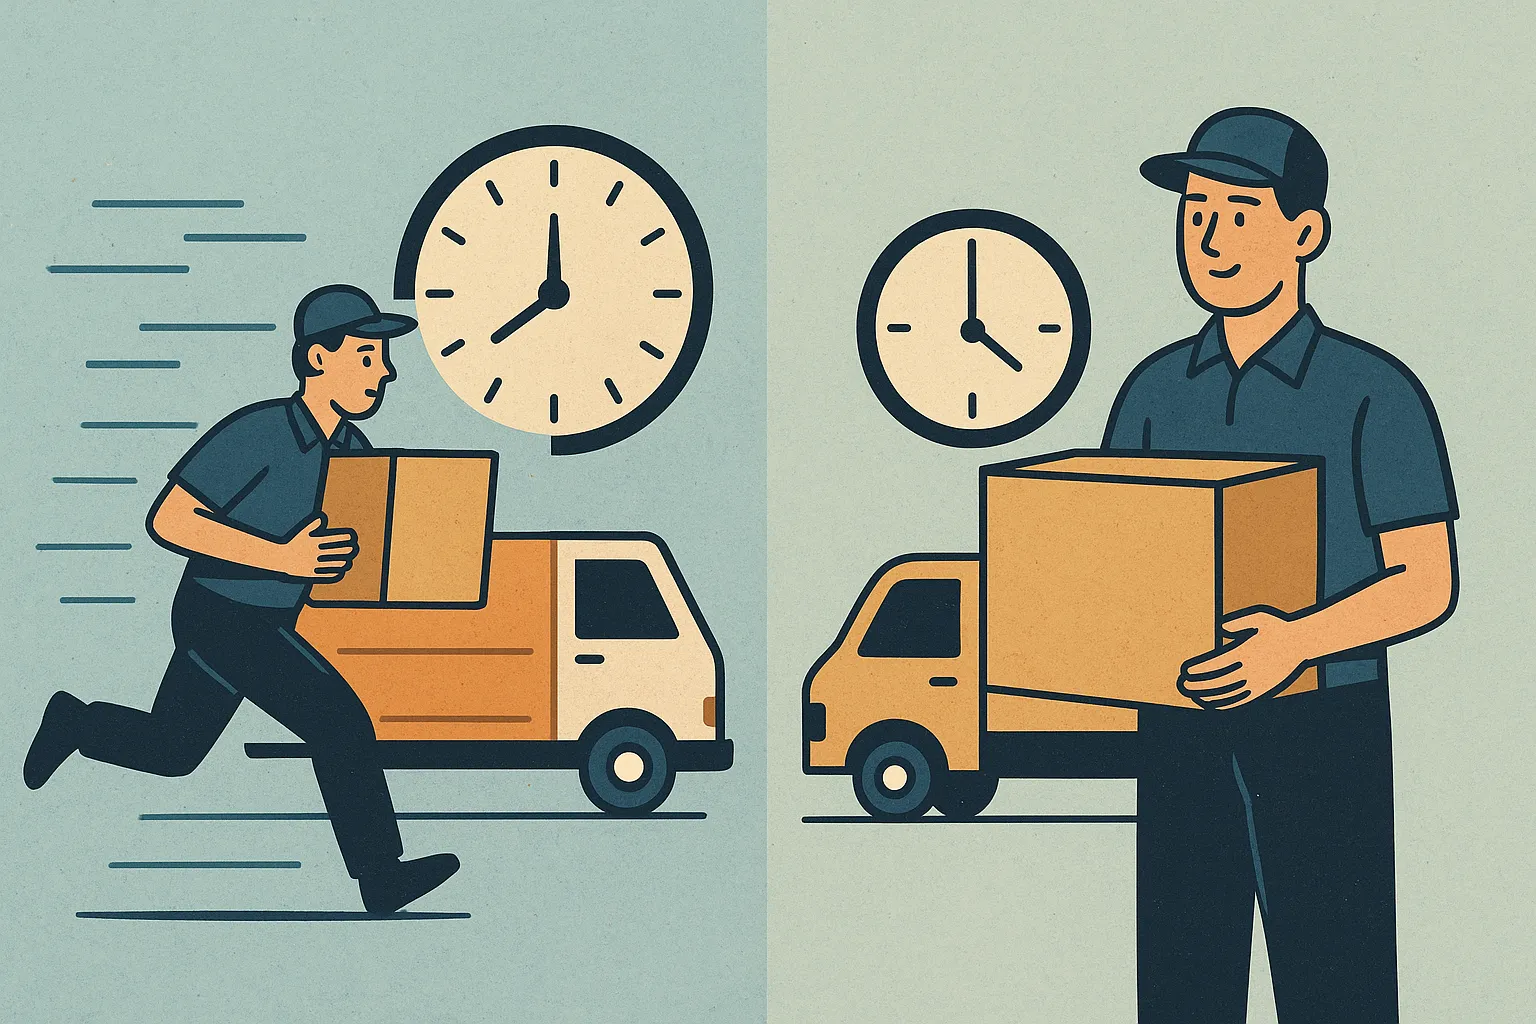
Time-to-First-Part: 3D Printing Wins
If you need your first part fast, 3D printing is the clear winner. You can upload your design, and the printer gets to work right away. For simple parts, you might see results in just 1 to 3 hours. More complex shapes or small batches under 10 pieces usually take 12 to 24 hours. Sometimes, you may wait up to 3 days if you have a tricky design or special material.
Here’s a quick look at how long it takes to get your first part:
Method | Time to First Part |
|---|---|
3D Printing | 1–3 hours (simple); 12–24 hours (complex); 1–3 days (small batch) |
Vacuum Casting | 3–7 days (includes master model and mold) |
Vacuum casting takes longer at the start. You need to make a master model and create silicone molds. This setup can take 3 to 7 days. If you have a tight deadline or want to test your idea right away, 3D printing helps you move fast.
Tip: For quick prototypes or urgent projects, 3D printing gets you a part in your hands before the week is over.
Time-to-50-Parts: Vacuum Casting Catches Up
When you need more parts, the story changes. Vacuum casting starts slow, but once you have your silicone molds, you can make many parts quickly. Producing 50 parts with vacuum casting usually takes about 7 to 10 days. Each casting cycle is fast, and you get high-quality parts with great surface finish.
Let’s compare the delivery times for larger batches:
Method | Batch Size | Lead Time |
|---|---|---|
3D Printing | 50 parts | 5–15 days |
Vacuum Casting | 50 parts | 7–10 days |
You see, vacuum casting can catch up or even beat 3D printing for batches of 50. The initial setup takes time, but the production speed makes up for it. If you need a lot of parts with smooth surfaces, vacuum casting is a smart choice.
Each casting cycle is quick, so you don’t wait long for your order.
Vacuum casting works well for small to medium batches.
When you compare silicone vacuum casting and 3d printing costs, remember that delivery time matters too. If you want your first part fast, pick 3D printing. If you need 50 parts with great quality, vacuum casting and silicone molds can save you time in the long run.
Quality & Material Factors Affecting Price
Surface Finish Requirements
When you want your parts to look nice, you care about how smooth they are. The way your part looks can change the price and how much work you do after. Here are some things to think about:
3D printing can leave lines on your parts. This happens because the printer makes layers one at a time. Even fancy printers can show these lines.
Vacuum casting gives smoother parts. It uses a silicone mold that copies tiny details. You get results almost as good as CNC machining. You do not need to sand or polish much.
Sometimes, vacuum casting can have small problems. You might see tiny holes or rough spots if the mold is not perfect. CNC machining gives the best finish, but vacuum casting is close.
If you want a prototype that looks really good, vacuum casting is a great choice. You spend less time fixing or painting your parts.
Tip: If you want your parts to look and feel like real products, vacuum casting helps you do that with less extra work.
Material Properties: Simulants vs. Engineering Grade
You may wonder if your prototype will act like the final product. The material you pick matters a lot. Vacuum casting and 3D printing use different materials.
Vacuum casting resins can act like many engineering plastics. You can choose materials that are strong, clear, bendy, or rubbery. This helps you test your design with the right feel. 3D printing materials are often more breakable and show lines. This can change how strong and nice your part looks.
Here is a table to show how vacuum casting matches common plastics:
Desired Production Material | Vacuum Casting Resin Equivalent | Key Properties |
|---|---|---|
ABS (General Purpose) | PX 223 / UP 4280 | Strong, good heat resistance (80°C) |
PC / PMMA (Clear) | PX 5210 | Very clear, UV stable, can be polished |
PP / PE (Flexible) | UP 5690 | Semi-rigid, stretches well, does not break easily |
Rubber / TPE | Heimann 80 (Series) | Soft to hard (Shore A 30–90) |
Vacuum casting gives you more choices for copying real materials. You get better accuracy and can test your parts in real life. If you need a part that acts like the final product, vacuum casting is a smart pick.
Decision Guide: Which Should You Choose?
Picking between 3d printing and vacuum casting can be hard. You want the best choice for your project, money, and time. Let’s make it simple so you can pick with confidence.
Choose 3D Printing If... (Deadlines, Geometry, Qty < 10)
Pick 3d printing if you need parts very fast or want to try a new idea. This method is good for small batches, especially if you need less than 10 pieces. You can also make shapes that are hard to cast or have moving parts. Here are times when 3d printing is best:
You need a prototype in one or two days.
Your design has lots of details or tricky shapes.
You want to change your design often and test new ideas.
The batch is small, so you want to keep costs low.
You do not need a perfect finish or exact material properties.
Tip: 3d printing lets you see and touch your design before you spend more money on molds or urethane casting.
Choose Vacuum Casting If... (Surface finish, Specific Materials, Qty > 10)
Vacuum casting is better when you want more than 10 parts or need a smooth look. This process gives you better accuracy and copies tiny details from the master model. Urethane casting helps you get parts that feel and act like real products. Here are times when vacuum casting is smart:
You need 10 to 100 parts that look and feel the same.
Your project needs real material properties, like clear or bendy plastics.
You care about surface finish and want less sanding or painting.
You want to lower the cost for bigger batches.
You need parts for testing or customer samples.
Here’s a quick table to help you compare:
Criteria | Vacuum Casting | 3D Printing |
|---|---|---|
Upfront Cost | Higher due to mold creation | Minimal, no mold required |
Cost per Part | Lower for short runs (10–30+ parts) | Increases for larger volumes or parts |
Ideal Use Case | Small batches with repeatability | One-offs, prototypes, highly customized designs |
Material Properties | Realistic material properties and finishes | Design flexibility, but less material fidelity |
Production Volume | Better for low-volume production | Excels in rapid prototyping |
Stage of Product Development | Pre-production validation | Early concept testing |
Note: Urethane casting gives you the best value for low-volume runs. You get great surface finish and strong parts without the high price of injection molds.
When you look at your project, think about these things:
How many parts you need
How complex your part is
What materials you want
How fast you need your parts
If you want to save money on small batches, try 3d printing. If you need more parts with high quality, vacuum casting and urethane casting are smart choices.
Conclusion
You have a lot to think about when you choose between vacuum casting and 3D printing. Both methods help you make prototypes and small batches, but each one fits different needs. If you want just a few parts fast, 3D printing works best. You skip the wait and get your design in your hands quickly. When you need more than ten parts, vacuum casting starts to save you money. You spread the mold cost over many pieces, and you get better surface finish.
Urethane casting gives you strong parts that look and feel like real products. You can test your design with real-world materials. If you care about precision, vacuum casting helps you match the details of your master model. You spend less time sanding or painting, and your parts come out smooth.
Here’s a quick checklist to help you decide:
Need less than 10 parts? Go with 3D printing for speed and low cost.
Want 10 to 100 parts with great finish? Urethane casting is your friend.
Care about material properties or surface detail? Vacuum casting gives you more options.
Have a tight deadline? 3D printing gets you a prototype fast.
Tip: Always ask for quotes from suppliers before you choose. Your project might have special needs, and prices can change.
You can balance cost, speed, and quality by picking the right method. Think about your batch size, your timeline, and how your parts will be used. If you plan ahead, you will get the best results for your project.
You’ve seen how vacuum casting and 3D printing stack up for cost, speed, and precision. If you need just a few prototypes fast, go with 3D printing. For batches over ten, vacuum casting gives you better value and smoother finishes. Here’s what you should do next:
Think about your project size and timeline.
Ask suppliers for quotes before you decide.
Pick the method that matches your goals.
Remember, the best choice balances cost, speed, and quality for your needs.
FAQ
What is the main cost difference between vacuum casting and 3D printing?
You pay more upfront for vacuum casting because of the mold. 3D printing has no mold cost. For small batches, 3D printing is cheaper. For larger runs, vacuum casting saves you money per part.
How fast can I get my first prototype?
You can get a 3D printed part in just a day. Vacuum casting takes longer because you need a master model and mold. Expect your first vacuum cast part in about a week.
Can I use any material with both methods?
No, you can’t. 3D printing uses special plastics or resins. Vacuum casting uses polyurethane resins that mimic real plastics. If you need a specific material, check with your supplier first.
Which method gives me better surface finish?
Vacuum casting usually gives you a smoother finish right out of the mold. 3D printed parts often show lines and may need sanding or painting. If you want a part that looks like a finished product, vacuum casting is the way to go.