LKprototype
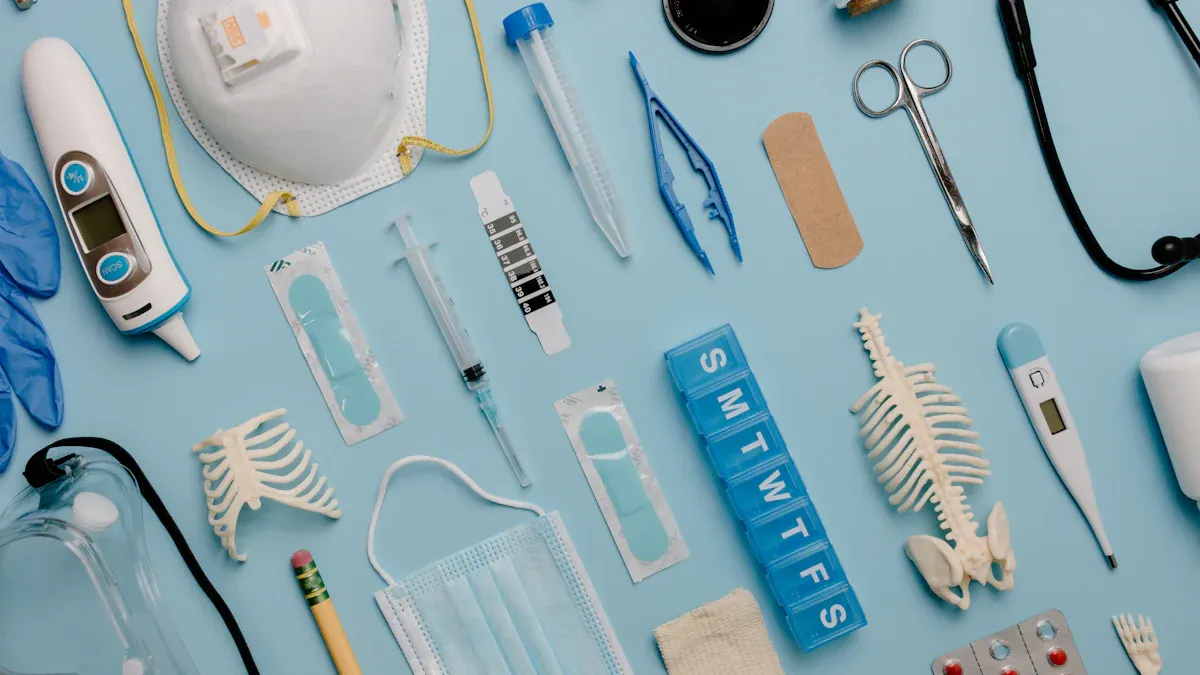
You have an important job in medical device prototype development. This process helps you change an idea into a real prototype. The prototype can help patients and make care better. In 2025, you will see new problems and chances in medical device design, testing, and prototyping. Every step, from idea to pilot prototype, affects the final product. You need to know about the materials, costs, and steps in development. This helps you make good choices and build safe, useful devices.
Key Takeaways
Learn about how to make a medical device prototype. Start with an idea. Then test it to make sure it is safe and works well.
Pick the best materials for your prototypes. Think about if they are safe for the body and if they work well. This helps meet safety rules.
Make a careful plan for your money. Costs can change based on how you make it, what you use, and how hard it is. Try rapid prototyping to save money at the start.
Follow the rules early in the process. This helps you avoid expensive changes later. It also makes sure you follow safety rules.
Keep learning about new trends. New technology and materials can help you make better prototypes. This can make your device work better.
Introduction to Medical Device Prototype Development
What is a medical device prototype?
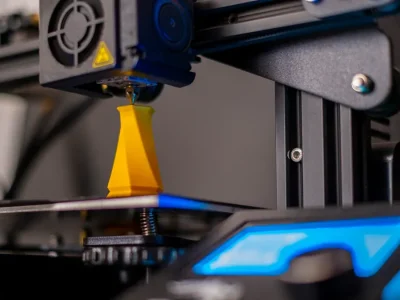
When you start making a medical device prototype, you turn your idea into something you can touch. A medical device prototype is the first version of your product. You use it to try out ideas and see if it works. You also check if the design does what you want. In the beginning, you might use 3D printing, rapid prototyping, or simple models. These models show your idea can work, even if they are not perfect. You can change your design many times before you finish the real product.
Here are the main steps you follow in medical device development:
Come up with an idea
Design and plan how it works
Make the parts
Put the parts together
Test and see if it works
Make changes to improve it
Check if it meets the rules
Make sure it follows the law
Get ready to make more
Each step helps you fix problems and make sure your device is safe and helpful.
Importance in product development and regulatory compliance
Prototyping is very important in medical device development. You use prototypes to find problems early and fix them before spending more money. Early risk checks help you find dangers and plan how to stop them. You keep track of how well your plans work to keep your device safe.
Regulatory compliance is also very important. You must follow rules from groups like the FDA or get CE marking in Europe. These rules help you show your device is safe and works well. You need to plan for these tests from the start. This helps you avoid expensive changes later.
Regulatory Standard | Key Points |
|---|---|
FDA (U.S.) | Puts devices into risk groups. Needs design checks, risk checks, user tests, and other tests. Planning early helps you avoid doing things over. |
ISO Standards | ISO 13485 is about quality. ISO 10993 checks if materials are safe. Both set rules for safety and quality around the world. |
CE Marking (EU) | Shows your device follows European safety and health rules. You must plan for CE rules early. |
You make better devices when you use prototypes to test, learn, and follow the rules.
Development Process Overview
Concept & Design Phase
You begin by thinking about what the device should do. You talk with clients to learn what they need. You and your team share ideas and look at different designs. You want the device to be easy to use, safe, and not too expensive. You keep changing your design to make it better. You pick the best idea after trying a few. Here is a table that lists the main steps:
Step | Description |
|---|---|
Product Design | Make first ideas and simple models. |
Usability Engineering | Test if people can use it easily. |
Risk Management | Look for things that could go wrong. |
Regulatory Compliance | Check if the device follows the rules. |
Manufacturing | Plan how to make it and what to use. |
Prototyping Stages | Try alpha, beta, and pilot models to get better. |
Functional Prototyping
Next, you build a prototype that works like the real thing. You might use 3D printing or other machines to make it. These tools help you test the shape and how it works. You see if your idea can really work and do what you want.
Testing & Validation
Testing is very important in this step. You check if the prototype works well and ask people what they think. You test how it works, how people use it, and if it is strong. You also make sure it meets all the rules and works in real life.
Iteration & Refinement
You use what you learn from testing to make the prototype better. You change things, test again, and keep doing this. This helps you fix problems and make the device safer and easier to use.
Preclinical Research
Before you test on people, you do preclinical research. You try the device in labs or with animals. You check if it is safe and if it works. You write down what the device is and what you want to learn. Good preclinical research helps you get ready for the next steps and avoid problems later.
Material Selection for Prototypes
Common materials (resins, ABS, silicone, etc.)
When you make a medical device prototype, you must pick good materials. The most used ones are metals, thermoplastics, and biomaterials. Metals like aluminum and steel are strong and can handle heat. These are often used in surgical tools and implants. Thermoplastics like ABS and polycarbonate are light and not too expensive. They are good for making housings and handles. Biomaterials are important for tissue engineering and special parts. Silicone is soft and bends easily, so it is used for catheters and seals. The healthcare field is growing quickly. Rapid prototyping uses these materials to help doctors plan surgeries and try new ideas. In 2024, materials made up almost half of the 3D printed medical device prototype market. This shows that picking the right material is very important.
Material properties affecting function & testing
You need to check many things when picking materials for your prototype.
The material must be biocompatible to keep patients safe.
The material’s properties should fit what the device needs to do.
Pick materials that pass safety tests and are biocompatible.
Do not use materials that hurt or kill living cells (cytotoxicity).
Stop immune reactions (immunogenicity) and genetic damage (genotoxicity).
For devices that go inside the body, use titanium or medical-grade plastics. For devices used outside the body, silicone or hypoallergenic plastics are best. Stainless steel or PEEK is good for needles. Silicone is good for catheters. Long-term implants, like heart valves, often use biocompatible titanium.
Choosing materials for functional vs visual prototypes
You must decide if your prototype will show how it works or just how it looks. Use this table to help you pick:
Criteria | Description |
|---|---|
Regulatory and Compliance | Follows safety, effectiveness, and performance rules. |
Biocompatibility | Is safe with the body and meets biocompatibility rules. |
Sterilization Compatibility | Can be cleaned without breaking. |
Mechanical Properties | Has the right strength, hardness, and flexibility. |
Thermal Properties | Does not change when heated. |
Chemical Resistance | Does not break down in the body or with cleaners. |
Surface Properties | Changes how the device touches tissues or fluids. |
Electrical Properties | Needed for devices with electronic parts. |
Tip: Always pick your material based on the stage of development and the type of device you are making.
Cost Considerations
Typical prototyping costs by method
You should plan your budget before starting medical device prototype development. The cost depends on which method you use. Here are some common ways and what they usually cost:
3D printing lets you make early prototypes fast. It helps you check shape and size. Making a PCB design and prototype can cost $5,000 to $20,000.
CNC machining makes strong and exact parts. You pay about $30 to $50 each hour. This price includes the raw materials.
Injection molding is good for making many copies. It costs more at first but less for each part if you make a lot.
A medium complexity Class II medical device prototype costs about $2 to $5 million.
Class I prototypes can cost under $200,000. Class III prototypes may cost tens of millions.
You can see that costs change a lot. The method, number of prototypes, and device type all change your budget.
Factors affecting cost: material, complexity, quantity
Many things can change the cost of medical device prototyping. You should look at these things:
Material: Some materials are more expensive. Medical-grade plastics and metals cost more than basic plastics. Using production-grade materials for later prototypes makes costs go up.
Complexity: Devices with more parts or special features cost more to design and build. If your prototype has electronics or moving parts, you pay more for testing and putting it together.
Quantity: Making one prototype costs more for each piece than making many. Using rapid prototyping for early versions can save money. When you move to pre-production, you may need more copies, which lowers the cost per unit.
Development stage: Early concept development uses cheaper materials and simple designs. Later stages need better materials and more testing, so costs go up.
Testing and regulatory compliance: You must pay for safety and function tests. Meeting regulatory rules also adds to your budget.
Iterative prototyping: You often make many versions of your prototype. Each round of changes and testing adds to the total cost. This helps you improve how your device works and its quality.
Tip: Save money by using 3D printing for early prototypes. Switch to production-grade materials for the final versions.
Budget optimization tips
You can control costs in medical device prototype development by using smart ideas. Here are some ways to save money:
Strategy | Description |
|---|---|
Lean Development Methodologies | Plan your project well from the start. This helps you avoid waste and save money. |
Early Regulatory Engagement | Talk to regulatory experts early. This helps you meet rules and avoid costly changes later. |
Advanced Technologies | Use AI and digital twins to test your device before building it. This makes prototyping faster. |
Predictive Analytics | Use data to guess costs and find problems before they happen. |
Cost Considerations in Design | Think about cost when you design your device. Simple designs are cheaper to make and test. |
You should work closely with your team and suppliers. Good communication helps you avoid mistakes and delays. Always check your budget after each round of prototyping and testing. This helps you stay on track and make better choices for the next version.
Market Analysis
The market for medical device prototyping keeps getting bigger. More companies use rapid prototyping and hire experts to help. The medical device design and development services market may grow from $12.8 billion in 2025 to $24.1 billion by 2030. This is a growth rate of 13.5% each year.
Key trends in the market are:
The Asia Pacific region is a leader in medical device prototyping services.
Companies focus on new technology and easy-to-use devices.
There is a big push for rapid diagnostic devices and faster development cycles.
You need to keep up with these trends. Medical device makers who use new tools and smart planning can make successful medical device prototypes faster and for less money. Staying updated helps you improve feasibility, quality, and regulatory compliance at every stage of medical device development.
Manufacturing Methods for Prototypes
Vacuum Casting
Vacuum casting lets you make medical device prototypes fast. You use a silicone mold to make parts that look real. This method is good for making a few parts at a time. It helps you test your design before making lots of them. You can see the main good and bad points in the table below:
Advantages | Limitations |
|---|---|
High Dimensional & Visual Accuracy | Zero Room for Error |
Cost Efficiency | Shrinkage |
Agility & Flexibility | Mould Depreciation |
Risk Management | Design Limitations |
Temperature Limitations | |
Surface Finishing |
CNC Machining
CNC machining makes strong and exact parts for prototypes. You use this when you need parts that fit just right. CNC machining is used for orthopedic implants and surgical tools. It gives you good results, but it can cost more than 3D printing. It also takes more time to finish. You might waste more material, but you can recycle some of it.
CNC machining is best for parts that need to be very exact.
You use it for things that must fit perfectly, like implants.
It costs more if you only need a few parts.
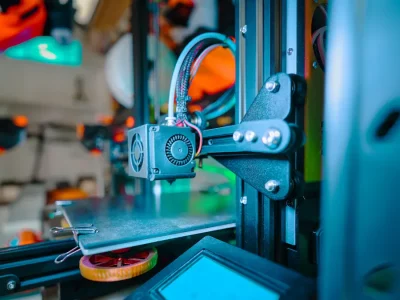
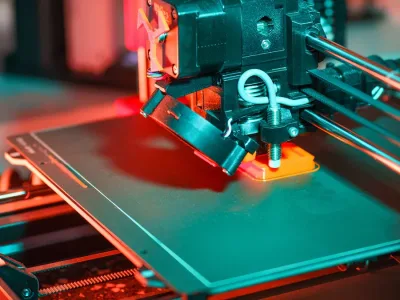
3D Printing
3D printing lets you make prototypes quickly. You can make special devices for each patient. You can try new ideas fast. This method is good for early testing and saves time and money. But you may not have many material choices. Sometimes, the quality is not always the same.
3D printing helps you make custom medical devices.
You can help patients faster.
You might use more plastic and energy, and some designs may not work with the materials you have.
Injection Molding
Injection molding is good when you need to make many parts. You get the same quality every time, which is important. This method lets you make lots of parts at once with special tools. You can start with a few and make more as you need. Injection molding helps you move from testing to making many products.
Pros and cons of each method
You should pick your method based on what your project needs. Here is a quick look:
Vacuum Casting: Good for small numbers and looks real, but molds break down.
CNC Machining: Very exact and strong, but costs more for just a few.
3D Printing: Fast and easy for testing, but has limits with materials and quality.
Injection Molding: Best for making many, but you need to spend more on tools.
Tip: Think about how you will make your device early. This helps you choose the best way and saves money later.
Best Practices for Prototype Development
Early design review & collaboration
Start your project by checking your design with your team. Bring engineers, doctors, and users together early. This helps you find problems before they get bigger. Sharing ideas makes your device work better. It also helps your prototype fit what people need. Working together early saves time and money later.
Iterative testing strategies
You should test your device many times as you build it. Try out each new version. Ask users and experts what they think. Change your design and test again. This step-by-step testing helps you fix mistakes. It also makes your device better each time. Using rapid prototyping can make this process faster.
Tip: Write down every change and test result. This helps you see what works and what does not. It also stops you from making the same mistake again.
Supplier communication and timelines
Talk clearly with your suppliers about your needs. Share your design files and what you want. Ask for updates on how things are going. Set clear dates for each part of the project. If you work well with suppliers, you get better parts and avoid delays.
Risk management and regulatory considerations
Plan for problems before they happen. Make a list of things that could go wrong. Think of ways to fix each problem. Always check if your device follows the rules. Managing risks early saves money and keeps your project moving.
Choosing Partners
Pick partners who know how to make and test medical devices. Look for companies with experience in prototypes and rules. Good partners help you solve problems fast. They also help you finish your device sooner. A strong team can guide you through every step.
Remember: The right people and good planning help you turn your idea into a real medical device.
Rapid Prototyping Tips for 2025
Accelerating development timelines
You can make medical device prototypes faster with new digital tools. Smart planning helps you work better. In 2025, AI analysis lets you change materials quickly and with fewer errors. You use digital checks to see your prototype in real time. This means you do not need to finish each step before testing. Digital Maturity Levels help you pick the right prototype for your device. If you use rapid prototyping, you can get your product to market up to 30% faster. Talking to the FDA early helps you launch on time. A company in Chicago made an IV connector by making many prototypes at once. They used machine learning to guess how materials would work. They were right 92% of the time. This saved $63,000 in retesting and made their submission 28 days faster.
Cost-efficient prototyping strategies
You can save money if you plan your prototyping steps. Try these ideas:
Use rapid prototyping for early models. This helps you test ideas fast and for less money.
Pick materials that fit your prototype’s job. Do not use costly production-grade materials for early tests.
Work with your manufacturing partners to share feedback and stop mistakes.
Test many versions at the same time to find problems early.
Use digital twins to see how your device works before you build it.
Tip: Always check your spending after each round of prototyping. This helps you see where you can save money.
Emerging trends in materials and technology
You see new trends in medical device prototyping every year. In 2025, smart materials and AI design tools change how you build prototypes. You use biocompatible polymers to make safer devices. Digital manufacturing lets you make custom parts for each patient. Real-time data helps you make your prototype better, faster. Companies use machine learning to guess how materials will act. This helps make better medical device prototypes and cuts down on delays.
Trend | Benefit |
|---|---|
AI-driven design | Faster, smarter prototyping |
Smart materials | Safer, more flexible devices |
Digital manufacturing | Custom parts for each patient |
Real-time data | Quick improvements |
Note: Keeping up with new materials and technology helps you make better prototypes and stay ahead in the medical device field.
You have learned the main steps in medical device prototype development. You pick good materials, make a budget, and follow each step from idea to testing. Always think about the rules early. Use rapid prototyping to save both time and money. Keep learning about new materials and new technology.
Read news about the industry often
Talk with experts
Try online classes
Tip: Begin with a simple plan and change it as you learn. This helps you make safer and better devices.
FAQ
What is the fastest way to make a medical device prototype?
3D printing is the quickest way to make a prototype. You can test your ideas fast with this method. If you want to change your design, you can print a new one in a few hours.
How do you choose the right material for your prototype?
First, think about how your device will be used. Make sure the material is safe for people. Use this table to help you pick:
Prototype Type | Best Material |
|---|---|
Visual Model | PLA, ABS |
Functional Test | Polycarbonate, Nylon |
Implant | Titanium, PEEK |
How much does a typical prototype cost?
A prototype can cost from $1,000 to over $100,000. The price changes based on the method, material, and how many you make. Early models are cheaper. Final working prototypes cost more.
Do you need to follow regulations for prototypes?
Yes, you must follow the rules for prototypes. If you plan for FDA or CE rules early, you can avoid problems. Always write down your tests and any changes you make.
Can you reuse prototype parts for the final product?
You usually cannot use early prototype parts in the final product. Early prototypes use other materials and ways to make them. Final products need special, approved materials for medical use.