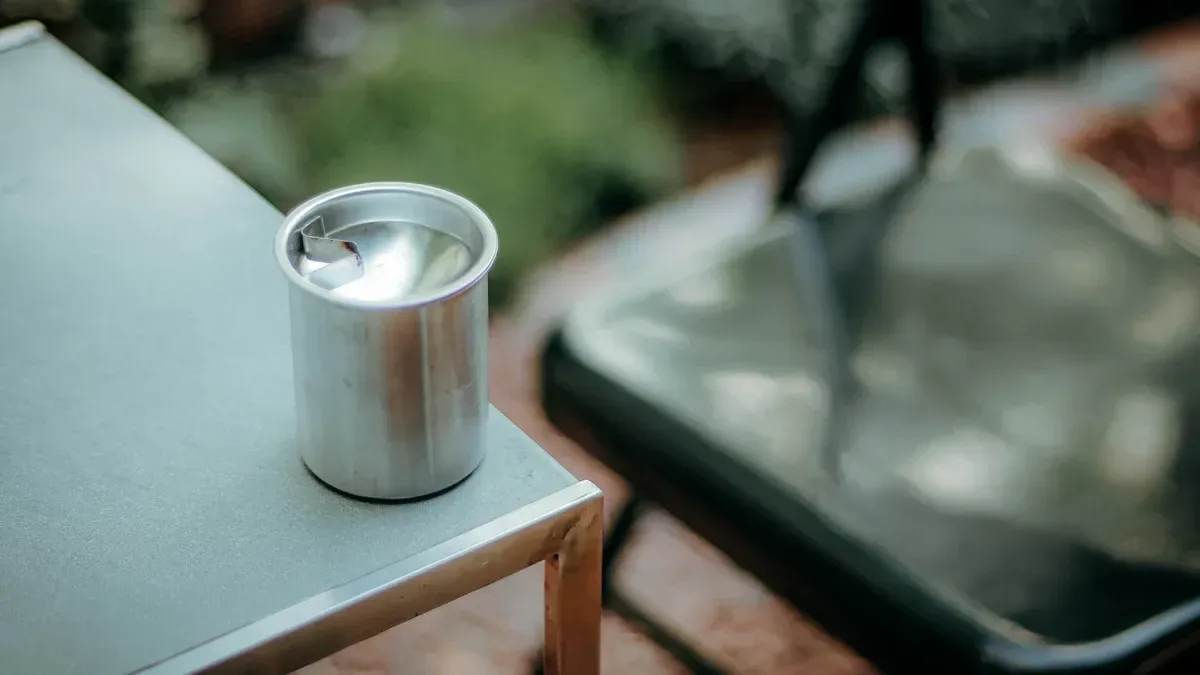
Have you ever thought about making aluminum shiny again? To do this, you must remove anodizing. Anodizing is a strong protective layer on aluminum. It can be removed with the right method. This will show the bare aluminum underneath. Whether fixing a part or getting it ready to paint, the steps are simple if done correctly.
Tip: Be gentle with aluminum to prevent scratches or harm.
Key Takeaways
- Get the right tools and materials first. Use a soft brush, fine sandpaper, and a plastic container for chemicals.
- Always stay safe. Wear rubber gloves, safety goggles, and a face mask when using chemicals to protect yourself.
- Pick the best way to remove anodizing. Use chemicals like sodium hydroxide for fast results or abrasives for better control.
- Wash and rinse the aluminum well after removing anodizing. This makes the surface smooth and ready for polishing or coating.
- Take care of your aluminum by cleaning it often and adding a protective layer. This keeps it shiny and stops it from rusting.
Tools and Materials for Removing Anodizing
To remove anodizing from aluminum, you need the right tools. Preparing everything beforehand makes the job easier and safer.
Essential Tools
Here are the basic tools you’ll need to start. These will help you handle aluminum and remove the anodized layer:
- Plastic or metal container: Holds the chemical solution safely.
- Soft-bristle brush: Scrubs gently without scratching the surface.
- Sandpaper or abrasive pads: Use fine-grit for a smooth finish.
- Cloth or rags: Cleans and dries the aluminum after treatment.
- Measuring cups: Helps mix chemicals in correct amounts.
Tip: Don’t use steel brushes or rough tools. They can harm the aluminum.
Recommended Chemicals
Chemicals are important for breaking down the anodized layer. Below are some common choices:
- Sodium hydroxide (lye): A strong chemical that works quickly.
- White vinegar: A gentler option for light anodizing removal.
- Commercial anodizing remover: Made specifically for this task.
Always check the labels on chemical products. Follow directions carefully to stay safe.
Safety Gear and Equipment
Safety is very important when using tools and chemicals. Make sure to have this gear:
- Rubber gloves: Protects your hands from harmful chemicals.
- Safety goggles: Shields your eyes from splashes.
- Apron or old clothes: Keeps your body safe from stains or burns.
- Face mask: Stops you from breathing in chemical fumes.
Note: Work in a space with good airflow to avoid harmful fumes.
Having the right tools, chemicals, and safety gear makes the job easier. It also keeps you safe while working.
Step-by-Step Guide to Remove Anodizing
Getting the Aluminum Ready
Before starting, make sure the aluminum is prepared. Good preparation gives better results and avoids damage. Follow these steps:
- Look for scratches or dents on the aluminum. Use sandpaper, buffing pads, or sandblasting to smooth it out.
- Clean the aluminum well. Remove grease, fingerprints, or oils. A mild soap or degreaser works great for this.
- Check for steel parts like rivets or pins. These can rust during the process, so take them out first.
Doing these steps helps you get a smooth and clean finish.
Tip: Always check for leftover dirt or grease before moving forward.
Using Chemicals to Remove Anodizing
Chemicals are a fast way to remove anodizing. They break down the layer evenly. Here’s how to use them:
- Pick the right chemical. Sodium hydroxide (lye) is common, or mix 6% phosphoric acid and 1.8% chromic acid at 80°C for good results.
- Mix the solution in a plastic or metal container. Follow the product instructions for safety.
- Put the aluminum in the solution. Let it sit for a few minutes, but watch it closely to avoid damage.
- If needed, scrub gently with a soft-bristle brush to remove tough spots.
After the anodizing is gone, rinse the aluminum with water to stop the reaction.
Warning: Wear gloves, goggles, and a mask when using chemicals. Work in a space with good airflow to stay safe.
Removing Anodizing with Abrasives
If you prefer not to use chemicals, abrasives can help. This method works well for small areas. Here’s how to do it:
- Use fine-grit sandpaper or an abrasive pad. Rub the surface gently in circles to remove the anodized layer.
- For harder spots, try a sanding block or rotary tool with a buffing attachment. Don’t press too hard to avoid scratches.
- After sanding, wipe the aluminum with a clean cloth to remove dust.
Abrasive methods take longer but give you more control over the process.
Note: Test on a hidden spot first to make sure you don’t harm the aluminum.
Cleaning and Rinsing the Surface
After removing the anodized layer, clean and rinse the aluminum. This step clears residue and makes the surface smooth for the next steps.
Steps to Clean the Surface
- Rinse with Water: Wash the aluminum under running water. This removes loose particles and leftover chemicals. Use warm water for better results.
- Use a Mild Cleaner: Add a little mild dish soap or aluminum-safe cleaner. Gently scrub with a soft sponge or cloth. Avoid strong cleaners—they can harm the aluminum.
- Scrub Stubborn Spots: For tough stains or residue, use a soft-bristle brush. Scrub gently in small circles to avoid scratching.
Tip: If the aluminum looks dull, mix water with white vinegar. This natural solution can brighten the surface.
Rinsing the Aluminum
Rinse the aluminum well after cleaning. Make sure no soap or cleaner is left behind. Leftover residue can cause streaks or affect the finish.
- Use running water to rinse every part of the surface.
- Check for slippery spots by touching the aluminum. If it feels slick, rinse again.
Drying the Surface
Drying is as important as cleaning. Water spots can ruin the aluminum’s appearance. Follow these steps to dry it properly:
- Wipe the surface with a clean, lint-free cloth. Pat it dry instead of rubbing to prevent scratches.
- Let the aluminum air-dry in a ventilated area. Avoid direct sunlight to ensure even drying.
Note: Inspect the aluminum after drying. If you see streaks or spots, rinse and dry it again.
By following these steps, your aluminum will be clean, smooth, and ready for polishing or coating.
Safety Precautions During Anodizing Removal
When removing anodizing from aluminum, safety is very important. Chemicals and tools can be harmful if not used correctly. Here are some key tips to stay safe during the process.
Handling Chemicals Safely
Chemicals like sodium hydroxide are strong and need careful handling. Always read the label before using them. Follow the instructions exactly to avoid accidents. When mixing, pour chemicals into water, not water into chemicals. This stops splashes that could hurt your skin or eyes.
If a chemical spills, clean it up right away. Use a wet cloth for small spills or follow cleanup directions for bigger ones. Never leave chemical containers open or unattended. Store them in a cool, dry place, away from kids and pets.
Tip: Keep clean water nearby. It’s useful for rinsing tools or hands if needed.
Creating a Safe Workspace
A safe workspace helps prevent accidents. Pick a spot with good airflow, like an open garage or outdoor area. This keeps you from breathing harmful fumes. Cover your work table with plastic or old newspapers to catch spills.
Keep tools and materials organized and within reach. This reduces unnecessary movement while working. Make sure your workspace is bright so you can see clearly. A clean, well-lit area lowers the chance of mistakes.
Warning: Don’t work near flames or heat. Some chemicals can catch fire easily.
Wearing Protective Gear
Protective gear keeps you safe while working. Always wear rubber gloves to protect your hands. Use safety goggles to shield your eyes from splashes. A face mask helps you avoid breathing in fumes from strong chemicals.
Wear old clothes or an apron to protect your skin and clothing. Closed-toe shoes are also important in case of spills. Check your gear before starting to make sure it fits well and covers you completely.
Note: If you feel dizzy or irritated, stop working. Go outside for fresh air and check what caused the problem.
By following these steps, you can safely remove anodizing without risking your health.
Troubleshooting Problems in Anodizing Removal
Even with the right tools, problems can happen. Don’t worry—most issues are easy to fix.
Uneven Removal
Sometimes, the anodized layer doesn’t come off evenly. This can make the surface look patchy or rough. It often happens if chemicals or abrasives are not used properly.
Here’s how to fix it:
- Check your method: Spread the chemical solution evenly. Move the aluminum if needed.
- Monitor the process: Use tools to check temperature and vibrations for better results.
- Change your tools: Use finer sandpaper or pads. Press lightly to avoid over-sanding.
Tip: Look at your tools often. Worn tools can cause uneven results.
Stains or Marks
Stains or marks may appear during or after removing anodizing. These can happen from poor rinsing, leftover chemicals, or the type of aluminum alloy.
| Problem Type | Causes | Solutions |
|---|---|---|
| Fume Stains | - Long exposure to fumes | - Reduce time near etch tank |
| - Poor timing between steps | - Improve airflow around the tank | |
| Trapped Chemicals | - Hot solutions in small spaces | - Change part position |
| Residue from Sealing | - Nickel buildup | - Keep pH levels correct during sealing |
| Poor Rinsing | - Not rinsing enough | - Rinse more often |
Some alloys, like 6082, may turn brown under the anodized layer. To avoid this, use aluminum with a consistent mix.
Note: Always rinse well after using chemicals. Leftover chemicals can leave permanent stains.
Removing Thick Layers
Thicker anodized layers are harder to remove. Regular methods may not work as well.
To handle this:
- Stronger chemicals: Use a slightly stronger solution, but stay safe.
- Slow tool speeds: Lower the speed of mechanical tools for better control.
- Stress relief: After removing the layer, use heat to reduce stress on the aluminum.
Warning: Don’t rush. Removing thick layers too fast can harm the aluminum.
By solving these problems step by step, you’ll get smooth, clean aluminum every time.
Post-Removal Care for Aluminum
Polishing the Surface
After removing the anodizing, the aluminum may look dull. Polishing makes it shiny and smooth again. Use a polish made for aluminum. Put a little on a soft, clean cloth. Rub the aluminum in small circles. This spreads the polish evenly and avoids streaks.
For a shiny, mirror-like look, use a buffing tool. Work slowly to avoid heating the metal too much. If you see scratches, switch to a finer polish. After polishing, wipe the aluminum with a microfiber cloth to clean off any leftover polish.
Tip: Polishing improves the look and gets it ready for coatings.
Adding a Protective Coating
Bare aluminum can oxidize and lose its shine. A protective coating keeps it safe and looking good. You can use clear lacquer, wax, or oil.
To use lacquer, spray or brush it on evenly. Let it dry fully before touching the aluminum. Wax is another choice. Rub it on with a soft cloth, then buff it to make it shine. For a simple option, apply a little mineral oil and wipe off the extra.
Warning: Follow the coating instructions carefully. Wrong application can cause uneven results.
Maintenance Tips for Longevity
It’s easy to keep aluminum in good shape. Clean it often to stop dirt from building up. Use mild soap and water. Don’t use rough cleaners—they can scratch the surface.
Check the aluminum now and then for oxidation or wear. If it looks dull, add a new protective coating. For polished aluminum, a quick buff will bring back its shine.
Emoji Reminder: 🧽 Clean, 🛡️ Protect, and ✨ Polish often to keep aluminum looking great!
By doing these steps, your aluminum will stay strong and shiny for a long time.
Taking off anodizing from aluminum is not hard to do. Use the right tools, materials, and follow safety rules. Go step by step and don’t rush. This helps the process work well and keeps you and the aluminum safe.
After finishing, remember to care for the aluminum. Polish it and add a protective layer to keep it shiny. This will help it stay strong and look good for a long time.
Reminder: Stay safe! Wear safety gear and work in fresh air.
FAQ
What is anodizing, and why is it used on aluminum?
Anodizing adds a strong oxide layer to aluminum. This layer protects it from rust, makes it last longer, and looks nice. You’ll see it on things like pans, car parts, and gadgets.
Can I remove anodizing without using chemicals?
Yes, you can! Use sanding or buffing pads for small spots. Be careful not to scratch the aluminum. This way takes longer but gives you more control.
How do I know when the anodizing is fully removed?
The aluminum will look dull and even in color. If there are shiny or uneven spots, some anodizing is still there. Keep working gently until the surface looks smooth.
Is it safe to remove anodizing at home?
It’s safe if you’re careful. Wear gloves, goggles, and a mask. Work in a place with fresh air. Handle chemicals safely and keep water nearby for rinsing or emergencies.
Can I re-anodize aluminum after removing the old layer?
Yes, you can! After removing the old anodizing, clean and smooth the surface. Then, you can start the new anodizing process for a fresh, strong finish.
Tip: Re-anodizing makes your aluminum look new and last longer!
Start Your Next Project with LKprototype
LKprototype simplifies procurement for custom manufacturing, Suitable for making your products or prototypes with a variety of materials, such as metal or plastic, silicone rubber, from 3D Printing to CNC Machined Parts and Vacuum Casting , with a focus on speed and efficiency. Our platform provides instant quotes. With LKprototype, You can connect with the team to communicate your project to ensure quality and on-time delivery.
Start with an instant quote and experience how our technology and expertise can make custom part procurement faster and easier.
 LKprototype

