LKprototype
 Need to prototype a product without breaking the bank? This article covers the key steps and methods on how to prototype a product, guiding you from an idea to a functional prototype. Learn about defining your product, creating sketches, building physical models, and refining your design. Discover cost-effective techniques and avoid common pitfalls to ensure your prototype meets user needs.
Key Takeaways
Prototyping transforms ideas into tangible models, allowing for early evaluation and informed decision-making to save time and costs.
Engaging users during the prototyping phase provides critical feedback, helping to refine designs and ensure the final product meets user needs.
A structured prototyping process involves defining ideas, creating sketches, developing proof of concepts, building prototypes, and iterating based on testing.
Understanding Prototypes

The process of prototyping transforms a conceptual idea into a workable model, providing the physical form for what was once just an abstract concept. By producing a prototype, you gain valuable insights as your vision is manifested in tangible form—enabling critical assessment and validation of its practicality. Prototypes enable early-stage testing and decision-making, helping conserve both resources and effort.
In the journey from idea to physical product, various types of prototypes play distinct roles within the stages of prototyping. Digital versions are adept at swiftly capturing user feedback and enabling rapid design iterations. Meanwhile, creating a physical prototype offers deeper insight into real-world application regarding usability and function. The choice of which type to develop significantly affects how effectively your intended audience can engage with it.
Creating prototypes is inherently about exploration—a cycle where ideas are repeatedly tested and refined toward excellence while aligning with user expectations for the finished product. Equipping yourself with patience along with appropriate tools allows you to craft functional prototypes that act as stepping stones towards realizing successful end products through diligent iteration in this key phase.
Benefits of Prototyping

The process of prototyping serves as an essential phase in the creation of products, with numerous advantages. Most notably, it allows for early detection and correction of design flaws, which circumvents potentially expensive complications down the line. Through multiple iterations on your prototype, you can enhance your design to align with user demands and preferences.
Another pivotal benefit lies in economizing both costs and time. While investing in a prototype might initially appear costly, these expenses are dwarfed by the potential financial burden and delays that unresolved issues could cause when moving into full-scale production. The utilization of rapid prototyping methods also expedites progress towards finalization of product designs. This enables swift visual assessments and modifications without considerable hold-ups.
Finally, incorporating feedback from actual users throughout the testing phase is crucial during prototyping because it provides direct insight into how well a product performs its intended functions according to those who will ultimately use it—your target audience. This process guarantees that your final offering resonates more closely with consumer expectations upon release thus increasing its likelihood for success within its market niche.
Steps to Prototype a Product
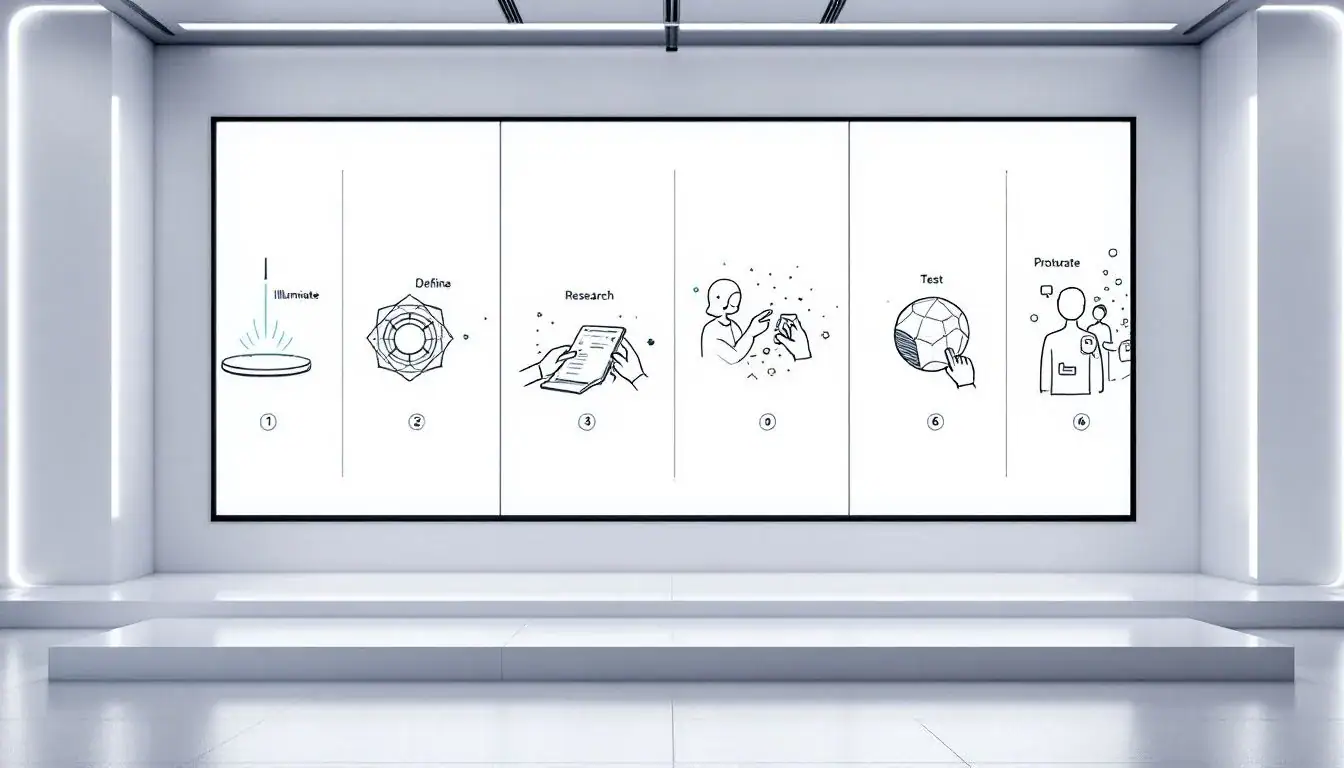
The process of prototype development entails a series of steps that lead from conceptualizing your product idea to crafting a working functional prototype. This sequence commences with establishing the essence of your product concept, moving on to preliminary drawings, constructing a proof-of-concept model, fabricating physical prototypes for testing purposes and iterating upon them before ultimately cementing the design specifications. Every stage plays an integral role in molding your product into one poised for success.
Embarking on this journey starts by defining a clear vision for your item and then navigate through orderly segments critical for effectively steering the development process within prototyping. Here’s an insightful overview at each phase to appreciate how they individually contribute toward realizing a successful final product prototype.
Define Your Product Idea
The commencement of prototyping hinges on having a lucid idea for the product. This critical first move charts the course for all subsequent steps in the process. Neglecting to have a sharply defined concept before progressing can result in inefficient outcomes and wasted efforts.
Embark on an extensive market investigation to comprehend competitors and pinpoint potential opportunities your new product could exploit. Holding brainstorm sessions with team members is useful for concocting workable solutions that tackle particular consumer issues or fill a unique market segment. Employ both qualitative and quantitative research methods to acquire wide-ranging data, guaranteeing your product concept is not only pioneering but also feasible.
Maintaining a precise and dedicated vision of the product steers you through every phase that follows.
Create Initial Sketches
Having established a clear product idea, the subsequent phase involves generating preliminary sketches. These initial drawings are pivotal in giving shape to your prototype by providing visual representations of its design and features. Begin with rudimentary instruments such as pen and paper to draft your concepts and outline fundamental specifications.
To achieve intricate designs, employing computer-aided design (CAD) software is essential. This technology enables you to craft exact 3D renditions of your product that can be perfected using augmented reality tools for envisioning how the product will appear in real-world settings.
These comprehensive sketches and models play an indispensable role in conveying your concept to stakeholders while directing the course of development.
Develop a Proof of Concept
Creating a proof of concept is an essential step in verifying that your product idea is both feasible and functional. It confirms that the underlying principles of your idea are robust prior to advancing with development.
Establishing a proof of concept early on allows for the identification and rectification of any potential flaws, which diminishes risks and circumvents expensive errors down the line. This phase includes testing the technical feasibility and implementing required modifications to ensure success.
Build Physical Prototypes
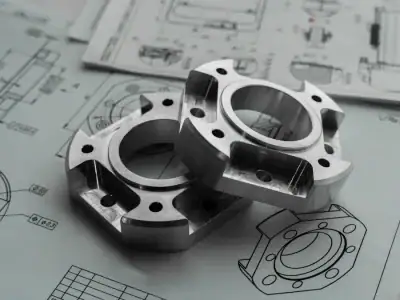
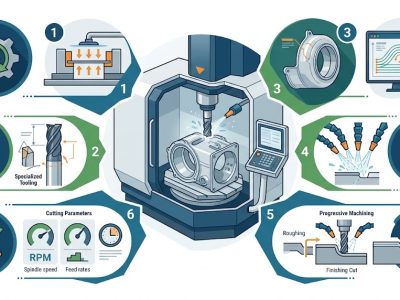
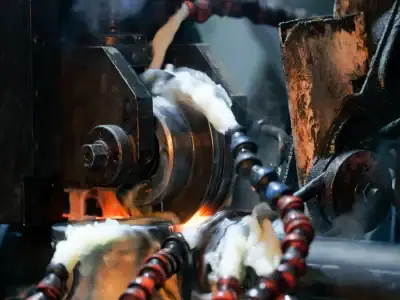
Following the affirmation of your concept, construct physical prototypes by employing techniques such as 3D printing, CNC prototyping, and vacuum casting within the prototype manufacturing process. The selection of a method hinges on its congruence with precision needs and material specifications.
Known for its swift production capacities, 3D printing facilitates rapid alterations to physical models. Conversely, CNC prototyping is celebrated for its exceptional accuracy and sees prevalent use in sectors such as automotive and aerospace. For prototypes that necessitate elevated exactitude using materials like polyurethane and silicone, vacuum casting proves to be efficient.
The careful choice of both technique and materials is pivotal in generating a functional prototype that serves as an accurate depiction of your final product.
Test and Iterate
Iterating and refining your prototype is an essential step in the process. It’s crucial to collect insights from actual users to confirm that their needs and desires are being met. Obtaining early feedback allows for vital changes, enabling continued enhancements of the design.
Accept the repetitive aspect of prototyping, which necessitates numerous modifications anchored on user input and research findings. Engaging with your target audience throughout the testing phase boosts prospects for transforming your concept into a viable end result.
It is imperative to resolve any problems revealed through testing, honing the prototype based on this input from users. This dedication is instrumental in crafting an exceptional final product that stands out.
Finalize Design Specifications
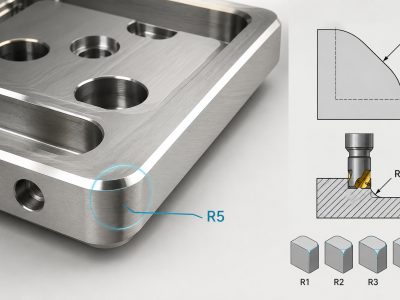
Finalizing the design specifications is pivotal, as it involves crafting a production-compatible prototype that aligns with your financial constraints and design objectives. To guarantee the product’s suitability for mass production, engineers contribute exhaustive schematics, both 2D and 3D representations, along with evaluations of manufactureability.
It is equally crucial to choose appropriate materials and collaborate with trustworthy suppliers to ascertain expenditures at this phase. By solidifying the design specifics, you confirm that your item is prepared for full-scale production while adhering to all requisite quality benchmarks.
Cost-Effective Prototyping Methods

The process of prototyping doesn’t have to be exorbitantly priced if cost-effective strategies are employed. By concentrating on developing a minimum viable product that incorporates only the necessary features, lean prototyping enables quick testing and feedback acquisition with minimal expenses, ensuring the essential functionality undergoes evaluation.
Utilizing readily available materials such as cardboard for initial prototypes can lead to substantial savings while sparking inventive solutions. Adopting digital fabrication techniques like 3D printing allows for the swift creation of physical prototypes at a reduced expense compared to conventional methods.
Although creating prototypes in-house is typically more economical, delegating this task to seasoned professionals or partnering with a development firm may optimize the prototyping process and deliver higher caliber results.
Protecting Your Intellectual Property
Safeguarding your intellectual property (IP) is crucial to preserve a competitive advantage. By securing patents, inventors are afforded the exclusive right to their creations, barring anyone else from producing or selling them without consent for a certain period of time. This assures that your innovations stay exclusively yours.
When revealing product ideas to prospective investors or collaborators, non-disclosure agreements (NDAs) play an integral role. An NDA ensures the confidentiality of discussions by establishing clear terms and thus aids in protecting your precious IP.
Maintaining trade secrets involves keeping sensitive business information under wraps to continue holding onto an edge over competitors. Intellectual property insurance offers monetary backing when dealing with infringement disputes, thereby safeguarding your holdings without imposing substantial economic stress.
Common Mistakes to Avoid
During the prototyping process, it’s essential to avoid errors that can compromise its effectiveness. A prevalent oversight is disregarding the input of your target audience. It’s crucial for their feedback to be integrated from the outset and consistently throughout the development to ascertain that the final product aligns with what they seek.
Another habitual blunder in this realm is an overly intricate prototype design which obscures potential issues and complicates refining processes. By setting a financial plan early on and adhering strictly to it, you avoid excessive expenses brought about by numerous iterations.
Finally, conducting a thorough analysis of market conditions cannot be overstated as part of this journey. Assuring not just profitability, but also confirming demand alignment within your prospective marketplace.
Choosing the Right Prototyping Tools

Choosing appropriate tools for prototyping is essential to produce superior quality prototypes. Utilizing visual prototyping software such as Figma or Vectr facilitates the creation of intricate designs and expedites the feedback process. For physical prototypes, desktop 3D printers like MakerBot can quickly turn digital models into tangible iterations.
For meticulous modeling in 3D printing, Cura software efficiently slices CAD files into layers, delivering precise results. FreeCAD provides an accessible platform suitable for crafting customizable CAD models with ease. Ensuring that you have selected the optimal tools for each phase of development guarantees that your prototypes will be both functional and of exceptional quality.
Working with Professionals
Collaborating with experts can greatly improve the caliber of your prototype and make the prototyping process more efficient. By involving professional product designers, you gain access to precise formal sketches and specialized advice throughout both design stages and prototyping activities. To ensure a fruitful partnership that yields top-notch outcomes, maintaining open lines of communication with prototype companies is essential.
Opting for firms compliant with ISO standards guarantees adherence to higher quality benchmarks and dependability in production. Determining how involved you wish to be aids in identifying an appropriate collaborator. A proficient product development firm will offer insightful recommendations, assisting you through several revisions until your design reaches its final form.
By enlisting adept professionals, efficiently transforming your concept into a consumer-ready commodity becomes achievable.
Summary
Prototyping is a vital step in the product development process, offering numerous benefits such as identifying design flaws early, saving time and costs, and gathering user feedback. By following a structured approach, from defining your product idea to finalizing design specifications, you can create a successful prototype that meets market demands and user expectations.
Remember, prototyping is an iterative process that involves continuous learning and adaptation. With the right mindset, tools, and professional guidance, you can turn your innovative ideas into reality and achieve success in the market. Embrace the journey of prototyping, and let your creativity and determination lead the way.
Frequently Asked Questions
Why is prototyping important in product development?
In product development, the practice of prototyping is crucial as it allows for the visualization and testing of ideas. This process helps in identifying design issues at an early stage and collects important feedback from users, which saves time and resources in the long run.
What are some cost-effective methods for prototyping?
By adopting a lean approach to prototyping and creatively reusing materials such as cardboard through DIY methods, substantial cost reductions can be achieved.
The use of digital fabrication methods like 3D printing combined with partnerships with product development companies could result in considerable long-term savings.
How can I protect my intellectual property during the prototyping process?
To effectively protect your intellectual property during the prototyping process, secure patents, use non-disclosure agreements (NDAs), and maintain confidentiality of trade secrets.
Additionally, consider intellectual property insurance for added financial protection against potential infringement claims.
What are common mistakes to avoid in prototyping?
In order to guarantee the success of your prototyping process, it is essential not to overlook user feedback or make your design too complex, and always be willing to iterate based on the insights gained.
It’s critical to allocate an adequate budget for the process and carry out extensive market research that will steer your prototyping efforts in the right direction.
How do I choose the right prototyping tools?
Choose prototyping tools that align with your project stage and prototype type, such as Figma for visual prototypes or 3D printers for physical models.
Prioritize tools that meet your specific requirements and fit within your budget.
Still, need help? Contact Us: lk@lkprototype.com
Need a PROTOTYPE or PARTS machining quote? Quote now