LKprototype
 Looking to learn how to make silicone for molds at home? This guide will walk you through the necessary steps and materials, ensuring you can create high-quality molds easily.
Key Takeaways
Making silicone molds at home is cost-effective and allows for customization in crafting projects.
Key materials for DIY silicone molds include silicone caulking, cornstarch, and mold release agents to ensure easy demolding.
Curing time for molds varies, and safety precautions, like wearing gloves and ensuring good ventilation, are crucial during the process.
Why Make Silicone Molds?
Manufacturing silicone molds yourself can lead to significant savings over purchasing off-the-shelf options. By creating custom molds, you ensure your projects are exactly as you imagined them without incurring the expenses associated with pre-made versions.
The joy of producing multiple copies from a single mold is undeniable. Imagine designing an exquisite piece of jewelry or crafting an intricate figurine and being able to duplicate it effortlessly time after time. Silicone molds provide both effectiveness and uniformity for your artistic pursuits.
Custom silicone molds offer exceptional creative freedom due to their swift curing characteristics, which facilitate rapid production cycles. This enables you to experiment with various designs and materials efficiently—an advantage especially beneficial for enthusiasts and small business proprietors who aim to quickly manufacture items of superior quality.
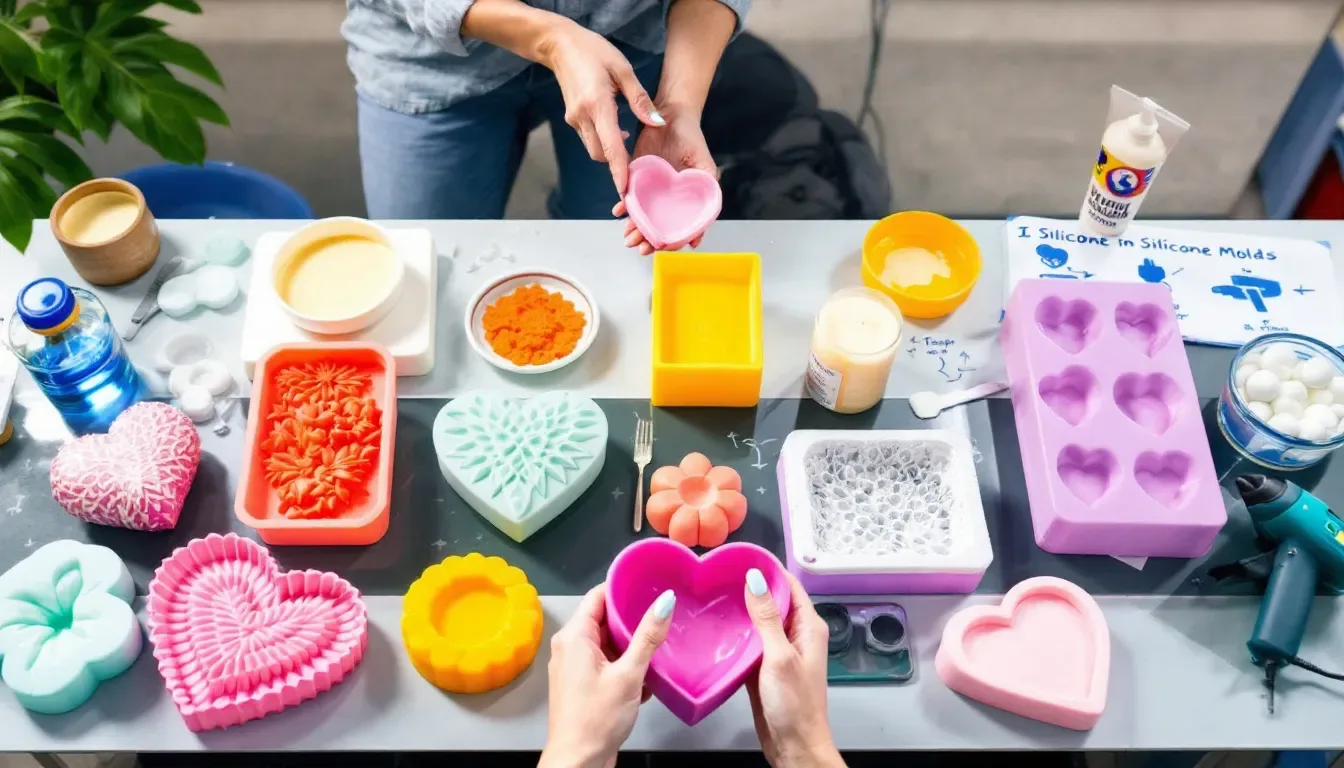
Materials Needed for DIY Silicone Molds
To begin the mold-making journey, one must first gather all required components. The essential materials for crafting homemade silicone molds consist of:
Silicone caulking
Cornstarch
Baby oil
Acrylic paint (optional)
Caulking gun
A mixing container
Protective gloves
Mold release substances
These cost-effective items can be found with ease at a wide array of craft and hardware retailers, offering great convenience for do-it-yourself enthusiasts.
The primary substance used to create mold putty is silicone caulking, which achieves its desirable texture when mixed with cornstarch. To ensure smooth and consistent distribution of silicone caulking, employing a caulk gun is advised. For those wanting to infuse their creations with vibrancy, acrylic paint provides an optional touch of color.
It’s crucial to wear protective handwear such as gloves during this process to maintain cleanliness and safety while manipulating the sticky silicone concoction. Utilizing mold release agents is paramount in guaranteeing that your completed molds detach from original models seamlessly without adhering or causing damage.
Preparing Your Workspace
For successful mold making, it’s essential to maintain a tidy and structured environment. Establish a spacious, clutter-free space that allows for easy movement and reduces the risk of impurities interrupting the molding process. Fix in place any objects you are working on to avoid displacement while pouring silicone.
Prioritize your safety throughout this procedure by wearing protective equipment such as gloves and eye protection to safeguard against potential irritants. Make sure there is adequate airflow in your workspace because silicone sealants can emit potent vapors leading to symptoms like dizziness or feeling faint.
Be cautious with storage: keep silicone sealant distanced from any sources of heat due to its flammable nature.
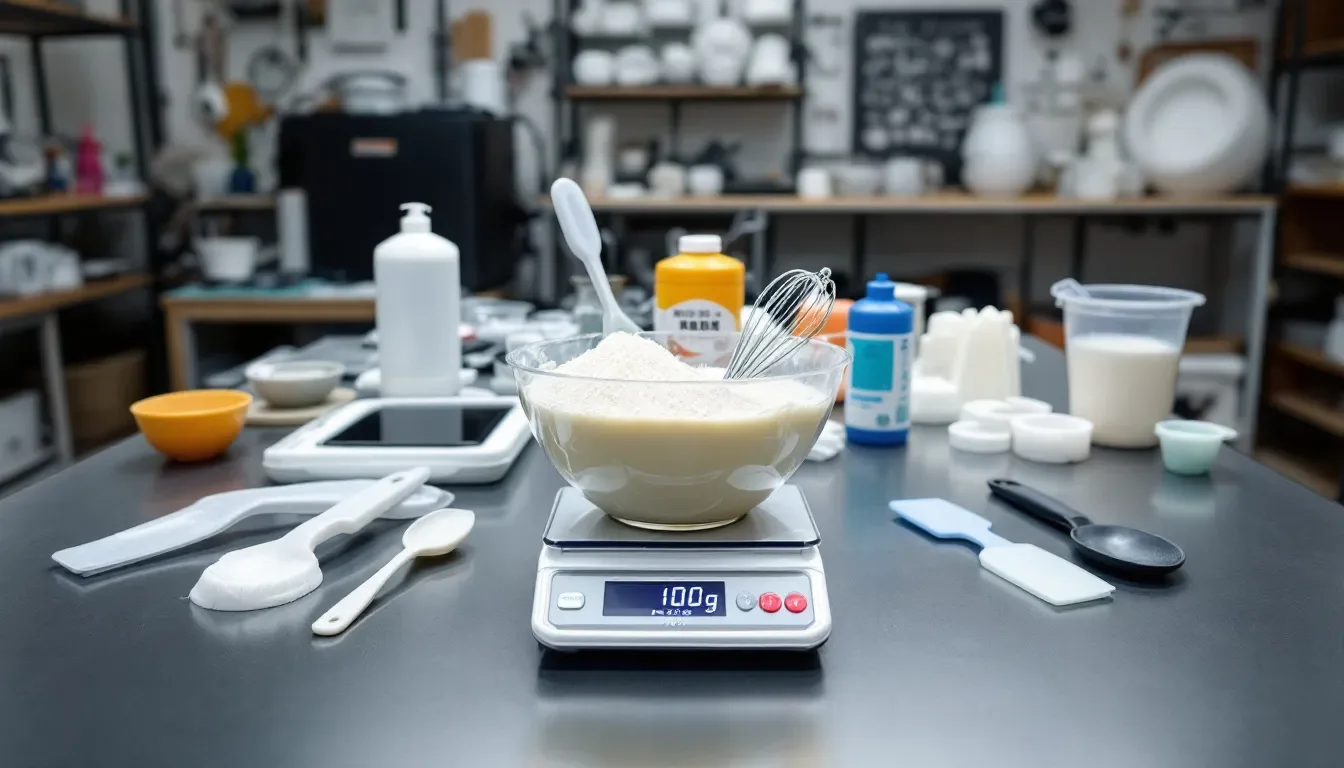
Creating the Silicone Mix
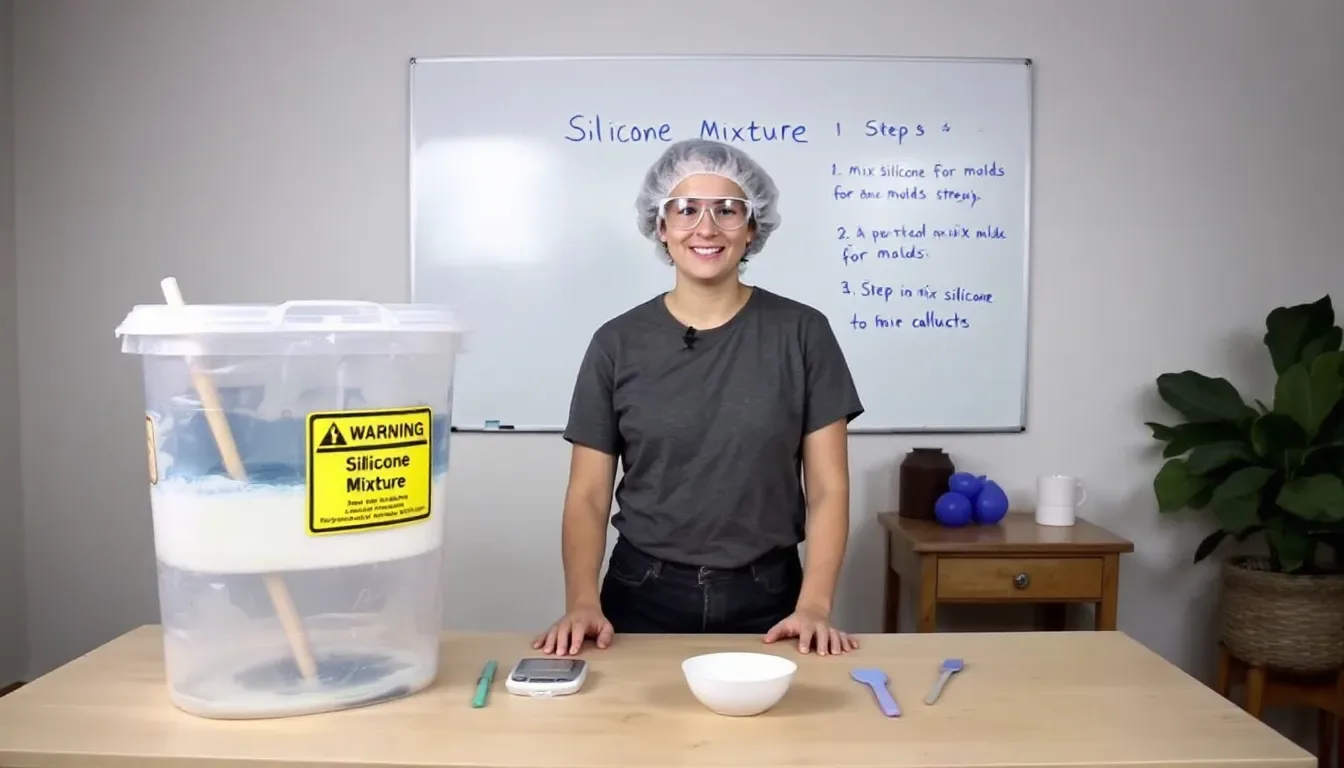
In the craft of mold making, producing an optimal silicone blend is crucial. To facilitate a simpler cleanup and prevent adherence, position wax paper on your workstation. Mix together silicone caulking with cornstarch within a bowl to attain the required density. Incorporate baby oil if you wish to lessen its tackiness.
For uniformity in your mixture, ensure that silicone and cornstarch are thoroughly integrated without any clumps remaining. Use your hands to knead it until it forms into a homogenous silicone paste that’s apt for use in molding tasks.
By manually working through the silicone mixture, you can fine-tune its texture while smoothing out any irregularities that may arise. Once achieved, this ready-to-use mix is set for embarking on fashioning your inaugural creation with the mold.
Making a Simple Mold
For those new to mold making, it’s advisable to opt for straightforward designs at first. Opt for a pattern crafted from materials such as clay, wood or 3D printed objects. Prior to using the silicone mix on your chosen object, apply a layer of Vaseline to ensure that the silicone doesn’t adhere.
Next, position your pattern onto a level surface and surround it with the silicone mix until it is fully encased. Give the silicone ample time to cure – this can range from an hour up to an entire day depending upon which product you are utilizing. When completely cured, carefully extract the original item and discover your freshly formed silicone mold.
As you become acquainted with creating simple molds, you’ll gain insights into how various materials interact during this process. Through continuous practice, managing more intricate designs will become feasible as you craft molds suitable for an array of projects.
Crafting a Two-Part Mold
Creating a two-part mold is more advanced but useful for replicating complex objects. Start by applying a mold release agent to the item being cast for easy removal. Embed the original item halfway in modeling clay for a proper fit and easy removal.
Make indentations in the modeling clay to help align the two halves of the mold when joined. Pour the first half of the silicone mix over the embedded item and let it cure.
Once cured, remove the clay and apply multiple layers of mold release agent to both halves before pouring the second half. Ensure the halves align perfectly, and allow the second half to cure fully.
After both halves cure, open the mold and remove the original item. Your two-part mold is now ready for casting complex shapes and designs.
Adding Fine Details
Enhancing your projects can be achieved by precisely capturing intricate details in your silicone molds. Begin the process by meticulously cleaning and ensuring that the master pattern is smooth, as this will help maintain the fidelity of fine details. To ensure that complex textures are completely filled, utilize a soft brush to gently apply silicone into them.
To accurately replicate subtle features while preserving every detail, methodically add slender layers of silicone. During the molding process, use rubber bands or narrow strips to firmly hold these fine details in place.
Employing a vacuum chamber during creation aids in removing air bubbles from the mixture, which significantly improves detail retention within silicone molds.
Curing and Finalizing the Mold
Curing and finalizing your silicone mold is the final step. Curing time can vary, typically taking from one hour to a full day depending on the product used. Avoid demolding too early to prevent distortion or damage.
Use mold release agents like petroleum jelly to prevent silicone from sticking to the original object. Baby oil can also be used as a lubricant for easier mold removal. Ensure your molds are properly sealed to prevent leaks that could compromise the process.
To extend the longevity of your silicone molds, store them in a cool, dry environment and clean them after each use. Regular inspections can identify wear and tear, allowing for timely repairs or replacements to maintain functionality.
Common Mistakes and How to Avoid Them
During the process of making molds, even those with considerable crafting experience might face challenges. Imperfections in silicone molds can be a result of air bubbles, which compromise the quality of the end product. To substantially diminish these air bubbles, employing a vacuum chamber or a vibration table during mold creation is highly effective.
To improve the quality of your silicone mold outputs, it’s important to recognize frequent errors and apply corrective measures. Essential actions such as mixing correctly, adhering to precise ratio guidelines, and maintaining adequate ventilation are key in circumventing common issues that could arise when working with silicone for mold making.
Fun Projects Using Silicone Molds
The use of silicone molds unlocks a plethora of imaginative opportunities. For instance, you can craft celebratory coconut stars to mark the Fourth of July or whip up homemade marshmallows tailored for different events. Silicone molds are perfect for producing gummies that boast inventive flavors and whimsical shapes, making it an enjoyable undertaking.
These molds serve as excellent tools for creating bespoke ice cream pops adorned with distinctive patterns. Pet enthusiasts can indulge in crafting delightful treats in amusing shapes for their furry companions using silicone molds.
Constructing a face planter from robust concrete is an exceptional project that benefits from employing custom-made silicone molds.
Benefits of Using Homemade Silicone Molds
Creating your own silicone molds has numerous advantages. They tend to be less expensive compared to purchasing pre-manufactured ones, especially when it comes to bespoke patterns. This cost-efficiency provides crafters with the freedom to produce precise replicas of desired shapes and intricate details that might not be available in commercial selections.
The ability to customize homemade silicone molds is a significant benefit, as they can be fashioned precisely for individual projects. Their adaptability allows them to accommodate specific sizes and complex designs effortlessly. These molds are capable of enduring an extensive range of temperatures, which enhances their utility across various materials and procedures within the realm of silicone molding.
The durability of homemade silicone molds means they can serve multiple purposes over time. This repeated usability establishes them as a more environmentally friendly choice with single-use alternatives.
Advanced Techniques for Experienced Crafters
Crafting aficionados with a penchant for mold-making can delve into various sophisticated techniques to refine their craft. Utilizing flexible cores enables the formation of hollow parts or undercuts by exploiting the pliable nature of silicone, which is conducive to bending. To achieve complex designs, one can employ 3D printing technology to fabricate models that serve as blueprints for crafting silicone molds.
For intricate shapes, multi-part molds are beneficial. They simplify the removal process by segmenting an item into more manageable pieces. The longevity of silicone molds can be greatly increased through meticulous cleaning and comprehensive drying post-use. To preserve their condition, store these silicone constructs in a flat position without stacking them on top of each other.
The process demands precise mixing when dealing with two-component silicone materials—any deviation could result in unhardened sections or bubbles within your finished product. An incorrect mix ratio may cause partial curing or yield an improperly structured mold. Cooler ambient temperatures during the stages of mixing and pouring could prevent curing durations or obstruct proper hardening altogether.
Safety Tips
When handling silicone and similar materials, it is crucial to prioritize safety measures. To prevent direct contact with the skin, wearing gloves is recommended while working with these substances. Employing protective equipment like masks can be vital in safeguarding against chemical exposure.
It’s important to work in a well-ventilated area when preparing silicone putty because acetic acid is discharged during the curing process. Despite the fact that silicone-based materials are safe and don’t release dangerous chemicals upon combustion, they should still be treated cautiously.
Summary
Creating your own silicone molds at home is a rewarding and cost-effective way to bring your creative ideas to life. By following this guide, you can master the basics of silicone mold making and explore more advanced techniques as you gain experience. From simple designs to complex two-part molds, the possibilities are endless.
Whether you’re crafting for fun or looking to produce high-quality items for sale, homemade silicone molds offer flexibility, customization, and sustainability. So why wait? Start your silicone mold-making journey today and see where your creativity takes you.
Frequently Asked Questions
What materials do I need to make a silicone mold at home?
To make a silicone mold at home, you’ll need silicone caulking, cornstarch, baby oil, a caulk gun, and some mixing tools like a bowl and gloves.
Don’t forget a mold release agent to ensure your creation comes out smoothly!
How long does it take for a silicone mold to cure?
Silicone molds typically take anywhere from one hour to a full day to cure, so it’s best to check the instructions for the specific product you’ve chosen.
Patience pays off for the best results!
How can I avoid air bubbles in my silicone molds?
To avoid air bubbles in your silicone molds, consider using a vacuum chamber or a vibration table during the pouring process.
These tools can help eliminate trapped air for a smoother finish.
Can I add color to my silicone molds?
Absolutely, you can add acrylic paint to your silicone mixture to color your molds.
It’s a great way to personalize your projects!
What are some fun projects I can make with silicone molds?
You can whip up some fun projects like festive coconut stars, homemade marshmallows, and custom ice cream pops using silicone molds.
They’re perfect for unleashing your creativity and making unique treats!